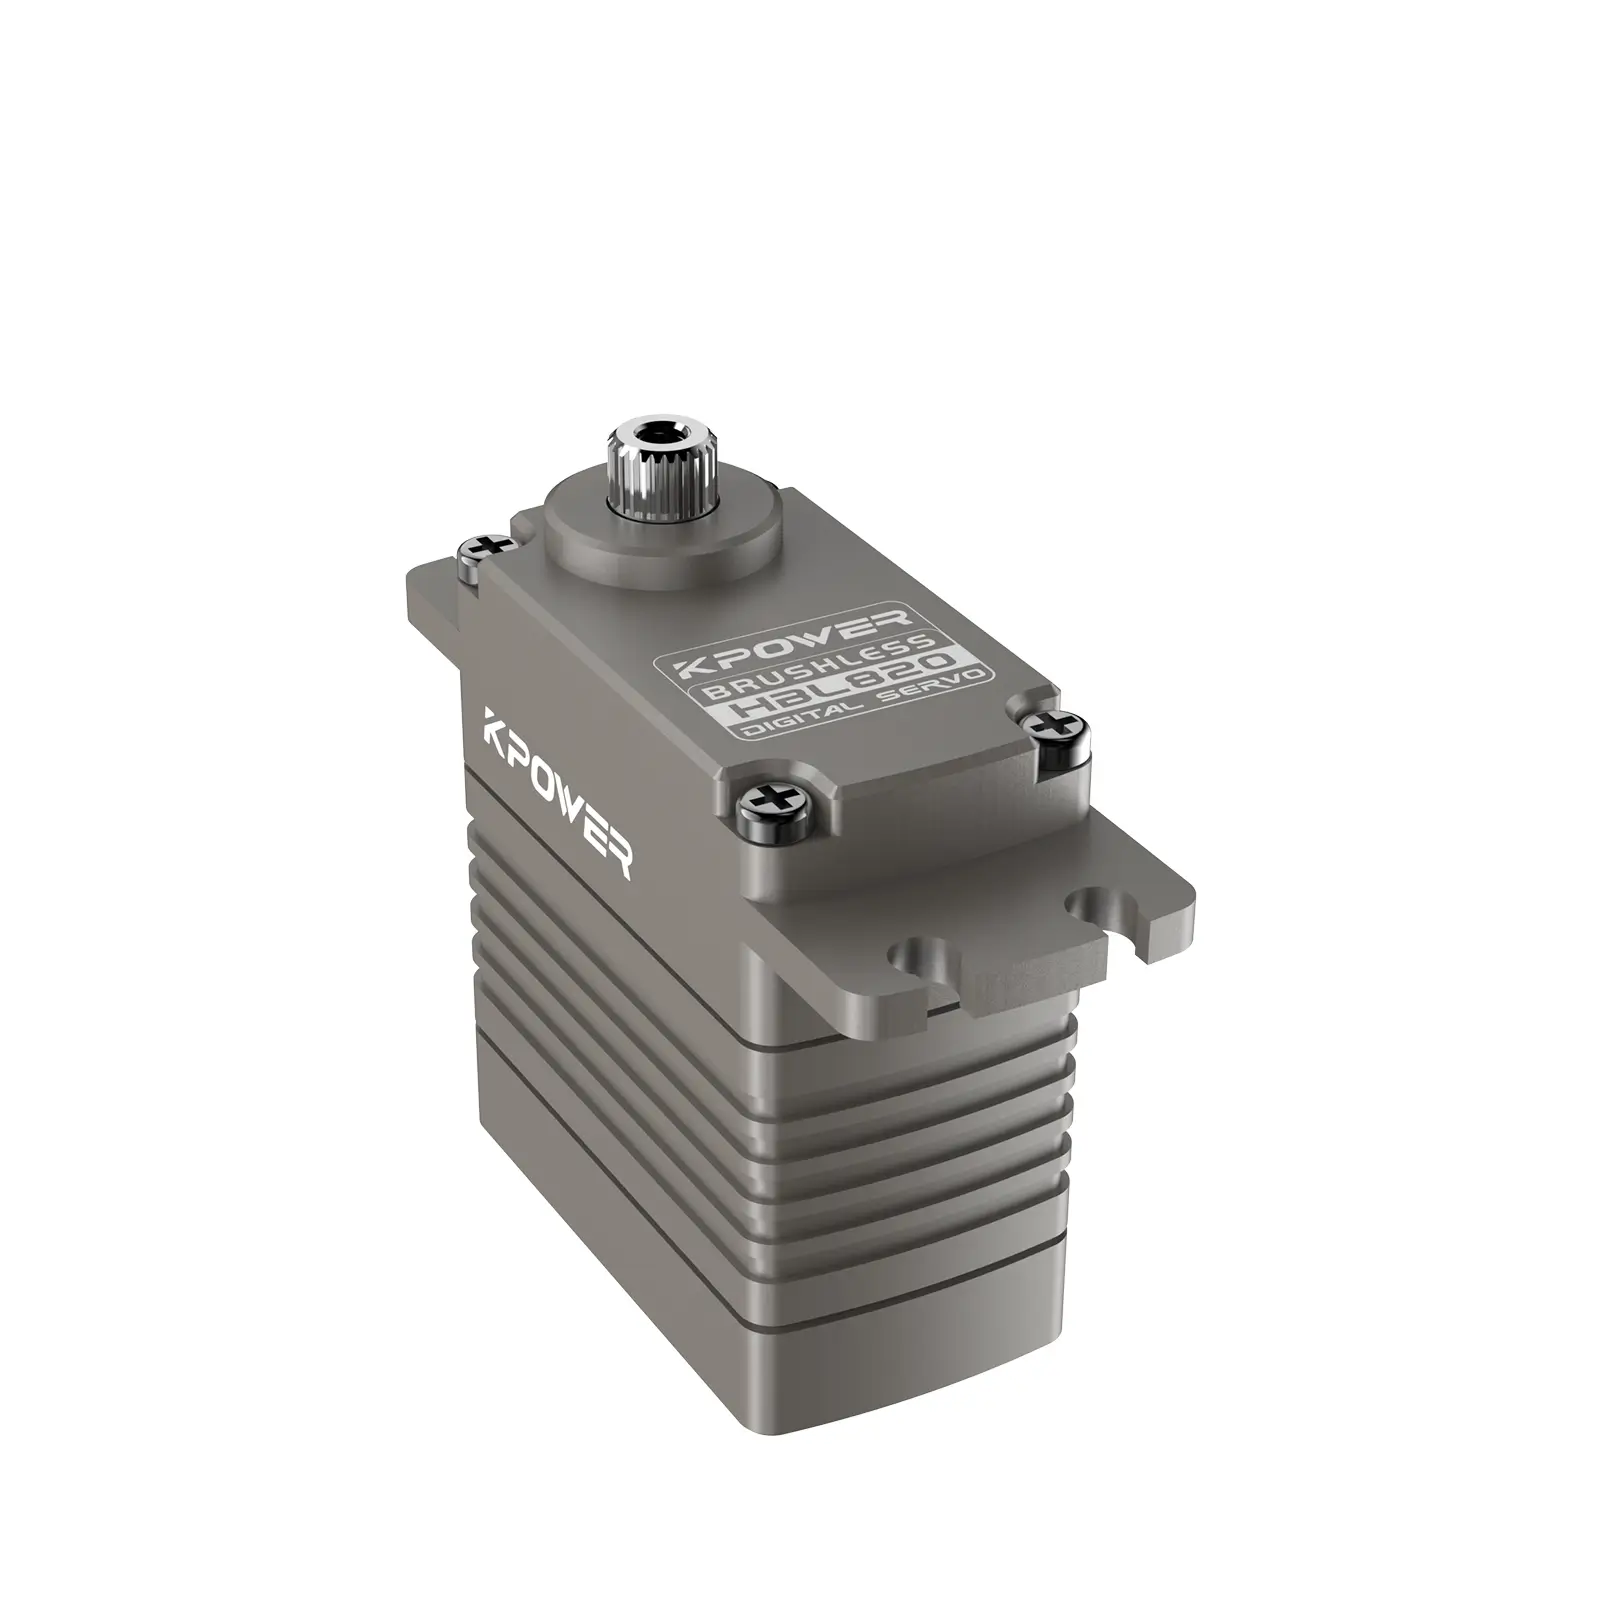
The Heartbeat of Motion: Understanding Arduino Servo Motors
If you’ve ever marveled at a robot’s precise movements, a camera’s automated pan, or even a child’s toy that dances with lifelike gestures, chances are a servo motor was pulling the strings. These compact, powerful devices are the unsung heroes of motion control—and when paired with an Arduino, they become a playground for creativity. Let’s dive into what makes servo motors tick and how to harness their potential.

What’s Inside a Servo?
A servo motor is more than just a motor. It’s a self-contained system with three key components:
A DC Motor: Provides rotational force. A Gearbox: Reduces speed and increases torque. A Control Circuit: Uses feedback to adjust the motor’s position.
Unlike standard motors, servos don’t spin freely. Instead, they rotate to specific angles (typically 0–180 degrees) based on pulse-width modulation (PWM) signals from an Arduino. This precision makes them ideal for tasks requiring accuracy, like steering a robot or adjusting a sensor.
Types of Servo Motors
Not all servos are created equal. Common types include:
Analog Servos: Affordable and simple, but less precise. Digital Servos: Faster, quieter, and more accurate (perfect for robotics). Continuous Rotation Servos: Modified to spin 360 degrees, acting like gearmotors.
Hooking Up a Servo to Arduino
Connecting a servo to an Arduino Uno is straightforward:
Power: Servos need juice. Use the Arduino’s 5V pin for small servos, but for larger ones, opt for an external power supply to avoid frying your board. Signal: Connect the servo’s control wire to a PWM-capable pin (e.g., pin 9 or 10). Ground: Complete the circuit by linking the servo’s ground to the Arduino’s GND.
Coding the Basics
Arduino’s Servo library simplifies control. Here’s a minimalist script to make a servo sweep: ```cpp
include
Servo myServo; int pos = 0;
void setup() { myServo.attach(9); }
void loop() { for (pos = 0; pos <= 180; pos += 1) { myServo.write(pos); delay(15); } for (pos = 180; pos >= 0; pos -= 1) { myServo.write(pos); delay(15); } } ``` Upload this, and your servo will pivot like a metronome. But why stop there?
Troubleshooting Tips
Jittery Movement: Add a capacitor (10µF) between the servo’s power and ground. Overheating: Ensure your power supply matches the servo’s voltage (usually 4.8–6V). Limited Range: Check mechanical obstructions or adjust the write() angle values.
Servos are forgiving teachers. Experiment with delays, angles, and even multiple servos. Imagine synchronizing two servos to mimic a butterfly’s wings or building a sun-tracking solar panel. The only limit is your curiosity.
Beyond the Basics: Creative Projects with Arduino Servos
Now that you’ve mastered the fundamentals, let’s shift gears from theory to making. Servo motors are the Swiss Army knives of motion—versatile enough for whimsical art, practical automation, and even borderline-mad-scientist experiments.
Project 1: Robotic Arm with Gesture Control
Build a desktop robotic arm using cardboard or 3D-printed parts, and control it with a glove equipped with flex sensors. Each finger bend adjusts a servo’s angle, letting you pick up objects telekinetically. Pro tip: Use potentiometers for smoother control.
Project 2: Animatronic Pet Companion
Turn plush toys into interactive companions. Hide a servo inside a stuffed animal to create a tail that wags when it “hears” noise (using an Arduino sound sensor). Add googly eyes for extra charm.
Project 3: Automated Plant Caretaker
Combine a servo with a soil moisture sensor. When your plant gets thirsty, the servo tilts a water bottle to hydrate it. Bonus points for adding a Twitter bot that posts dramatic thirst alerts.
Project 4: Interactive Shadow Art
Mount servo arms behind a translucent screen, attach cutout shapes, and program them to respond to ambient light or motion sensors. The result? A dynamic shadow play that dances with the room’s energy.
Advanced Techniques
Cascading Delays: Create wave-like motion by offsetting multiple servos’ movement timings. External Libraries: Explore VarSpeedServo for speed control or Adafruit_PWMServoDriver for managing 16 servos at once. Force Feedback: Modify servos to act as input devices by reading their resistance (advanced, but mind-blowing).
Power Management
Bigger projects demand smarter power strategies:
Use a dedicated 6V battery pack or UBEC (Universal Battery Eliminator Circuit) for high-torque servos. Isolate the Arduino’s power from the servos’ to prevent voltage drops.
The Philosophy of Servo Hacking
Servos teach a valuable lesson: constraints breed creativity. Their limited range forces you to think mechanically—leveraging linkages, pulleys, and cams to transform simple angles into complex motions. For instance, a single servo can power a four-legged “spider” bot using cleverly angled legs.
When Things Go Sideways
Embrace the chaos. A jittery servo might inspire a zombie Halloween prop. A misaligned robotic arm could become abstract kinetic art. Share your “failures” online; the maker community thrives on iterative insanity.
What’s Next?
As you graduate from basic sweeps to multi-servo symphonies, consider diving into:
ROS (Robot Operating System): For advanced robotics integration. Machine Learning: Train a model to control servos based on camera input. Biohacking: Pair servos with muscle sensors (EMG) to create prosthetics.
In the end, Arduino servos aren’t just components—they’re collaborators. They nudge you to ask, “What if?” and then build it. So grab your board, wire up a servo, and start bending motion to your will. The world’s waiting to move with you.


