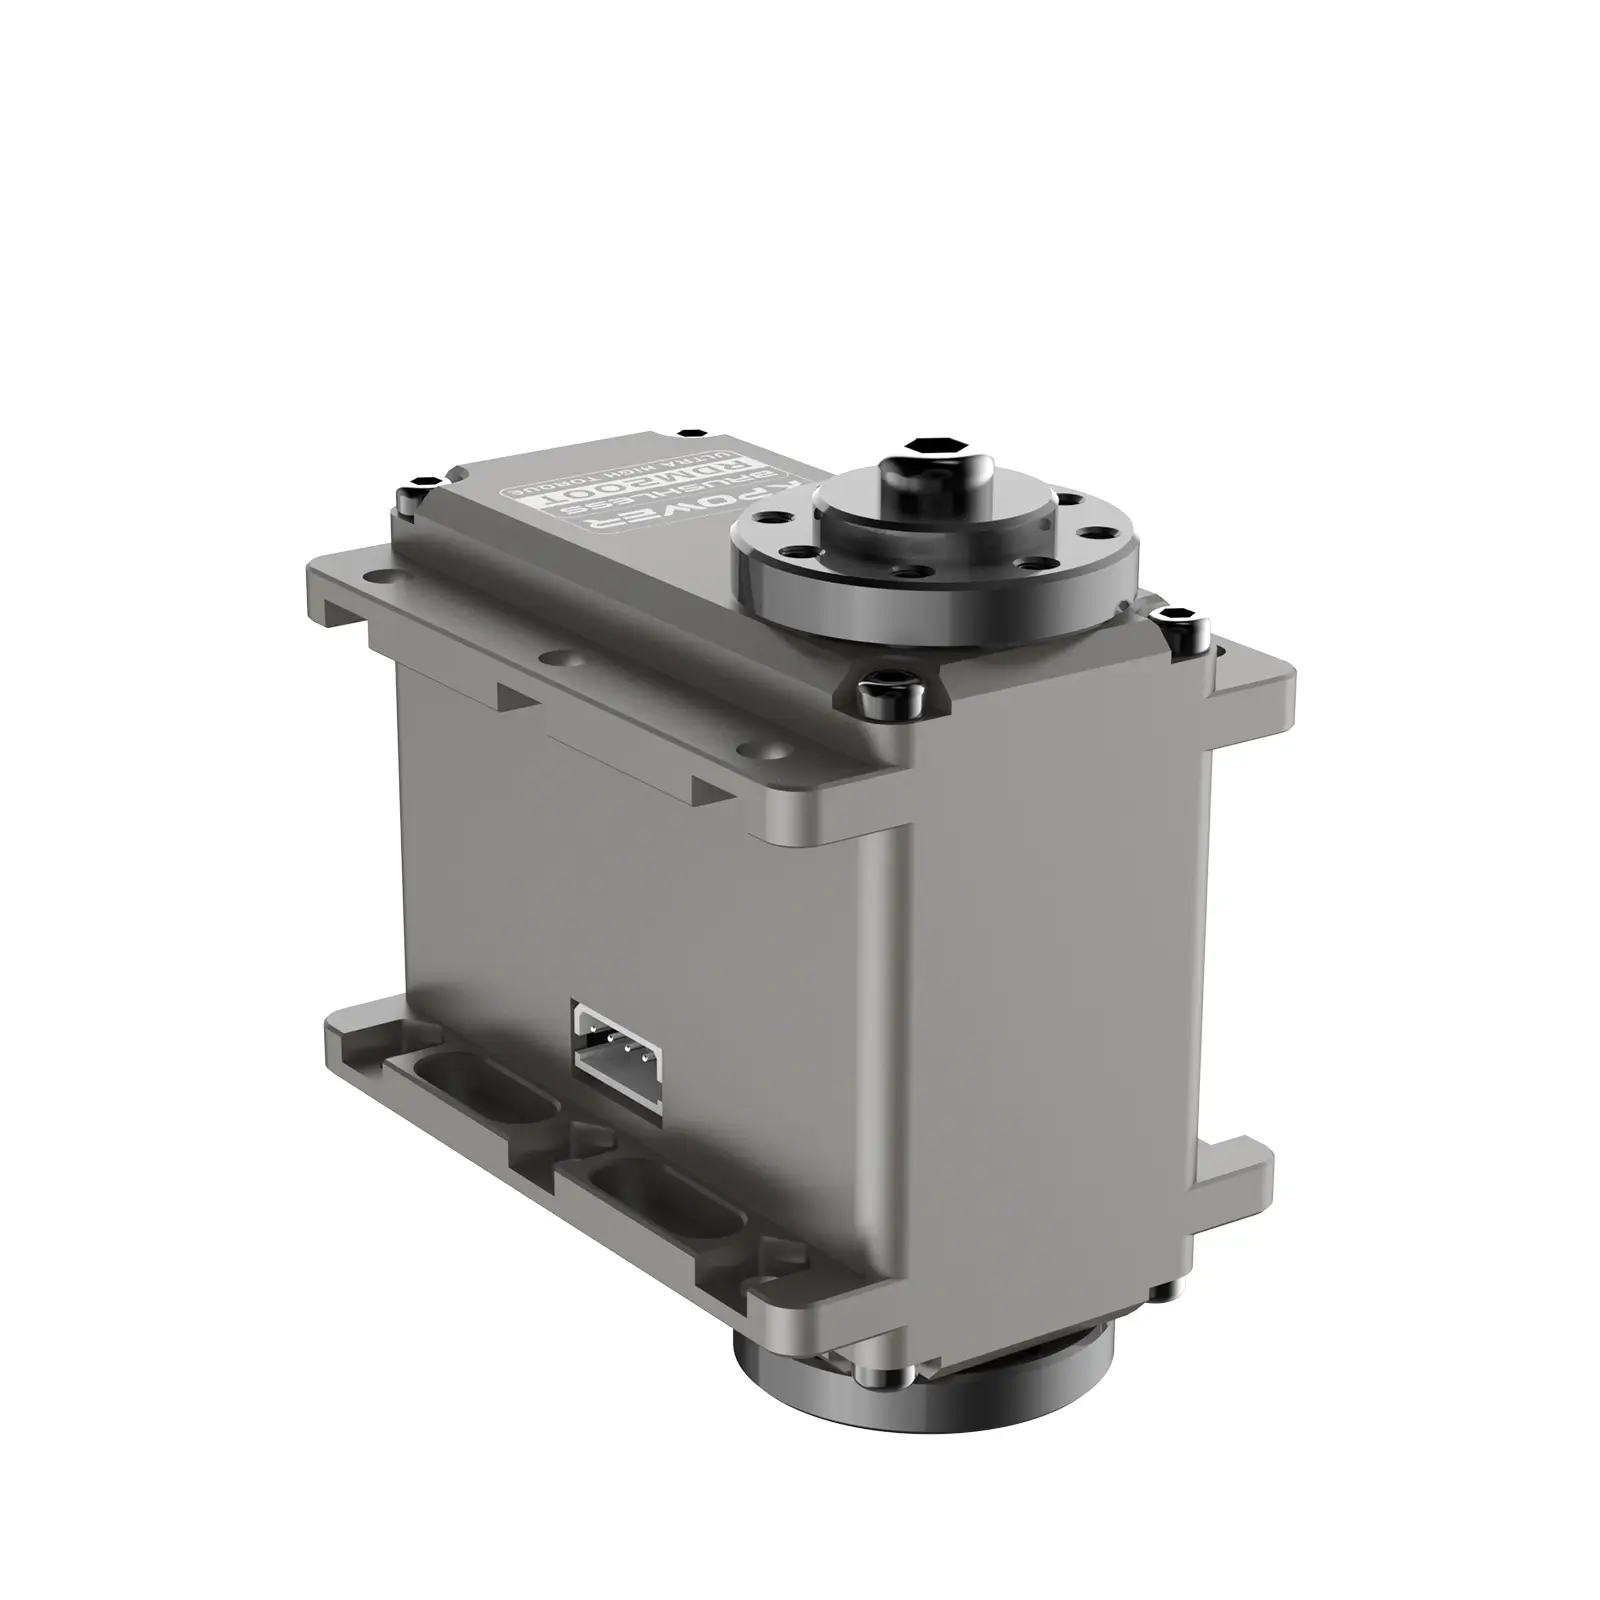
The Art of Making Things Move: Why Servo Motors Are Your New Best Friend
Let’s face it—watching inanimate objects spring to life is downright thrilling. Whether it’s a robot arm waving hello, a camera panning smoothly, or a tiny sunflower tilting toward a (simulated) sun, servo motors are the unsung heroes behind these magical motions. And when paired with an Arduino, they become a playground for creativity.

What’s a Servo Motor, Anyway?
A servo motor isn’t your average spinning DC motor. It’s a precision-packed device that rotates to specific angles (usually between 0° and 180°) on command. Inside, it’s got gears, a potentiometer to track its position, and circuitry that compares its current angle to the one you’ve programmed. If there’s a mismatch? The motor adjusts until it’s spot-on. Think of it as a motor with a built-in feedback loop—a perfectionist in a tiny plastic shell.
The Arduino-Servo Romance
Arduino and servo motors are a match made in maker heaven. The Arduino’s PWM (Pulse Width Modulation) pins send signals that tell the servo where to move. No complex drivers or external controllers needed—just a few lines of code and some jumper wires.
Let’s Get Hands-On: Your First Servo Project You’ll need:
An Arduino (Uno/Nano) A micro servo (like the SG90) Jumper wires A breadboard (optional, but tidy)
Step 1: Wiring It Up
Servo’s brown/black wire → Arduino GND Red wire → 5V pin Yellow/orange wire → PWM pin (e.g., pin 9)
Step 2: The Code That Makes It Dance ```cpp
include
Servo myServo;
void setup() { myServo.attach(9); // Servo on pin 9 }
void loop() { myServo.write(0); // Rotate to 0° delay(1000); myServo.write(90); // Swing to 90° delay(1000); myServo.write(180); // Hit 180° delay(1000); }
Upload this, and your servo will sweep between three positions like a metronome on espresso. #### Why This Matters This isn’t just about making a motor wiggle. It’s about understanding feedback systems, timing, and how hardware interacts with software. Servos are everywhere—from drone gimbals to industrial robots—and mastering them opens doors to bigger projects. #### Creative Pit Stop: The “Mood Lamp” Hack Replace the servo horn with a color filter and place it in front of an LED. Program the servo to rotate based on sensor input (like temperature or sound). Suddenly, you’ve got a lamp that “moods” shift with the environment. Pro Tip: Servos can jitter if underpowered. If yours gets shaky, power it externally (but keep the GND connected to the Arduino). --- ### Beyond Basics: Servo Projects That Make People Say “Whoa” Now that you’ve got the fundamentals down, let’s crank the weirdness dial. Servos aren’t just for predictable sweeps—they’re for *storytelling*. Imagine a Halloween prop that creaks open when someone approaches, or a plant that physically “thirsts” for water. Let’s build something unforgettable. #### Project 1: The Robotic Bartender (Mini Edition) Concept: A servo-driven arm that pours “mocktails” (aka colored water) into tiny cups. Add LEDs for flair. Hardware Add-Ons: - 2 servos (one for rotation, one for tilt) - Plastic syringe or small pump - Tubing Code Snippet (Simplified):
cpp
include
Servo rotateServo; Servo tiltServo;
void setup() { rotateServo.attach(9); tiltServo.attach(10); }
void pourDrink() { rotateServo.write(45); // Position over cup delay(500); tiltServo.write(70); // Tilt to pour delay(2000); // Pour time tiltServo.write(10); // Reset rotateServo.write(0); }
void loop() { if (/* button pressed or sensor triggered */) { pourDrink(); } }
#### Project 2: The “Annoying Desk Companion” Concept: A servo-powered finger that taps your desk randomly. Pair it with a sound module for added “charm.” Build Notes: - Mount a servo horizontally. - Attach a 3D-printed or cardboard “finger” to the horn. - Use `random()` in Arduino to set unpredictable intervals. Code Philosophy:
cpp // Because chaos is the spice of life void loop() { int waitTime = random(5000, 30000); // 5–30 seconds delay(waitTime); tapFinger(); } ```
Debugging Servo Shenanigans
Jittering: Check power supply. Servos hate voltage drops. Overheating: Don’t force them to hold position against resistance for too long. Limited Range: Modify the servo physically (at your own risk) for continuous rotation, or buy a continuous rotation servo.
The Bigger Picture: Servos in Real-World Tech
Servos aren’t just hobbyist toys. They’re in:
Film Production: Camera rigs for smooth pans. Medicine: Surgical robots requiring precision. Agriculture: Automated seed-planting systems.
Your $3 SG90 servo shares DNA with these high-stakes applications. That’s a mind-bending thought while you’re building a cardboard dinosaur that roars on command.
Final Challenge: Make It Uselessly Fun
The best projects marry skill and whimsy. Try building:
A servo-driven “clapper” that high-fives you when you finish a task. A weather vane that points to fictional locations (“Narnia: 90°”). A pancake-flipping robot (warning: messy).
Arduino and servos are your tools—your job is to inject personality. So go ahead: make something that moves, surprises, and maybe even annoys. That’s how learning sticks.
This article intentionally avoids step-by-step handholding. Why? Because tinkering, failing, and improvising are where the real magic happens. Grab your servo, embrace the chaos, and start creating motions that tell your story.


