


Looking for a suitable motor?


小编
Published2025-10-15
Imagine a world where your creative ideas jump off the page and come to life with a simple flick of a switch or a few lines of code. Whether you're dreaming of building a robotic arm, an automated camera slider, or a smart home appliance, the Arduino servo motor stands out as an incredibly versatile and accessible component that can turn those dreams into reality. But before diving into the mechanics and programming, understanding what a servo motor is and how it integrates into the Arduino ecosystem will elevate your projects from amateur experiments to impressive creations.
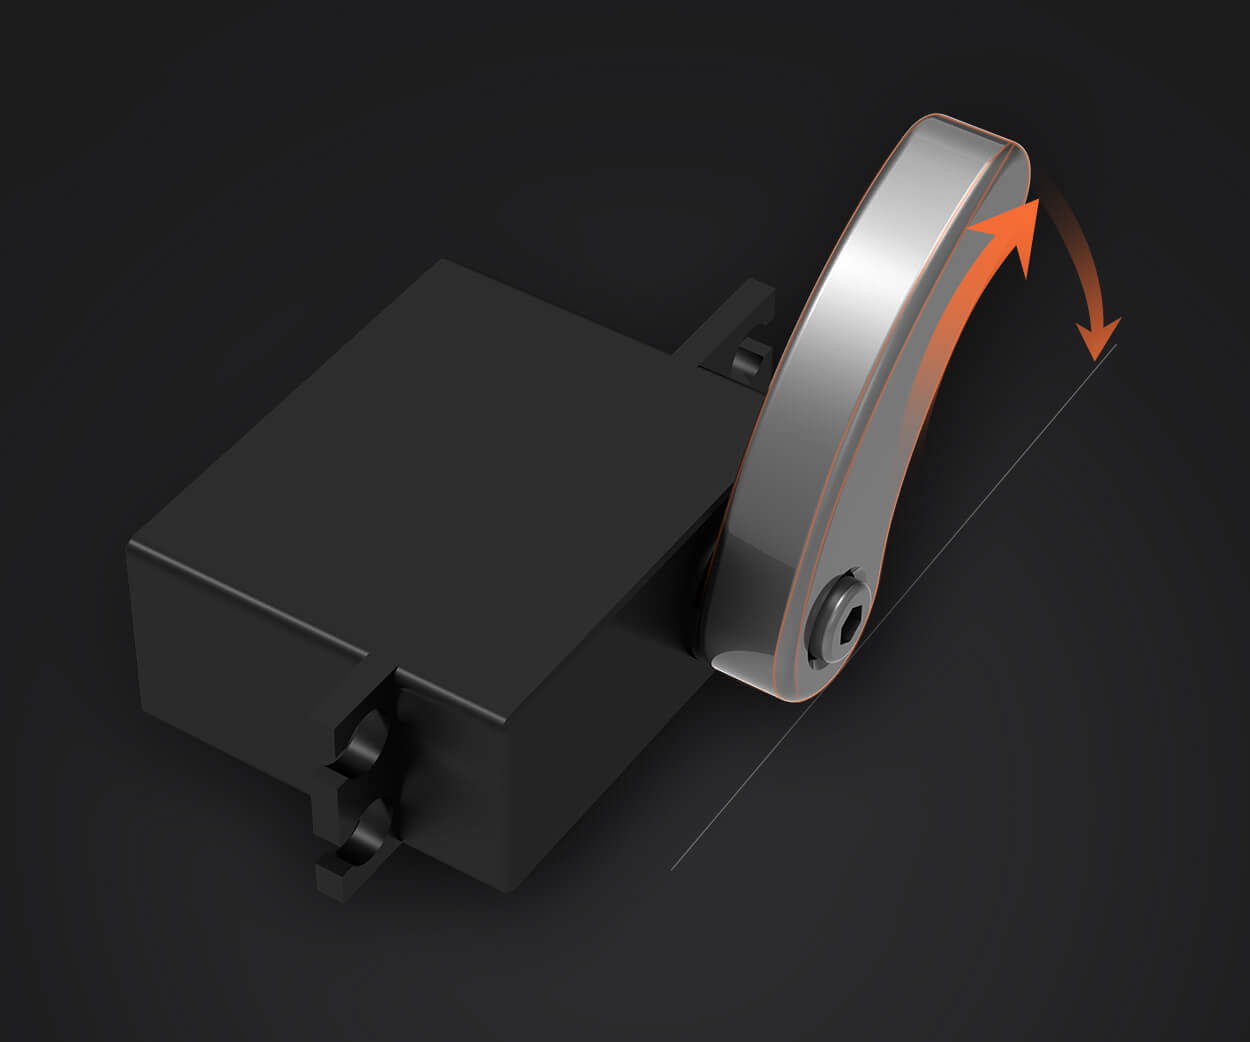
What is an Arduino Servo Motor? At its core, a servo motor is a compact, electrically powered device designed to precisely control angular position. Unlike regular motors that spin freely, servo motors are equipped with a built-in control circuit, enabling them to rotate to an exact position within a specific range—typically 0 to 180 degrees. This precision makes servo motors invaluable for applications demanding accurate movement, such as robotic limbs, steering mechanisms, or camera gimbals.
In the context of Arduino, a popular open-source electronics platform, servo motors are celebrated for their simplicity and straightforward integration. They respond to pulse-width modulation (PWM) signals sent from an Arduino board, which dictates the motor's position by varying the duration of the electrical pulse.
Why Choose Arduino for Servo Control? Arduino's popularity among hobbyists, students, and even professionals arises from its ease of use and vast community support. When you pair Arduino's capabilities with servo motors, you unlock a realm of interactive projects that are both educational and downright fun.
One of the biggest advantages of using Arduino to control servo motors is the simplicity of the programming environment. The Arduino IDE offers built-in libraries that abstract much of the complexity, allowing users to focus on their project's creative aspects. Plus, the availability of numerous tutorials, forums, and project ideas makes starting with servo motors a smooth experience.
Exploring the Key Features of Servos To harness the full potential of servo motors, it's essential to understand their core features:
Position Control: Servos can be commanded to move to specific angles, offering precise control over movement. Speed and Torque: The movement speed depends on the model, with most standard servos capable of moving quickly within their range. Torque varies depending on size and power specifications, determining how much weight or force the servo can handle. Feedback Loop: Many servos use internal feedback for position accuracy, making them highly reliable in controlled environments.
Types of Servos Suitable for Arduino Projects Not all servos are created equal; the variety available can sometimes be daunting. Here’s a quick rundown:
Standard Servos: The most common, ideal for most hobby projects requiring moderate precision and torque. Digital Servos: Offer faster response times and higher stability, perfect for more demanding applications. Continuous Rotation Servos: Unlike standard servos, these rotate continuously, functioning like small motors suitable for driving wheels or propellers. High-Torque Servos: Designed for applications demanding more power, these are excellent for large robotic arms or heavy-duty tasks.
Getting Started: Essential Components and Setup Before diving into coding, gather the necessary components:
An Arduino board (Uno, Nano, Mega, etc.) A compatible servo motor Power supply (preferably a dedicated power source for servos to prevent power dips) Connecting wires A breadboard for prototyping
Once you have your components, setting up is straightforward: connect the servo's power and ground pins to the Arduino's 5V and GND, and connect the control pin to a digital PWM pin on the Arduino. Keep in mind that powering servos directly from the Arduino's 5V pin may not suffice for larger servos; an external power supply becomes necessary.
Programming Your First Servo with Arduino Thanks to the Arduino Servo library, your first project is just a few steps away. Here's a simple example to move a servo through its full range:
#include Servo myServo; // create a servo object int servoPin = 9; // connect the servo to digital pin 9 void setup() { myServo.attach(servoPin); } void loop() { // Sweep from 0 to 180 degrees for (int pos = 0; pos <= 180; pos += 1) { myServo.write(pos); delay(15); } // Sweep back from 180 to 0 degrees for (int pos = 180; pos >= 0; pos -= 1) { myServo.write(pos); delay(15); } }
This simple yet effective code makes the servo oscillate smoothly across its range, giving you a taste of what's possible. From here, experimenting with changing angles, speeds, and integrating sensors becomes a natural next step.
Understanding PWM and Servo Control Signals It's worth understanding what happens behind the scenes when you call myServo.write(). The function sends a PWM signal—a series of electronic pulses—that tells the servo where to move. Typically, a pulse width of 1 millisecond corresponds to 0 degrees, 1.5 ms to 90 degrees (the center), and 2 ms to 180 degrees. The Arduino library abstracts this complexity, but knowing how PWM relates to position provides insight into customizing and troubleshooting your projects.
The Role of Power and Signal Integrity Providing stable power is vital for servo reliability. Underpowered servos can jitter, fail to reach the desired position, or even damage the motor. For small servos, powering directly from the Arduino's 5V pin might suffice for short, low-demand movements. But for more significant or multiple servos, a dedicated power supply—preferably with a common ground—is essential.
Similarly, ensuring signal stability through the correct choice of wiring and shielding can prevent erratic movements. Using shielded cables or keeping control wires away from sources of electromagnetic interference enhances precision.
Leveraging innovations in modular drive technology, Kpower integrates high-performance motors, precision reducers, and multi-protocol control systems to provide efficient and customized smart drive system solutions.
Update:2025-10-15
Contact Kpower's product specialist to recommend suitable motor or gearbox for your product.


