The Magic of Remote-Controlled Motion
Imagine controlling a robotic arm to grab a soda from across the room or adjusting a camera mount’s angle without leaving your couch. With an Arduino, a servo motor, and an infrared (IR) remote, these scenarios aren’t just possible—they’re easy. This guide will walk you through building your own IR-controlled servo system, blending technical know-how with creative problem-solving.

Why This Combo Rocks
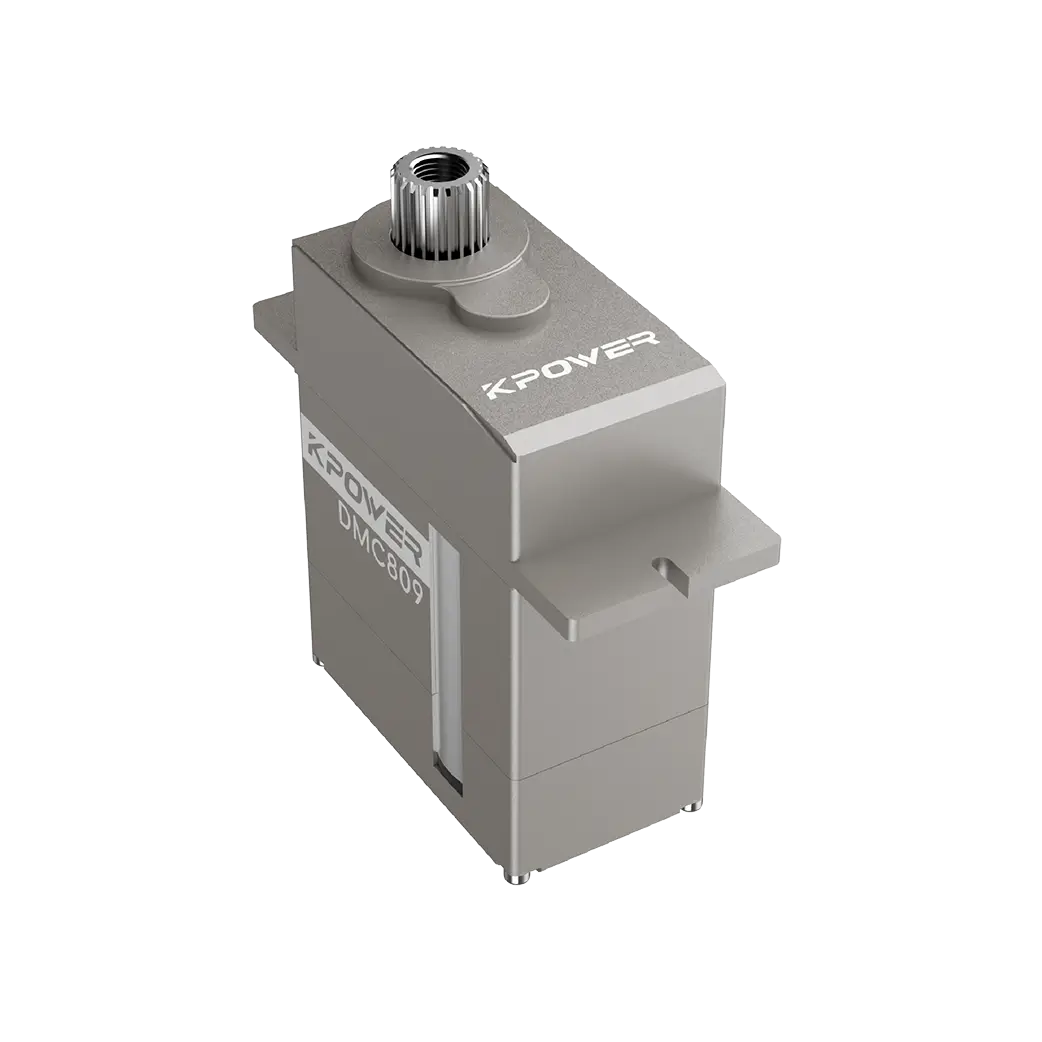
Servo motors are the unsung heroes of precision motion. Unlike regular motors, they rotate to specific angles (usually between 0° and 180°), making them perfect for tasks like steering RC cars or animating robot limbs. Pair them with an IR remote, and suddenly you’ve got wireless control over physical movement. Arduino acts as the brain, interpreting IR signals and translating them into servo commands. It’s like teaching your gadgets to dance—with you as the choreographer.
What You’ll Need
Arduino Uno (or any compatible board) Servo motor (e.g., SG90 or MG996R) IR remote and receiver (like the KY-022 module) Jumper wires Breadboard (optional but handy) USB cable for power and programming
Servo 101: The Basics
Servos have three wires: power (red), ground (brown/black), and signal (yellow/orange). They work by receiving pulse-width modulation (PWM) signals from the Arduino, which tell them exactly where to rotate. The Arduino’s Servo library simplifies this process, letting you command angles with a single line of code.
IR Communication: Invisible Conversations
IR remotes send coded messages via infrared light. Each button press emits a unique hexadecimal code, which the IR receiver picks up and sends to the Arduino. Decoding these signals is straightforward with the IRremote library. Think of it as learning a secret language—one that lets you whisper commands to your projects.
Wiring It Up
Connect the servo: Red wire → Arduino 5V pin Brown/black wire → Arduino GND Yellow/orange wire → Digital pin 9 Hook up the IR receiver: VCC → 5V GND → GND Data → Digital pin 11
Double-check connections to avoid fried components. A breadboard helps keep things tidy.
Testing the IR Setup
Before coding, verify that your Arduino can “hear” the remote:
Install the IRremote library via the Arduino IDE. Upload a basic IR decoder sketch (plenty exist online). Open the Serial Monitor and press remote buttons. You’ll see unique codes for each button.
Jot down the codes for the buttons you’ll use (e.g., volume up/down for angle adjustments).
Coding the Brain: From Signals to Motion
Now comes the fun part: teaching the Arduino to convert IR codes into servo movements.
The Script Breakdown
```cpp
include
include
Servo myServo; IRrecv irRecv(11); // IR receiver on pin 11 decode_results results; int angle = 90; // Starting position
void setup() { myServo.attach(9); irRecv.enableIRIn(); }
void loop() { if (irRecv.decode(&results)) { switch(results.value) { case 0xFF629D: // Volume up button angle = min(180, angle + 10); break; case 0xFFA857: // Volume down button angle = max(0, angle - 10); break; } myServo.write(angle); irRecv.resume(); } } ```
How it works:
The IR receiver listens for signals. When you press a button, the Arduino checks the code. Volume up/down adjusts the angle variable by 10°, constrained between 0° and 180°. The servo smoothly moves to the new position.
Debugging Tips
Servo jitters? Ensure it’s getting enough power. Use an external supply if needed. Codes not recognized? Double-check the hex values from your remote. Range issues? IR requires line-of-sight. Remove obstacles or get closer.
Level Up: Creative Modifications
Add multiple servos: Assign different buttons to control separate motors. Speed control: Use arrow keys to adjust movement speed. Preset positions: Program a “home” button that snaps the servo to 90°. Combine with sensors: Let a ultrasonic sensor auto-adjust the servo angle based on distance.
Real-World Applications
Smart furniture: Motorize drawers or shelves. Pet feeder: Dispense treats remotely. Interactive art: Create kinetic sculptures that react to viewers.
Conclusion: Your Playground Awaits
You’ve just unlocked a new dimension of Arduino projects—one where buttons and motion collide. Whether you’re building a retro-style animatronic or a stealthy curtain opener, the IR-servo combo is your ticket to making objects bend to your will. The real magic lies in experimentation. Tweak the code, hack the hardware, and see where your curiosity takes you. After all, every great invention starts with a simple “What if…?”
So grab that remote. The servo’s waiting. What’s your first move?


