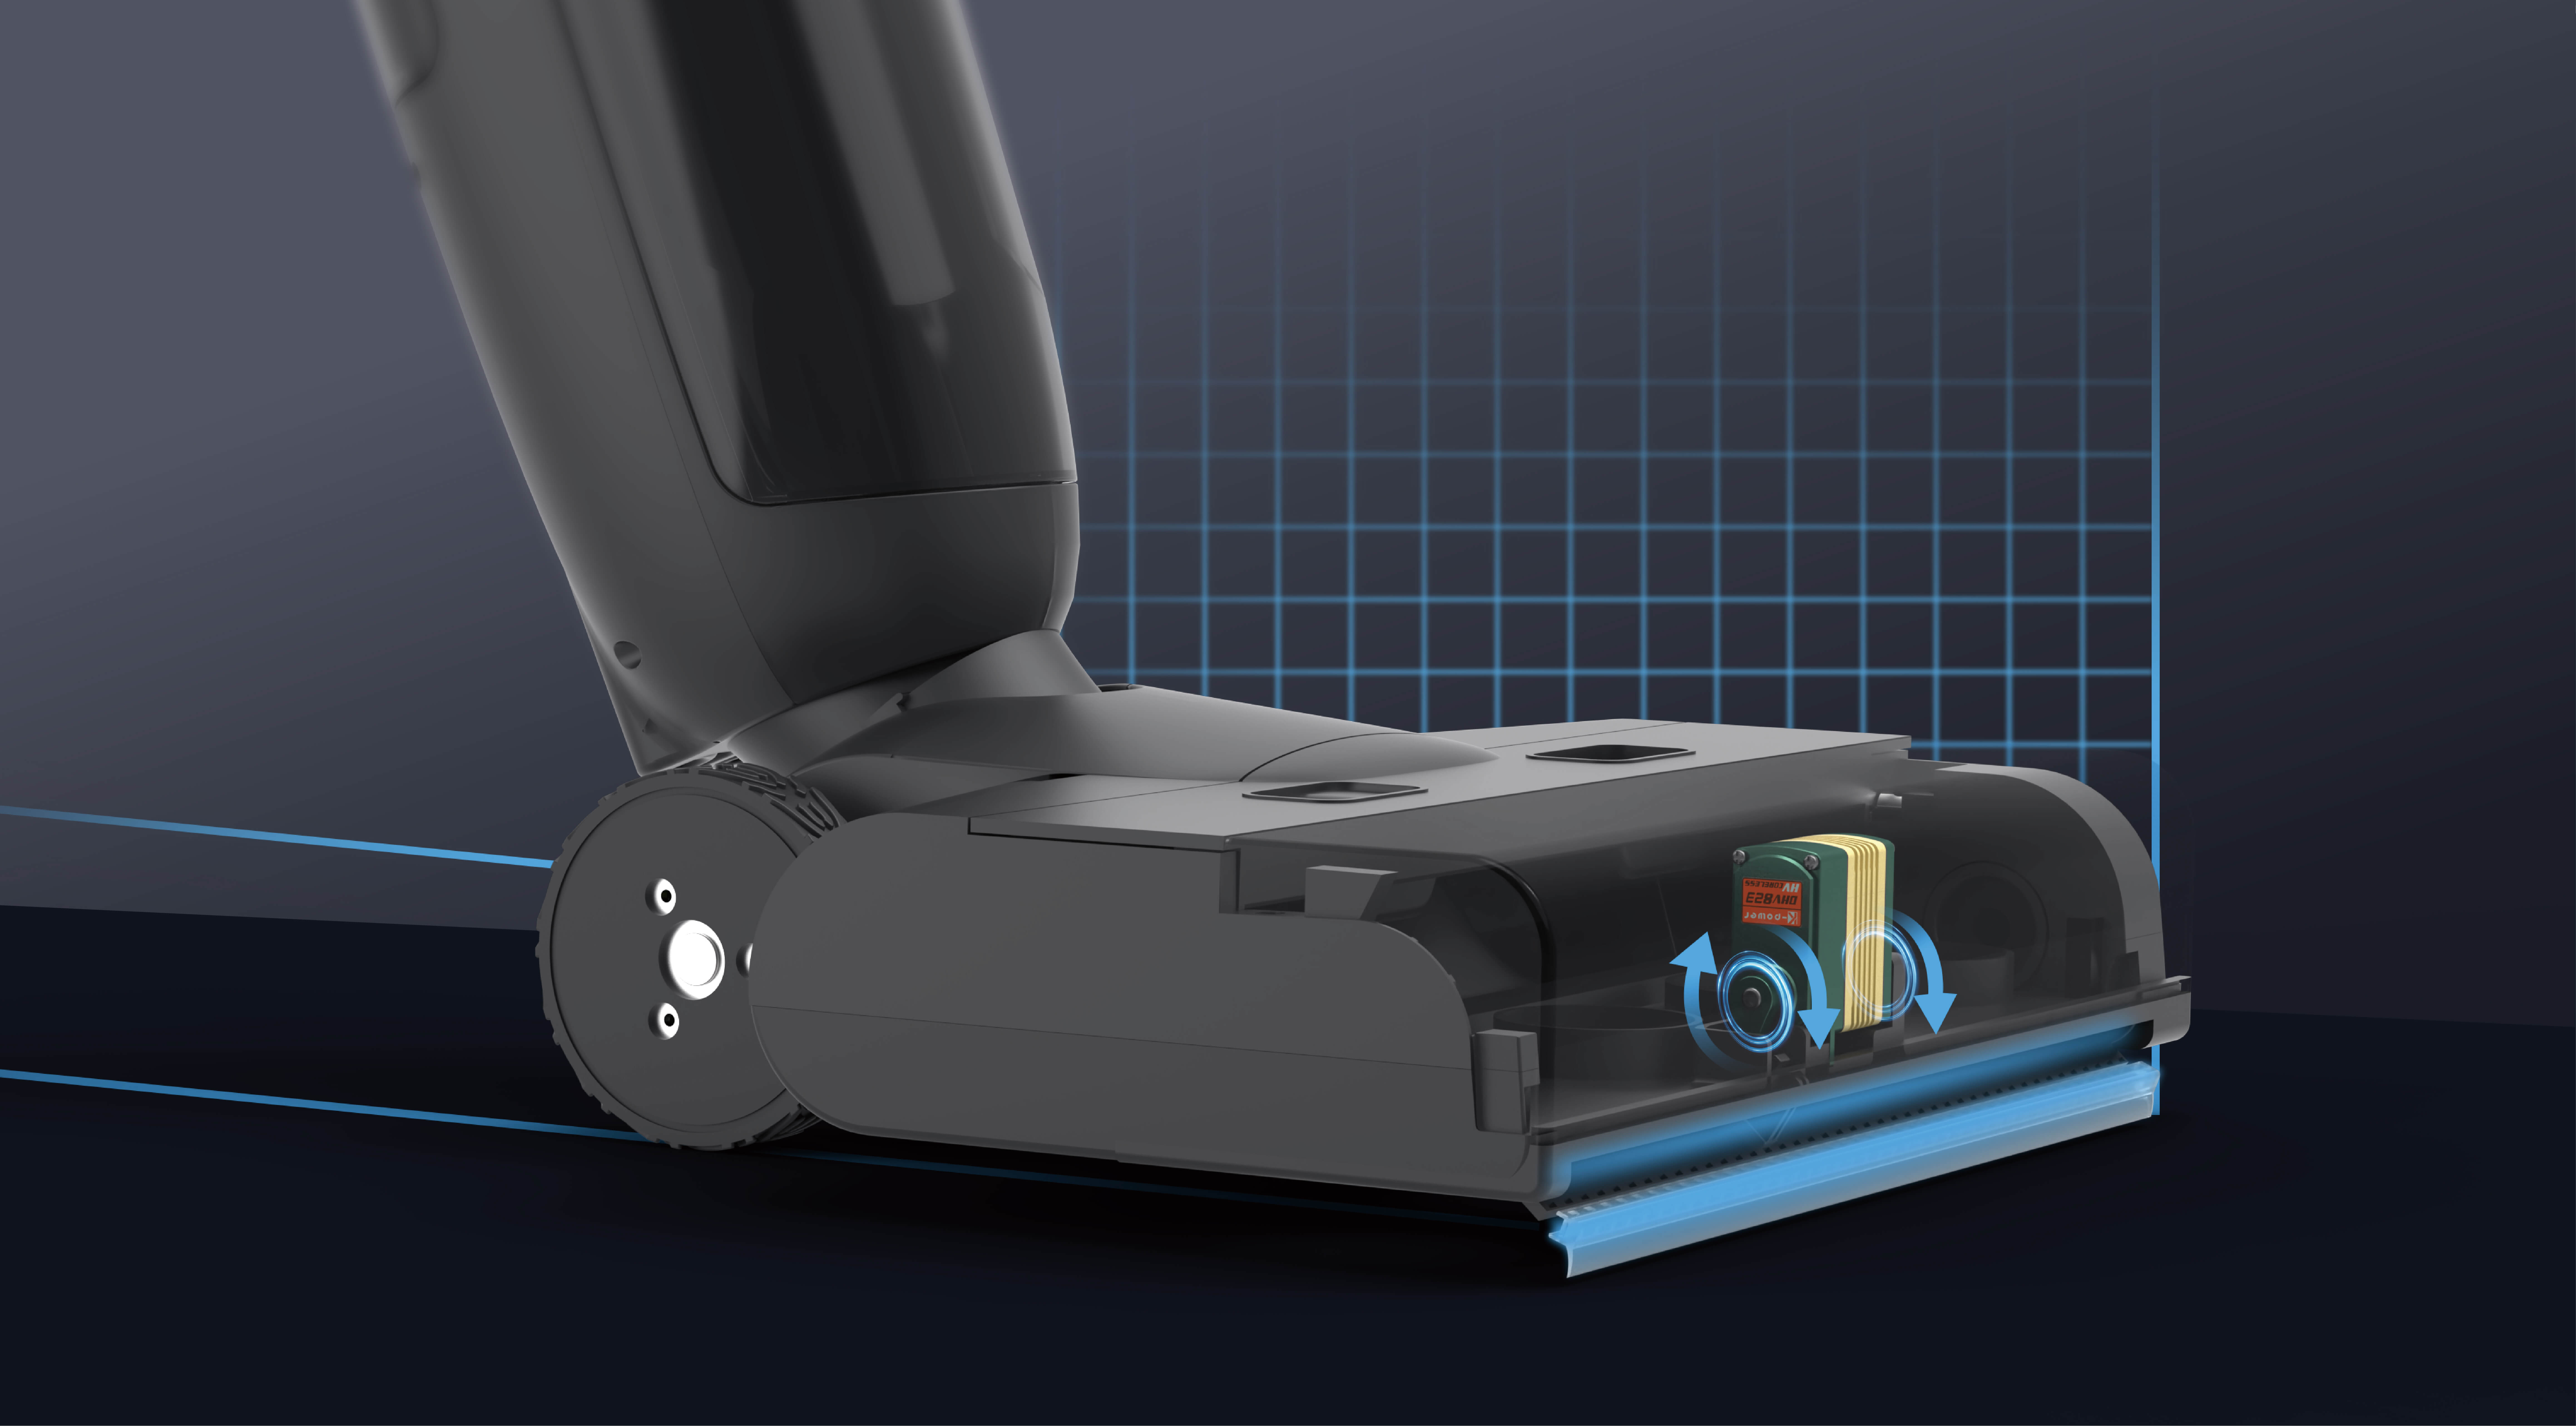
Unlocking Precision: A Comprehensive Guide to Connecting a Servo Motor to Arduino
In the world of electronics and robotics, servo motors are the heartbeat of precise, controllable movement. Whether you're building a robotic arm, a camera gimbal, or an automated pet feeder, understanding how to connect a servo motor correctly to an Arduino microcontroller opens up a universe of creative possibilities.

What is a Servo Motor?
A servo motor is a compact actuator that provides precise control over angular position, velocity, and acceleration. Unlike simple motors that run continuously when powered, servos move to a specific position commanded by the control signal. This makes them invaluable in applications requiring repeatable, accurate movements—think of robotic arms, RC cars, or even animatronics.
Servos typically consist of a small DC motor coupled with a feedback sensor (potentiometer), a gear train, and a control circuit. The feedback system allows the servo to adjust its position dynamically to match the commanded input, providing outstanding positional control.
Types of Servo Motors
While there are many types, the most common in hobby electronics is the "standard" servo, which usually operates within a 4.8V to 6V range and can rotate approximately 0° to 180°. There are also continuous rotation servos, which act more like regular motors, but for most DIY projects, the standard servo is ideal.
Why Use Arduino?
Arduino boards are user-friendly, versatile, and affordable microcontrollers that serve as the perfect platform to control servo motors. Using Arduino's easy-to-understand code and numerous libraries makes servo integration straightforward, even for beginners.
Basic Components Needed
To get started, you’ll need:
An Arduino board (Uno, Mega, Nano, etc.) A servo motor (commonly used models include SG90, MG996R) Jumper wires A power supply compatible with the servo (sometimes an external power source is necessary) Breadboard (optional, for prototyping)
Step 1: Understanding the Servo Motor Pins
Servos usually have three wires:
Power (usually red): Connects to positive voltage (5V for most hobby servos). Ground (usually black or brown): Connects to the ground (GND). Signal (usually yellow, orange, or white): Carries the PWM control signal from Arduino.
It's critical to connect these correctly, as reversing power and ground can damage the servo or the Arduino.
Step 2: Basic Wiring and Connection
Here's a simple overview of connecting a typical servo to Arduino Uno:
Red wire (Vcc) to 5V on Arduino (or external power supply for more powerful servos) Black/Brown wire (GND) to GND on Arduino Yellow/White wire (Signal) to a digital PWM pin (e.g., pin 9)
Tip: For small servos like SG90, powering directly from Arduino is often sufficient. For larger, power-hungry servos, using an external power supply (like a 5V power adapter) is recommended. Remember to connect the ground of the external power supply to the Arduino ground to establish a common reference.
Step 3: Programming the Arduino
The Arduino IDE provides a built-in library called Servo.h that simplifies servo control. Here's a basic example sketch:
#include Servo myServo; // Create servo object void setup() { myServo.attach(9); // Attach servo to pin 9 } void loop() { myServo.write(0); // Turn servo to 0 degrees delay(1000); // Wait for 1 second myServo.write(90); // Turn servo to 90 degrees delay(1000); myServo.write(180); // Turn servo to 180 degrees delay(1000); }
This simple code moves the servo from 0 to 180 degrees in steps, pausing for a second between each movement.
Calibration Tips:
Not all servos have exactly 180° of movement; some less. The servo's movement limits should be tested carefully to prevent mechanical strain. Use servo.writeMicroseconds() if fine-tuning is needed (mostly for advanced users).
Troubleshooting Common Connection Issues
Servo jittering or not moving: Check connections, especially ground. Ensure the power supply matches the servo's requirements. No movement during code execution: Verify that the servo library is included, and the pin number matches your wiring. Power problems: For larger servos, draw power from a dedicated power source. Do not rely solely on the Arduino's USB power.
Safety and Best Practices
Never command a servo to move beyond its physical limits to avoid damage. Use appropriate power supplies—some servos draw significant current, and insufficient power can cause resets or erratic behavior. Always connect grounds together—Arduino ground, external power supply ground, and servo ground.
Stay tuned for part 2, where we’ll dive into advanced control techniques, troubleshooting tips, and creative project ideas to elevate your servo motor applications with Arduino.
Established in 2005, Kpower has been dedicated to a professional compact motion unit manufacturer, headquartered in Dongguan, Guangdong Province, China.


