


Looking for a suitable motor?


小编
Published2025-10-15
Imagine a world where machines respond to your commands with precision — where robots can shake hands, mechanical arms can pick objects, and automated systems make life easier in countless ways. At the heart of many of these innovations is the humble yet powerful servo motor, a device that converts electrical signals into precise rotational movements. Connecting a servo motor to an Arduino paves the way for you to explore this fascinating universe of automation and robotics, turning your ideas into tangible creations.
Getting started with a servo motor and Arduino might seem intimidating at first, especially if you're new to electronics. However, once you understand the basics, the process becomes straightforward and incredibly rewarding. The key advantage of servo motors is their capacity for accurate positional control, which makes them ideal for applications like robotic arms, remote-controlled vehicles, pan-and-tilt camera mounts, or even art installations.
Why Choose a Servo Motor?
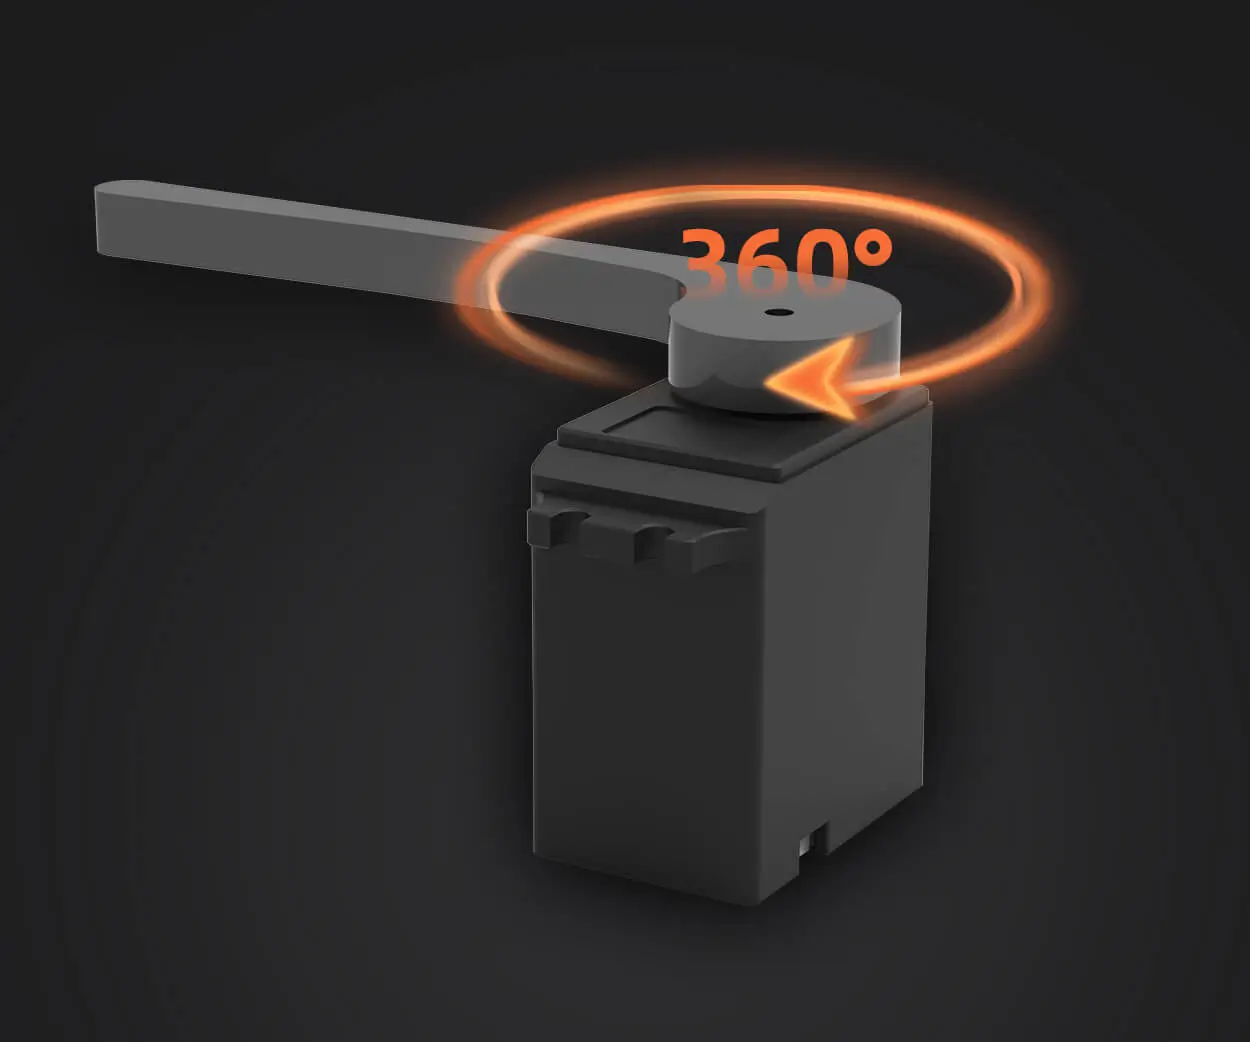
Servo motors are compact, efficient, and versatile. Unlike regular DC motors, which spin continuously, servos are designed to rotate to a specific position — controlled by a PWM (Pulse Width Modulation) signal. This means you can tell a servo to turn to 90°, 45°, or even 180°, and it will move precisely to that angle, holding its position under load. This precision control is invaluable in robotics where exact positioning is crucial.
Gathering Your Components
Before diving into the wiring and programming, let's outline what you'll need:
Arduino board (Uno, Mega, Nano, or compatible) Servo motor (standard hobby servo, such as SG90 or MG90S) Power supply (typically 5V, but check your servo’s specifications) Connecting wires (jumper leads) Breadboard (optional, for neat wiring) USB cable to connect Arduino to your PC
Understanding the Basics of Servo Control
To control a servo motor via Arduino, you'll typically use the Servo library, which simplifies PWM signal management. When you include this library in your sketch, you can specify the servo's position with just a few lines of code.
Here's an overview of the process:
Connect the servo's power (usually red), ground (black or brown), and control (white or yellow) wires correctly. Write an Arduino sketch that initializes the servo and sets its position. Upload the code, and watch your servo respond and move to the designated position.
This is the most critical step. The standard hobby servo has three wires:
Power (+): Connects to 5V (or appropriate voltage) Ground (-): Connects to GND Control (Signal): Connects to a digital PWM pin on Arduino (e.g., pin 9)
It's best to use a separate power supply for the servo if you're controlling multiple servos or if your servo draws a lot of current, as powering it directly from the Arduino's 5V pin might cause instability. Always connect the grounds of your power supply and Arduino together to ensure a common reference point.
Here's a simple example to get your servo moving:
#include Servo myServo; void setup() { myServo.attach(9); // Attach the servo to pin 9 myServo.write(90); // Move to the center position } void loop() { // Rotate servo to 0 degrees myServo.write(0); delay(1000); // Wait for 1 second // Rotate servo to 180 degrees myServo.write(180); delay(1000); // Wait for 1 second // Return to center myServo.write(90); delay(1000); }
Upload this sketch, and your servo will oscillate between 0°, 180°, and 90° every second. This simple loop demonstrates fundamental control but can be expanded into complex actuator movements for your projects.
Common Challenges and Troubleshooting
Servo jittering or not moving: Ensure your power supply can provide enough current. Consider adding a separate power source. Overheating or stalling: Make sure you're not applying commands beyond the servo's mechanical limits. No movement: Double-check your wiring, code, and port configurations. Testing with a different servo can help identify hardware issues.
Tips for Better Servo Control
Use myServo.writeMicroseconds() for finer control over the position if your project requires very precise movements. Implement acceleration or easing functions for smooth transitions. Use limit switches or sensors to prevent your servo from moving beyond safe bounds.
By mastering these fundamentals, you'll be well on your way to integrating servo motors into more sophisticated systems like robotic arms, automated cameras, or interactive art pieces. The beauty lies in how simple wiring and coding elevate your creativity and technical skills.
As your understanding deepens, you may find yourself contemplating more advanced configurations and applications. Connecting multiple servos, integrating sensors, and implementing feedback control are natural next steps that expand the possibilities exponentially. Let's explore these avenues and discuss how you can push your projects further.
Expanding to Multiple Servos
Controlling a single servo is just the tip of the iceberg. Robotic arms with multiple degrees of freedom, pan-and-tilt camera systems, and articulated sculptures all require several servos working in unison. The good news is that Arduino boards can handle multiple servo connections, but careful planning is essential.
Each servo needs its control pin. Power must be managed carefully — using a common ground and, if possible, dedicated power supplies for each servo. To avoid voltage drops and noise, consider using decoupling capacitors (e.g., 100uF) across the power lines.
Programming Multiple Servos:
Instantiate multiple Servo objects. Assign each to different control pins. Adjust each servo's position independently within the code.
#include Servo servoBase; Servo servoArm; void setup() { servoBase.attach(9); servoArm.attach(10); servoBase.write(45); servoArm.write(90); } void loop() { // Add your movement logic here }
Using Sensors for Feedback
While basic servo control works with open-loop commands (your code sets the position, and the servo attempts to reach it), feedback mechanisms can improve accuracy and robustness. Potentiometers, encoders, or IR sensors can be integrated to allow the system to sense its position and correct errors dynamically.
In robotics, this closed-loop control allows for more precise and adaptive motion. You can implement simple feedback by reading sensor data and adjusting your servo commands accordingly.
Automation and Interactivity
By combining servo control with sensors, buttons, or even wireless modules like Bluetooth or Wi-Fi, you unlock interactive projects:
A robot that follows hand gestures A camera mount that responds to user input An art piece that reacts to environmental stimuli
The key is modular design — developing small, testable units before integrating them into larger systems.
Troubleshooting Complex Setups
Complex projects introduce new challenges:
Signal interference: Use shielded cables or twisted pairs. Power issues: Use higher capacity power supplies and proper decoupling. Software glitches: Employ debugging tools, serial monitors, and data logging to find hiccups.
Fine-Tuning and Optimization
Use delay() sparingly; prefer non-blocking code with millis() to keep your system responsive. Calibrate servo movements for accuracy, especially if using potentiometers or other sensors for feedback. Protect your servos from overloads by adding software limits and ensuring your hardware can handle the intended load.
Final Thoughts: From Hobbyist to Innovator
Connecting a servo motor to an Arduino is more than a simple electrical task; it's the foundation of a journey into the expansive realm of robotics and automation. With every servo you control, you learn about physics, electronics, and programming—concepts that, when combined, empower you to build devices that can walk, grasp, point, or even dance.
Keep experimenting, push your boundaries, and don’t shy away from complex integrations. As you master the basics, you'll see how these simple components can serve as the building blocks for astonishing creations. Whether you're crafting a tiny robot, designing a kinetic sculpture, or developing an automation solution, the principles of connecting and controlling a servo motor with Arduino are your stepping stones to innovation.
And remember, in this pursuit, every challenge is a new opportunity for discovery. So, connect those servos, write your code, and watch your ideas come to life—because the future of automation starts with a simple wire and a spark of curiosity.
Leveraging innovations in modular drive technology, Kpower integrates high-performance motors, precision reducers, and multi-protocol control systems to provide efficient and customized smart drive system solutions.
Update:2025-10-15
Contact Kpower's product specialist to recommend suitable motor or gearbox for your product.


