


Looking for a suitable motor?


小编
Published2025-10-15
Discover the seamless integration of Arduino with servo motors and LCD displays. This guide will walk you through the process of setting up and programming an Arduino to control a servo motor, while displaying real-time feedback on an LCD. Whether you're a beginner or a seasoned maker, this tutorial provides everything you need to bring your projects to life!
Arduino, servo motor, LCD display, motor control, Arduino project, electronics, programming, DIY electronics, Arduino tutorial, servo motor control.
Introduction to Arduino, Servo Motors, and LCD Displays
Arduino, the open-source microcontroller platform, has revolutionized the way hobbyists and professionals approach electronics. With its ease of use, extensive community support, and flexibility, Arduino has become a central figure in DIY electronics. In this guide, we'll explore how to control a servo motor using Arduino while displaying real-time data on an LCD screen. This setup is perfect for projects that require precise motor movements and feedback monitoring.
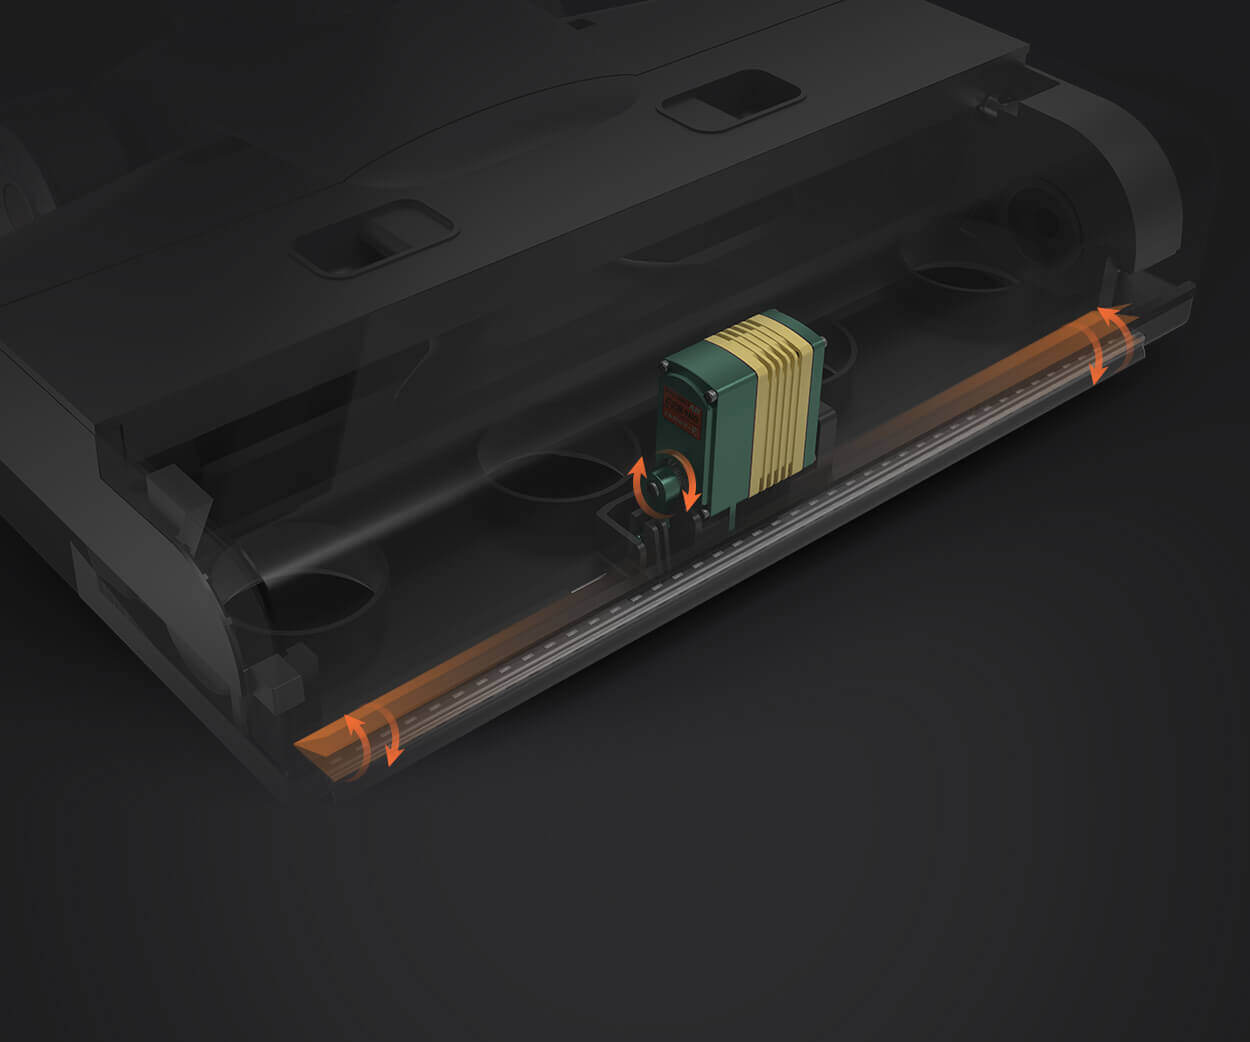
A servo motor is a type of motor that allows for precise control of angular position, making it ideal for applications requiring controlled movement, such as robotics, automation systems, and model airplanes. Unlike standard DC motors, servo motors are capable of rotating to a specific angle (usually between 0 and 180 degrees) based on a control signal. The control signal is typically a pulse-width modulation (PWM) signal that determines the position of the servo.
Arduino and Servo Motor Basics
To control a servo motor with Arduino, you need a few basic components:
Arduino board: The heart of the system, where the code runs to control the servo.
Servo motor: The actuator that will be moved based on the Arduino's signals.
Power supply: Servo motors can draw significant current, so you may need an external power source.
Wires and connectors: To make the necessary connections between the Arduino, the servo, and the power supply.
The Arduino library Servo.h simplifies servo control. It allows you to send a PWM signal to the servo with minimal code, adjusting the motor's position smoothly. The standard way to connect a servo motor to an Arduino is to connect the control wire (usually yellow or white) to one of the digital PWM pins on the Arduino, the power wire (red) to the 5V pin, and the ground wire (black or brown) to the GND pin.
An LCD (Liquid Crystal Display) is an electronic display module used to show information such as text, numbers, or graphs. When you combine Arduino with an LCD, you can display important data from your project, such as sensor readings, temperature, time, or, in our case, the position of the servo motor.
One of the most common LCDs used in Arduino projects is the 16x2 LCD, which can display up to 16 characters on each of its 2 lines. The LCD communicates with the Arduino through the I2C protocol, which reduces the number of pins needed for connection. With the I2C LCD, only two data pins (SCL and SDA) are required for communication.
Setting Up the Project – Wiring and Programming
Now that you understand the basics of Arduino, servo motors, and LCD displays, let’s dive into the setup and code necessary to control the servo motor and display its position on the LCD.
Components Needed for the Project
Here’s a list of components you’ll need for this project:
Arduino Uno (or any other compatible Arduino board)
16x2 LCD with I2C interface
Breadboard (optional, but useful for prototyping)
External power supply for the servo (if needed)
Step 1: Wiring the Servo and LCD to Arduino
Connecting the Servo Motor:
Signal (yellow/white wire): Connect this wire to a PWM-capable digital pin on the Arduino (e.g., pin 9).
VCC (red wire): Connect this to the 5V pin on the Arduino or an external power supply.
GND (black/brown wire): Connect this to the GND pin on the Arduino.
Connecting the LCD Display:
VCC (red wire): Connect to the 5V pin on the Arduino.
GND (black wire): Connect to the GND pin on the Arduino.
SDA (data line): Connect to the Arduino's A4 pin (on an Arduino Uno).
SCL (clock line): Connect to the Arduino's A5 pin (on an Arduino Uno).
Step 2: Writing the Arduino Code
To make this project work, we will write a simple program to control the servo motor’s position and display its current angle on the LCD. The code will include:
Servo library: To control the servo motor.
Wire and LiquidCrystal_I2C libraries: To communicate with the LCD.
Here’s a basic outline of the code:
#include
// Set up the servo motor on pin 9
// Set up the LCD with the I2C address (usually 0x27 for most LCDs)
LiquidCrystal_I2C lcd(0x27, 16, 2);
// Initialize servo and LCD
myServo.attach(servoPin);
lcd.print("Servo Control");
// Sweep the servo from 0 to 180 degrees and display the angle on the LCD
for (int pos = 0; pos <= 180; pos++) {
myServo.write(pos); // Move the servo to 'pos' angle
lcd.setCursor(0, 1); // Move the cursor to the second line
lcd.print("Angle: ");
lcd.print(pos); // Display the current angle
delay(15); // Wait for the servo to reach the position
// Sweep the servo back from 180 to 0 degrees
for (int pos = 180; pos >= 0; pos--) {
lcd.print("Angle: ");
Step 3: How the Code Works
Servo Setup: The Servo library is initialized, and the servo is attached to pin 9 of the Arduino. This allows the program to send PWM signals to control the servo’s position.
LCD Setup: The LCD is initialized with the I2C address (0x27 for most modules) and set to 16 columns and 2 rows.
Loop Function: In the loop(), we use a for loop to rotate the servo from 0 to 180 degrees, updating the LCD display with the current angle at each step. A short delay (delay(15)) ensures that the servo has time to move smoothly between positions. Then, we reverse the direction to sweep the servo back from 180 to 0 degrees.
Step 4: Testing and Debugging
Once you’ve uploaded the code to your Arduino board, you should see the servo motor rotating back and forth, and the LCD should display the corresponding angle as it moves. If the servo is jittery or doesn’t move smoothly, make sure that the power supply is sufficient for the servo's current requirements. If using an external power supply, ensure the ground (GND) from the power supply is connected to the Arduino GND.
By following this guide, you’ve learned how to control a servo motor with an Arduino and display real-time data on an LCD. This project is a great introduction to integrating motors and displays into your Arduino projects, and you can extend it by adding sensors, buttons, or other peripherals.
This type of setup is useful in applications like robotic arms, automated camera rigs, or even interactive displays where feedback from a moving object is important. As you grow more comfortable with these components, you'll be able to build more complex and exciting projects, combining the power of Arduino with other sensors and actuators.
Kpower has delivered professional drive system solutions to over 500 enterprise clients globally with products covering various fields such as Smart Home Systems, Automatic Electronics, Robotics, Precision Agriculture, Drones, and Industrial Automation.
Update:2025-10-15
Contact Kpower's product specialist to recommend suitable motor or gearbox for your product.


