


Looking for a suitable motor?


小编
Published2025-10-15
Imagine a world where your robotic creations respond intuitively to your every movement — where a simple joystick can make a camera pan, a robotic arm grasp, or a drone steer through the skies. This isn’t science fiction; it’s entirely achievable with a few basic components and some straightforward electronics know-how. The key? Understanding how to control a servo motor with a joystick using Arduino — a popular microcontroller celebrated for its versatility and beginner-friendly programming environment.
In this guide, we’ll walk you through everything you need to know to turn a simple joystick and a servo motor into a dynamic control system. You'll learn how these components work together, the principle behind control signals, and step-by-step instructions to set up your project from scratch. Whether you’re looking to build a robotic arm, a remote-controlled vehicle, or an interactive art installation, mastering this fundamental technique opens the door to endless creative possibilities.
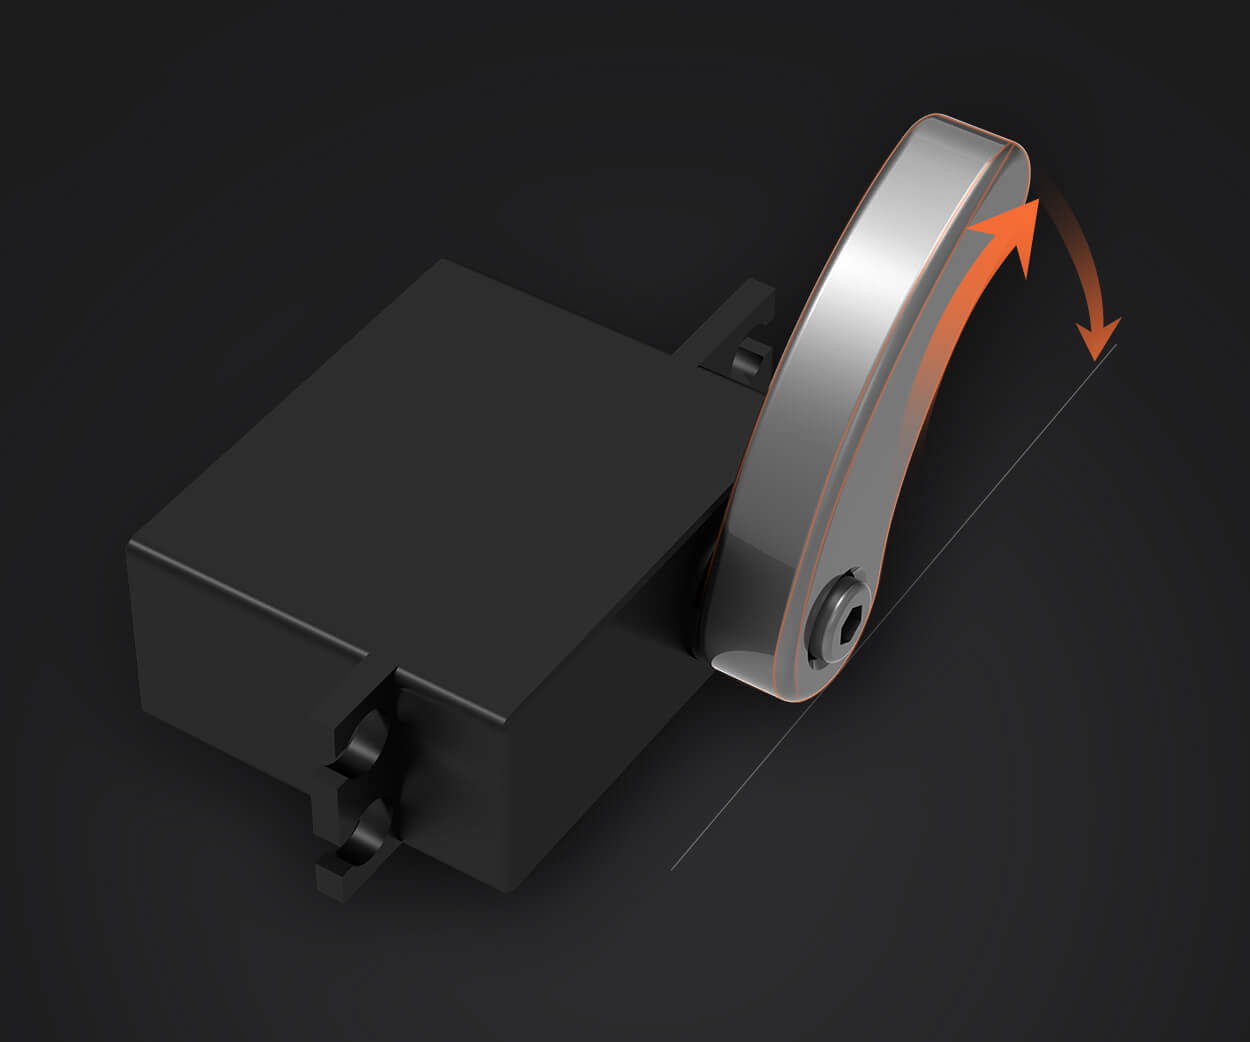
Before diving into the wiring and coding, let’s clarify what a servo motor is. Unlike regular motors that spin continuously, a servo motor is designed for precision control of angular position. It uses a small internal control circuit that receives a PWM (Pulse Width Modulation) signal, which determines the shaft's position. Servos are widely used in radio-controlled cars, drones, robotic arms, and many other applications due to their ability to accurately control movement within a range of typically 0 to 180 degrees.
A joystick acts as a simple analog input device that translates physical movement into a variable voltage signal. Moving the stick in different directions alters the voltage output, which can be read by the microcontroller. This makes it ideal for controlling robots and other interactive projects because it allows users to intuitively manipulate objects with a natural, familiar interface.
To start, you will need the following parts:
Arduino board (Uno, Nano, or any compatible microcontroller) Microjoystick module (with two potentiometers for X and Y axes) Servo motor (like the SG90 or MG995 for more power) Jumper wires Breadboard (optional for neat wiring) Power supply (if your servo requires more power than the Arduino can provide) USB cable for programming and powering the Arduino
Understanding the Connections
The typical joystick module has four pins:
VCC: power supply (usually 5V) GND: ground VRx: horizontal axis output (analog voltage) VRy: vertical axis output (analog voltage)
The servo motor has three wires:
Power (red, connected to 5V) Ground (black or brown, connected to GND) Control Signal (white or yellow, connected to a PWM-capable digital pin)
Here’s a simple wiring setup:
Connect the joystick’s VCC to Arduino 5V. Connect the joystick’s GND to Arduino GND. Connect VRx to an analog input pin (say A0). Connect VRy to another analog input pin if you want control in two dimensions (for now, focus on just one axis for simplicity).
Connect the red wire to Arduino 5V (or an external power source if needed). Connect the black or brown wire to GND. Connect the control wire to a PWM-capable digital pin (like D9).
Understanding PWM and Control Signals
Servos interpret PWM signals to determine their angles. The Arduino’s Servo library simplifies this by allowing you to write an angle directly, and it handles the PWM signal generation internally. The typical pulse widths for servo control range from about 1 millisecond (corresponding to 0 degrees) to 2 milliseconds (for 180 degrees), repeated every 20 milliseconds.
Kpower has delivered professional drive system solutions to over 500 enterprise clients globally with products covering various fields such as Smart Home Systems, Automatic Electronics, Robotics, Precision Agriculture, Drones, and Industrial Automation.
Update:2025-10-15
Contact Kpower's product specialist to recommend suitable motor or gearbox for your product.


