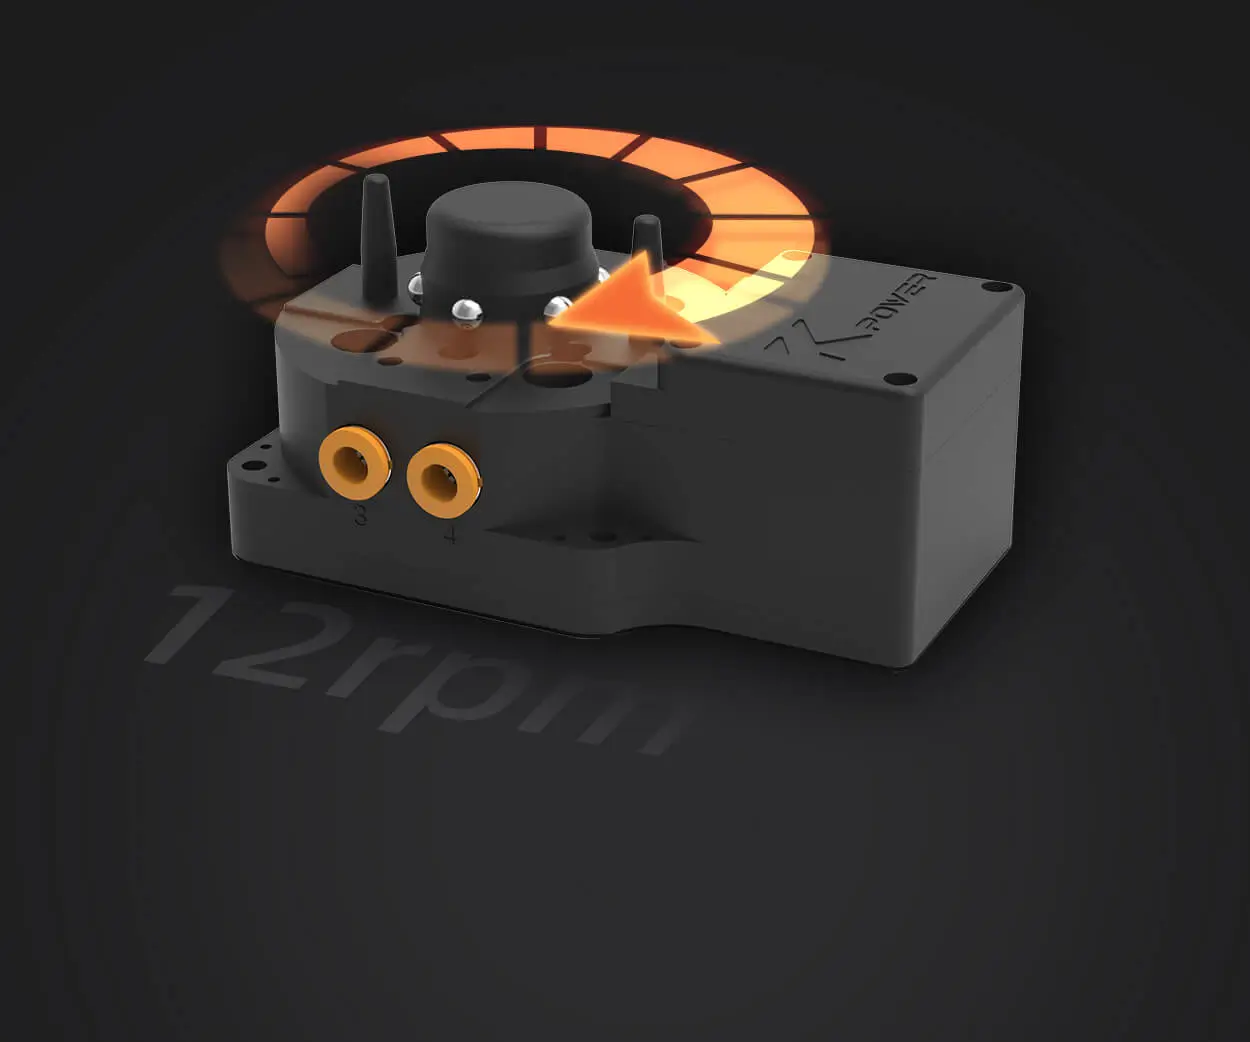
The world of DIY electronics is a fertile ground for innovation—where passion, curiosity, and technology intersect. Among the most intriguing components for hobbyists and engineers alike is the servo motor. Its ability to precisely control angular position makes it an essential element in robotics, automation, and countless creative projects. Pairing this with the accessible and versatile Arduino platform opens up even more possibilities.

Why Use a Servo Motor? Servo motors are different from regular DC motors because of their built-in feedback system and control circuitry. They can rotate to a specific position within a range—commonly 0 to 180 degrees—and hold that position with high accuracy. This feature lends itself to applications requiring precise movements, such as robotic arms, camera gimbals, remote-controlled vehicles, and art installations.
What is Arduino? Arduino is an open-source electronics platform based on easy-to-use hardware and software. It consists of microcontroller boards that can be programmed via the Arduino IDE, a simple and intuitive programming environment. Arduino’s popularity stems from its affordability, community support, and the vast array of compatible accessories, including sensors, LEDs, and, notably, servo motors.
Getting Started with Arduino and Servo Motors Connecting a servo to an Arduino is straightforward, making it an excellent entry point for beginners. The basic setup involves a few components:
An Arduino board (such as Uno, Mega, or Nano) A servo motor A power supply (if necessary) Connecting wires
The typical wiring setup involves connecting the servo's power and ground lines to the Arduino (or external power if the servo requires more current), and the control wire to one of the Arduino's PWM (Pulse Width Modulation) pins.
Basic Code to Control a Servo The Arduino IDE simplifies coding with built-in libraries, including the Servo library, which handles most of the low-level control. Here's a snippet that demonstrates how to move a servo back and forth:
#include Servo myServo; void setup() { myServo.attach(9); // Attach the servo to pin 9 } void loop() { for (int pos = 0; pos <= 180; pos += 1) { // Move from 0 to 180 degrees myServo.write(pos); delay(15); } for (int pos = 180; pos >= 0; pos -= 1) { // Move back to 0 degrees myServo.write(pos); delay(15); } }
This program smoothly moves the servo from one extreme to the other repeatedly. The write() function commands the servo to a specific position, and delay() ensures the movement is gradual.
Understanding the Control Signal Servos interpret PWM signals to determine their position. Typically, a 1ms pulse corresponds to 0 degrees, 1.5ms to 90 degrees, and 2ms to 180 degrees, within a 20ms period. The Arduino’s Servo library abstracts these details, allowing you to specify position angles directly, thus simplifying your code.
Advantages of Using Arduino with Servos
Ease of Use: The libraries and supporting community make the learning curve gentle. Flexibility: Control multiple servos simultaneously for complex machinery. Affordability: Both Arduino boards and servos are inexpensive, perfect for hobbyists. Rapid Prototyping: Quickly test ideas and iterate on designs.
Practical Applications Some exciting projects utilizing Arduino-controlled servos include:
Robotic Arms: Precise movements emulate human arm gestures—ideal for manufacturing or artistic projects. Camera Gimbals: Stabilize and remotely control camera angles for photography or filming. Automated Doors and Gates: Implement simple security systems or convenience features. Animatronics: Bring characters and sculptures to life with synchronized movements. Educational Robots: Teach programming and robotics fundamentals in schools and clubs.
Troubleshooting and Tips
Servos can draw significant current; avoid powering many servos from the Arduino’s USB port alone—use an external power supply. Ensure the servo’s power supply matches its voltage requirements (usually 4.8V to 6V). Use shielded or quality wires to prevent interference or signal issues. Beware of jitter or jittering movements; this may be caused by inadequate power or PWM noise.
Expanding Your Setup Once comfortable with basic control, you can explore advanced topics:
Position Feedback: Integrate sensors for automated adjustments. Multiple Servos: Coordinate several servos for complex structures like robot humanoids. Remote Control: Use Bluetooth, Wi-Fi, or RF modules to operate your servo-driven projects remotely. Sensor Integration: Combine ultrasonic, tilt, or light sensors to make responsive systems.
Microcontrollers like Arduino have democratized access to robotics and automation. Control your servo motors seamlessly, and you’re only limited by your imagination. Whether you’re building a simple project or designing an intricate robotic system, mastering Arduino control of servos provides a foundational skill in electronics.
Kpower has delivered professional drive system solutions to over 500 enterprise clients globally with products covering various fields such as Smart Home Systems, Automatic Electronics, Robotics, Precision Agriculture, Drones, and Industrial Automation.


