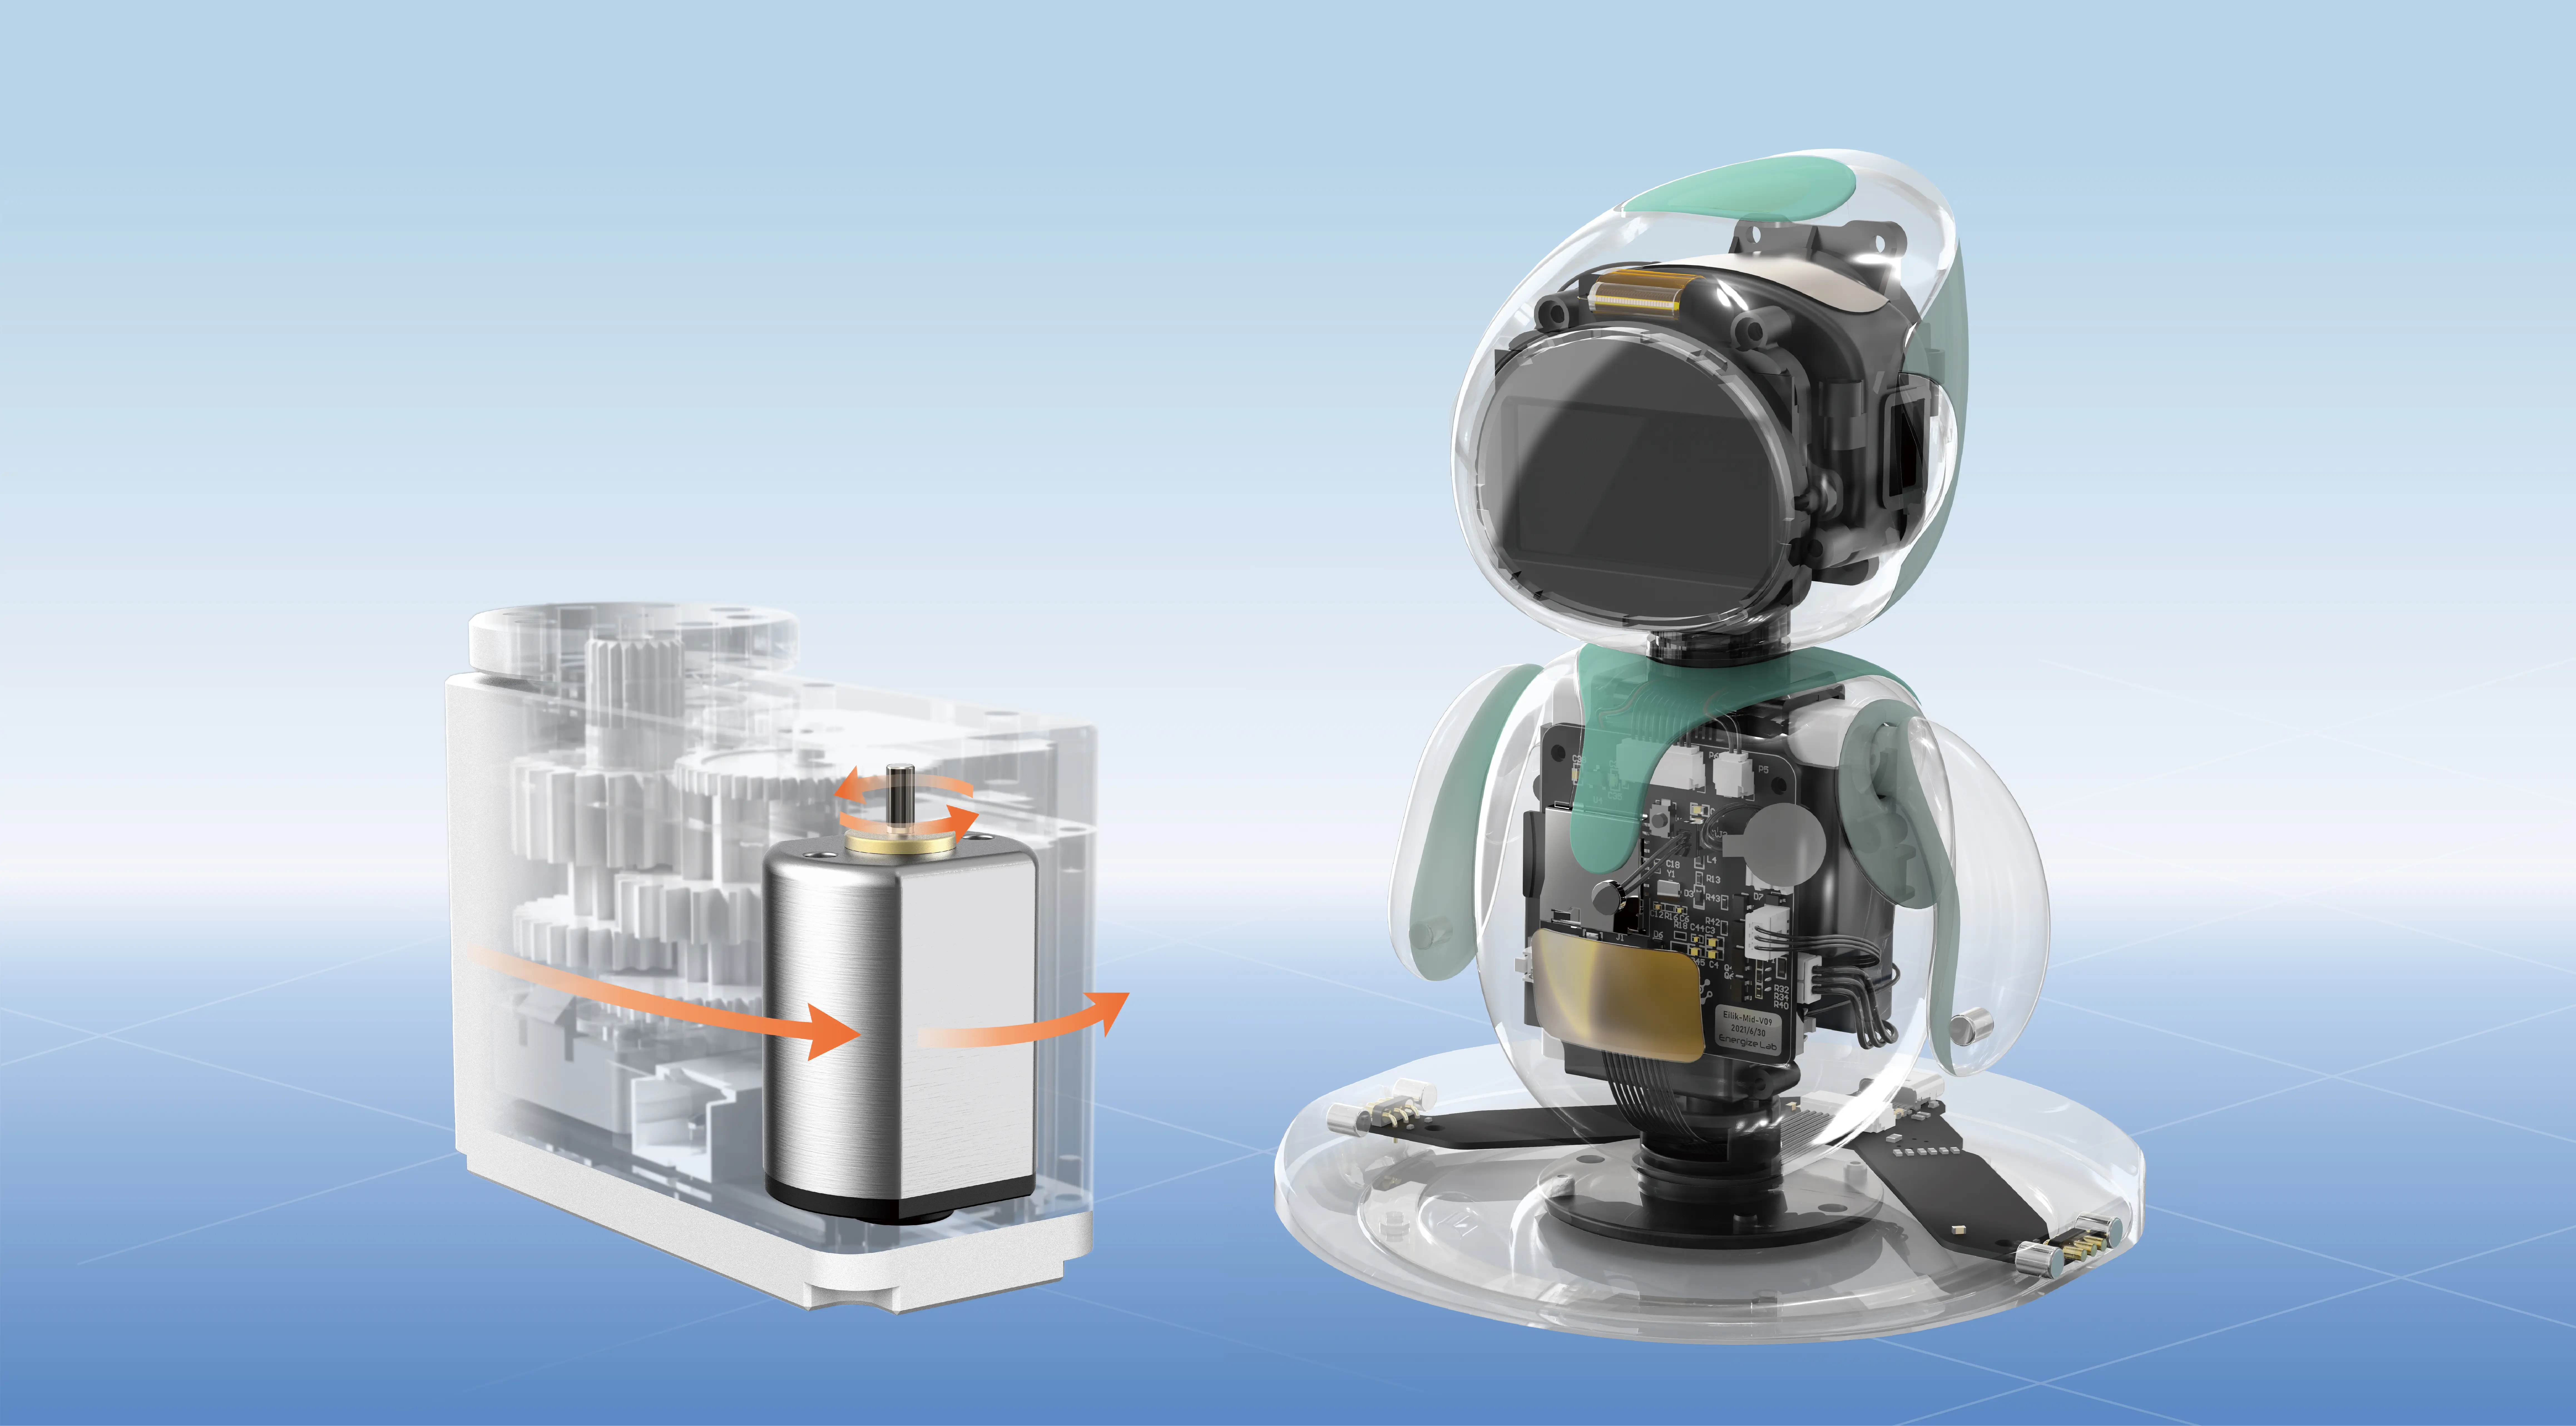
Certainly! Here’s the first part of your soft article on “how to use a servo motor with Elegoo,” followed by the second part in the next message.

part 1:
Unlocking the Power of Servo Motors in Your Elegoo Projects
Have you ever marveled at how robots or robotic arms move with such precise finesse? That’s largely thanks to servo motors—powerful, compact devices that bring a new level of control and accuracy to your projects. When paired correctly with Elegoo’s versatile microcontroller kits, servo motors can turn simple ideas into functional, interesting creations. Today, we'll explore how to use a servo motor with Elegoo, turning your DIY robotics dreams into reality.
Why choose a servo motor? Unlike regular DC motors, servo motors offer positional control. They can rotate to a specific angle and then hold that position. This makes them perfect for applications that require exact movements—like robotic arms, RC vehicles, or automated doors. They're small, efficient, and relatively simple to integrate.
Getting started with the right tools
Before diving into wiring and programming, gather the necessary components:
An Elegoo microcontroller board (like the Elegoo UNO R3) A servo motor (commonly the SG90 or MG90S) Jumper wires A power supply if necessary (some servos draw more current than the board’s 5V pin can provide) A breadboard (optional, but helpful for prototyping) Arduino IDE installed on your computer
Understanding the wiring
Connecting a servo motor to an Elegoo board is simple. The typical servo has three wires:
Power (Red): Connects to the 5V power supply Ground (Black or Brown): Connects to ground (GND) Signal (White, Yellow, or Orange): The control wire that receives PWM signals
Note: Some servos can be powered directly from the board’s 5V pin; others, especially more powerful ones, might need an external power source. Always check the servo’s specifications.
Step-by-step wiring process:
Connect the servo’s power line to the 5V pin on the Elegoo board. Connect the ground line to the GND pin. Connect the signal/control line to one of the digital PWM pins (for example, pin 9).
Ensuring power stability If using multiple servos or powerful ones, consider powering them from an external source. Servos can draw a lot of current, and relying solely on the microcontroller’s 5V pin might cause voltage drops, resets, or erratic movements.
Basic code to control the servo
Now that wiring is complete, it’s time to program. The Arduino IDE makes this straightforward, thanks to the Servo library.
Here's a simple example sketch:
#include Servo myServo; void setup() { myServo.attach(9); // Attach servo to digital pin 9 } void loop() { myServo.write(0); // Move to 0 degrees delay(1000); // Wait for a second myServo.write(90); // Move to 90 degrees delay(1000); myServo.write(180); // Move to 180 degrees delay(1000); }
Upload this code to your Elegoo board. Watch the servo move smoothly between the set angles every second.
Setting the Stage for Advanced Control
Once you're comfortable with basic movements, you can start exploring more complex behaviors:
Continuous rotation servos Feedback control systems using additional sensors Combining servos with sensors for interactive projects (like mimicking human gestures)
Safety tips and best practices:
Never force a servo beyond its physical limits; this can cause damage. Always power servos properly—using external power sources if necessary. Use a breadboard or proper connections to prevent shorts. Test incrementally—start with small movements and gradually increase complexity.
In the next section, we will delve into more advanced programming techniques, handling multiple servos, and troubleshooting common issues to make your projects more robust and creative.
Stay tuned for Part 2, where we will explore multi-servo control, sensor integration, and tips for troubleshooting your Elegoo servo projects!
Leveraging innovations in modular drive technology, Kpower integrates high-performance motors, precision reducers, and multi-protocol control systems to provide efficient and customized smart drive system solutions.


