Unlocking Creativity with Motor Servos and Arduino Uno: Your Gateway to DIY Robotics
In the rapidly evolving world of do-it-yourself electronics, few components have sparked as much innovation and creativity as the motor servo combined with the Arduino Uno microcontroller. Whether you're an aspiring robot builder, an educator seeking engaging electronics lessons, or a hobbyist eager to explore automation, understanding how to harness these tools opens a universe of possibilities.

What is a Motor Servo?
A servo motor is not just an ordinary motor; it's a compact, self-contained device capable of precise positional control. Unlike standard DC motors, which rotate continuously, servo motors rotate to a specific angle as commanded by a control signal. This feature makes them invaluable in applications where exact positioning is critical—for example, controlling the steering of a robot, opening and closing a camera shutter, or even creating animated sculptures.
Most hobbyist servos operate on a standard 1.5-millisecond to 2.5-millisecond pulse width modulation (PWM) signal, which determines their position within a 0 to 180-degree rotation. The servo contains a small internal feedback system and control circuitry that constantly adjusts motor output to match the desired position, making it a perfect choice for precise, controlled movements.
There are various types of servos—standard, digital, high-torque, and waterproof versions—each suited to different projects. For beginners, a standard analog servo offers an excellent starting point due to ease of use, affordability, and wide availability.
The Arduino Uno: Your Microcontroller Brain
The Arduino Uno has become the go-to microcontroller for hobbyists and professionals alike. Its straightforward programming environment, a vast community, and versatility make it ideal for controlling motors, sensors, LEDs, and more.
It features 14 digital I/O pins, of which 6 can be used as PWM outputs, and 6 analog input pins. Its simplicity allows even beginners to get started with microcontroller programming within minutes. When paired with motor servos, it transforms into an intelligent control system capable of executing complex tasks—be it navigating a maze, drawing intricate shapes, or opening robotic arms.
Bringing It All Together: Motor Servos and Arduino Uno
Integrating a servo motor with an Arduino Uno involves understanding how to send correct signals and power. While Arduino provides the pulse signals needed to position the servo, the servo itself requires power—often supplied directly from the Arduino or an external power source for larger or multiple servos.
The core of this integration lies in PWM signals. The Arduino Uno's Servo library simplifies this process, allowing users to write straightforward code to command servos to specific angles, animate them with smooth movements, or respond to sensor inputs.
Getting Started: Equipment and Basic Setup
Here is what you'll typically need for a beginner project:
Arduino Uno board Standard servo motor (e.g., SG90, MG996R) Jumper wires Breadboard (optional but helpful) Power supply (if using multiple servos or high-torque models) Computer with Arduino IDE installed
Wiring the Servo to Arduino Uno
Connect the servo's power wire (usually red) to the 5V pin on the Arduino. Connect the ground wire (usually black or brown) to the GND pin. Connect the control wire (usually yellow or orange) to a digital PWM pin (e.g., pin 9) on the Arduino.
This simple setup allows the Arduino to send PWM signals to the servo, commanding it to move to specific angles as per your programmed instructions.
Basic Code to Control a Servo
Here’s a simple example:
#include Servo myServo; void setup() { myServo.attach(9); // Attach the servo to pin 9 } void loop() { for(int angle = 0; angle <= 180; angle += 1) { myServo.write(angle); // Tell servo to go to position in variable 'angle' delay(15); // Wait 15ms for the servo to reach the position } for(int angle = 180; angle >= 0; angle -= 1) { myServo.write(angle); delay(15); } }
This code makes the servo sweep back and forth smoothly, demonstrating how easy it is to control motion with the Arduino Uno.
Expanding the Project
Once comfortable with basic control, you can integrate sensors such as ultrasonic distance sensors, gyroscopes, or accelerometers to make your servo-driven projects more interactive and autonomous. For example, a simple obstacle-avoidance robot controlled by Arduino and your servos can navigate around your home or yard.
Powering Your Servos Safely
While small servos like the SG90 can run directly off the Arduino's 5V supply, larger or multiple servos require an external power source. Powering servos from the Arduino's 5V pin can cause voltage drops, resets, or damage. Use a dedicated battery pack or power supply, ensuring the ground of the power source and Arduino share a common ground.
A Sneak Peek Into Creative Possibilities
Imagine a robotic arm that mimics your hand movements, a camera slider that captures buttery smooth timelapses, or a miniature car steering system that responds to remote commands. The combination of an Arduino Uno and motor servos offers limitless creative avenues.
In the next part, we’ll delve deeper into advanced control techniques, programming tips, troubleshooting common issues, and inspiring project ideas to elevate your hobby from basic to extraordinary.
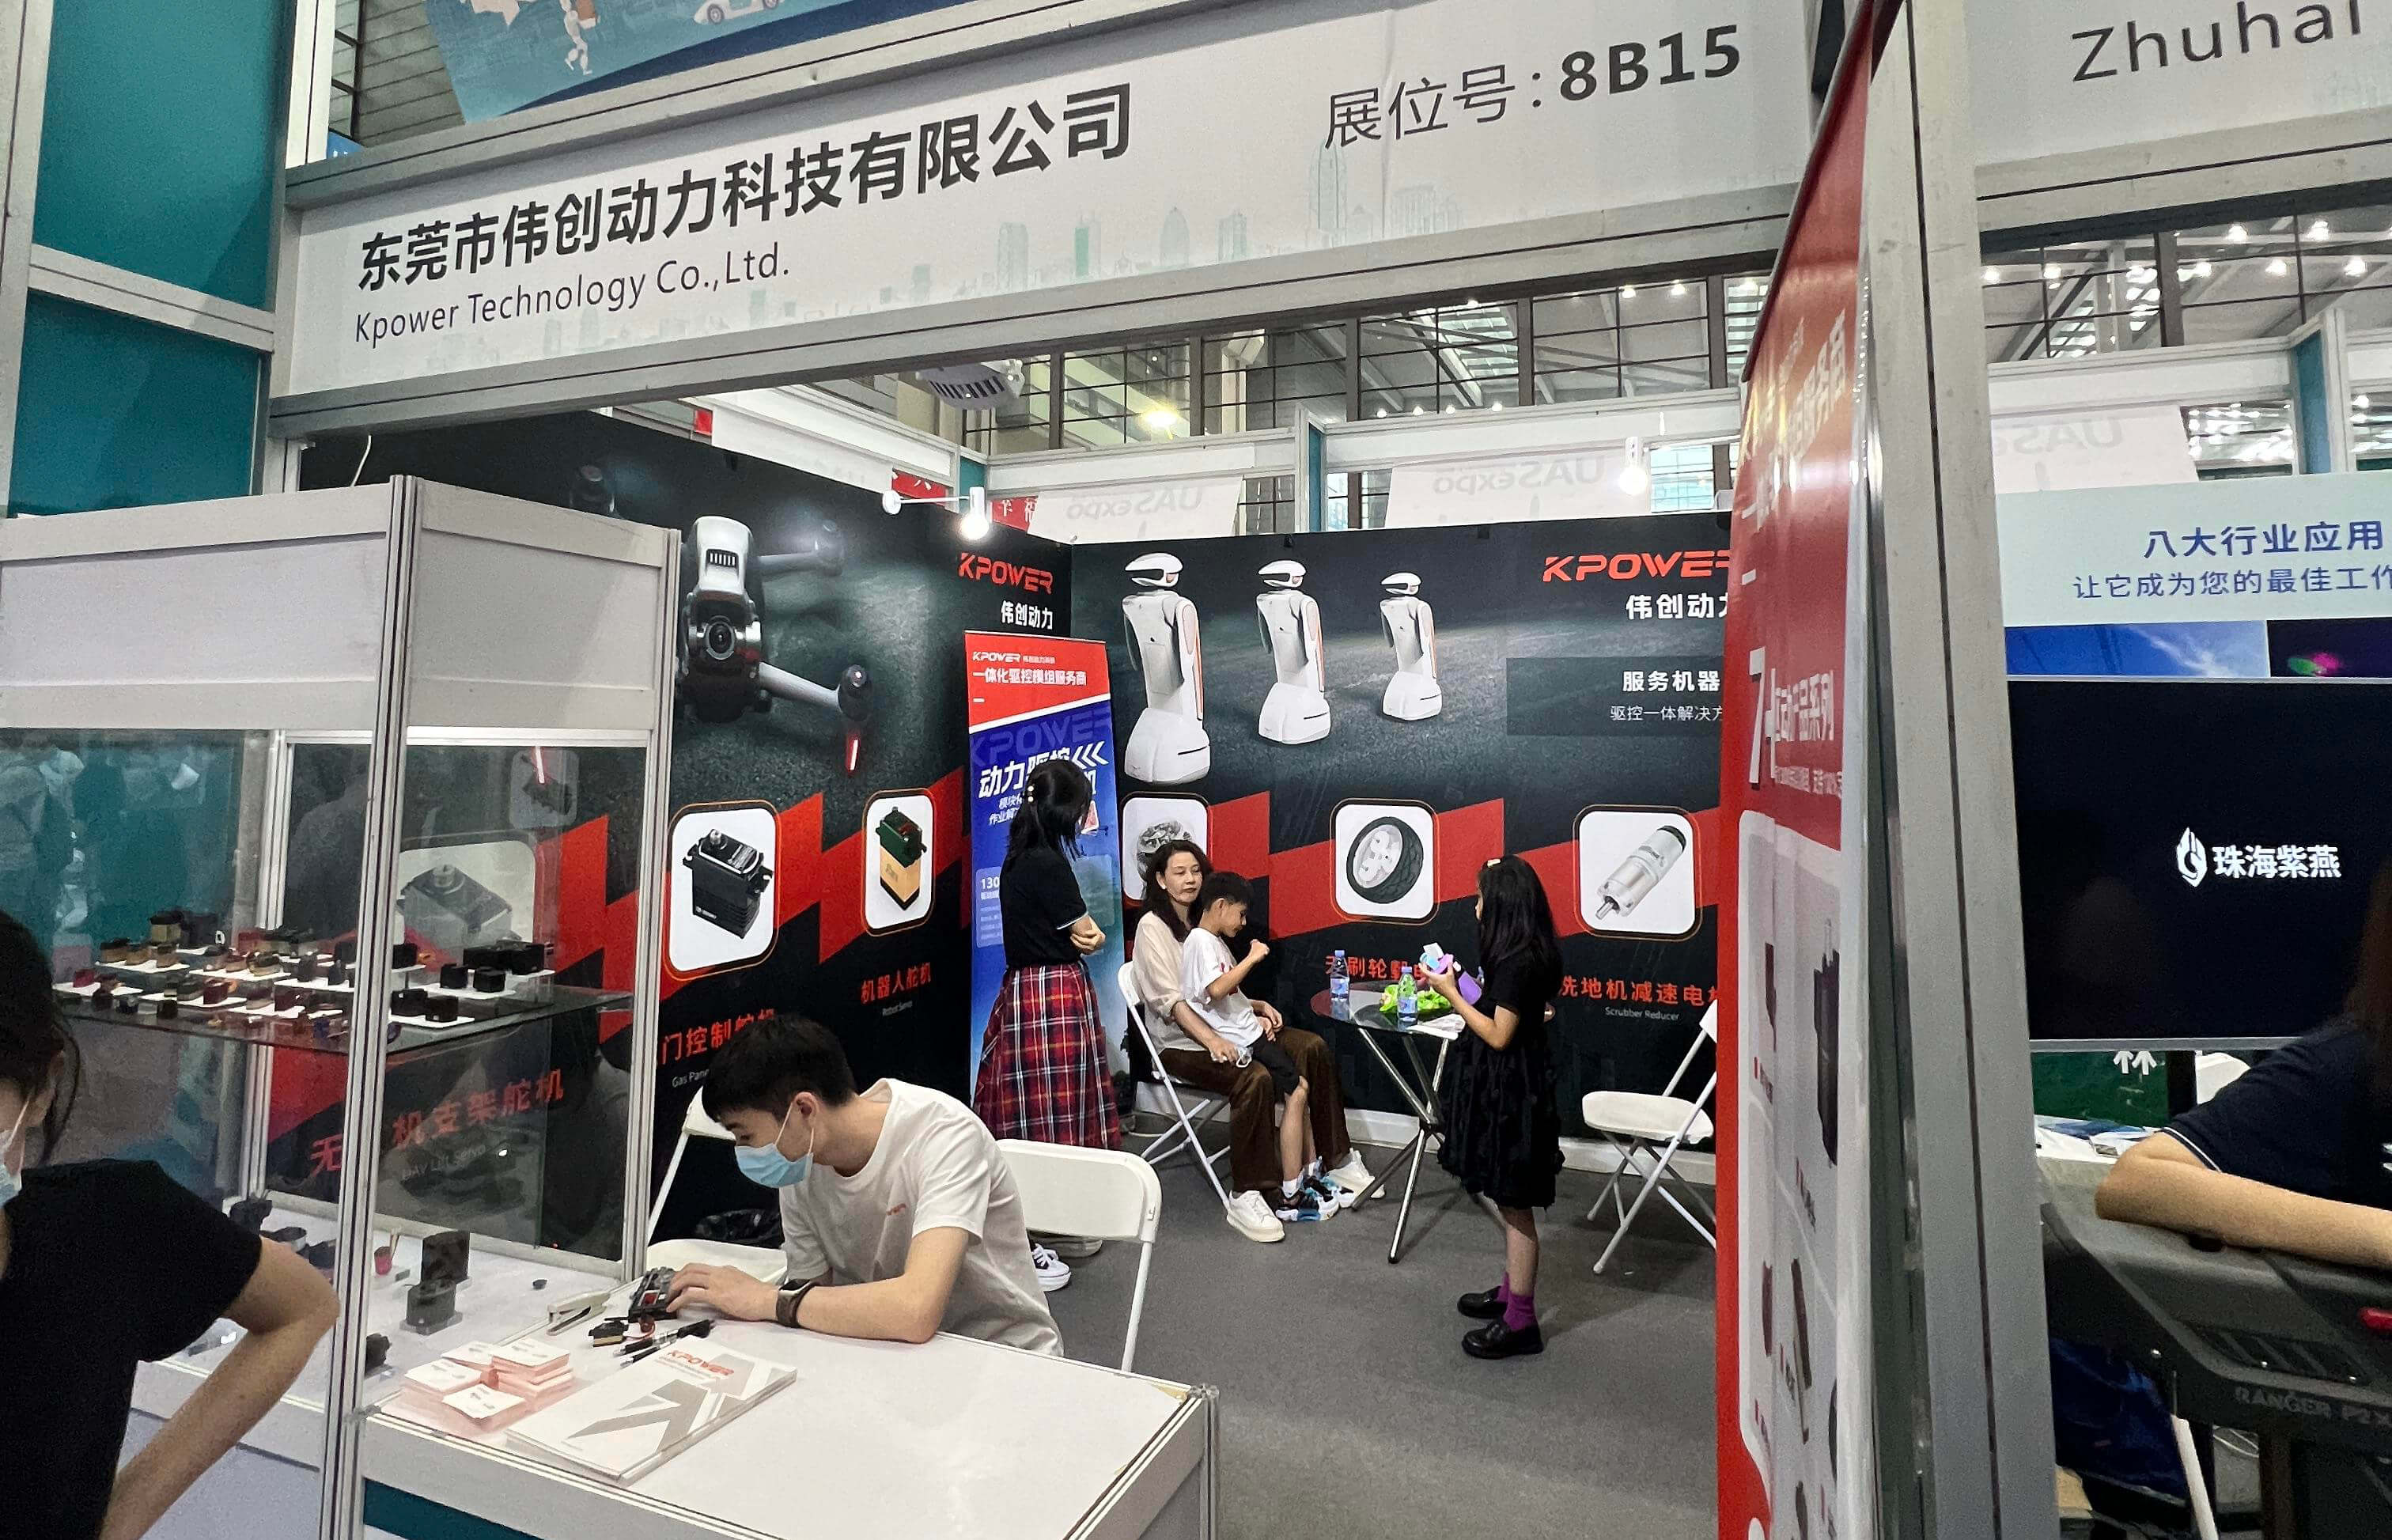
Established in 2005, Kpower has been dedicated to a professional compact motion unit manufacturer, headquartered in Dongguan, Guangdong Province, China.


