Imagine a world where your DIY projects come alive with movement—robots reaching out, camera gimbals stabilizing, or automated curtains opening at your command. This world is within your grasp with Arduino, an open-source, accessible microcontroller platform that’s revolutionized DIY electronics and robotics. Among its many capabilities, controlling servo motors stands out as one of the most exciting and versatile skills you can develop.

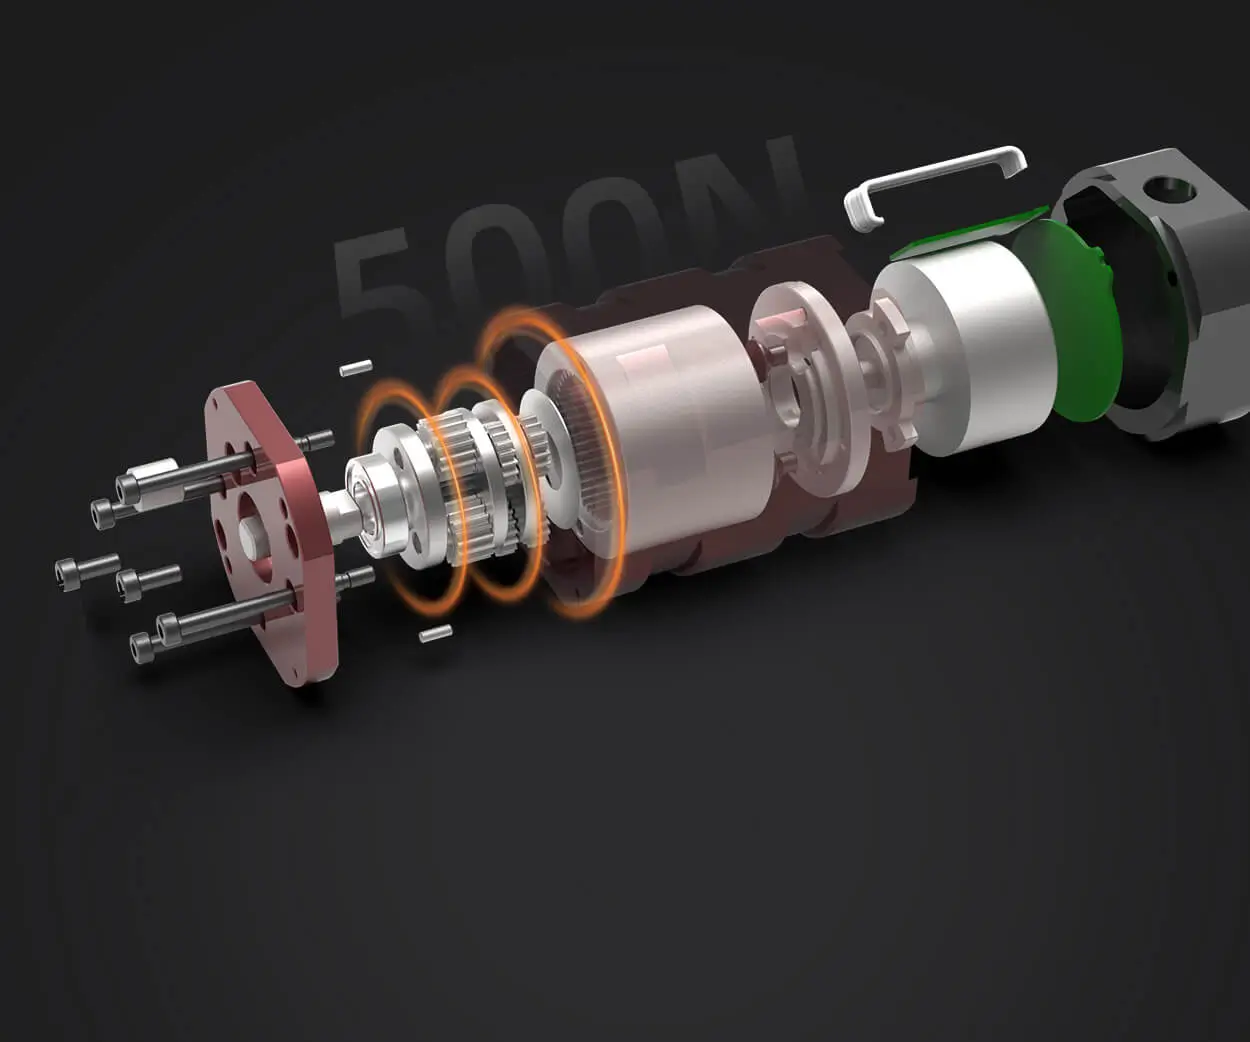
servo motors are specialized actuators designed to precisely control angular movement. Unlike simple motors that spin freely, servo motors receive signals about how much they should turn, enabling accurate positioning. That makes them perfect for robotics, remote-controlled vehicles, cameras, and countless other applications that require exact movement.
Getting started with Arduino programming for servo motors might seem intimidating at first, but rest assured—once you grasp the basics, you'll find it both straightforward and immensely rewarding. This guide walks you through the essentials, offering practical tips, code snippets, and insights to help you bring movement to your projects.
Why Use Arduino for Servo Control? Arduino’s simplicity, affordability, and extensive community support make it the ideal platform for beginners and experts alike. It offers a user-friendly development environment, numerous libraries, and a broad ecosystem of sensors and actuators that you can plug into with minimal fuss.
Furthermore, controlling a servo motor with Arduino can be accomplished with just a few connections and a handful of lines of code. But behind this simplicity lies a powerful capability that you can scale up for more complex robotics and automation systems. Whether you want to control a single servo for a small project or coordinate dozens for a robotic arm, Arduino has your back.
Components You’ll Need Before diving into the programming part, gather your components. Here’s what you’ll need for a basic setup:
Arduino board (Uno, Nano, Mega, etc.) Servo motor (commonly SG90 or MG995) Jumper wires Breadboard (optional for neat wiring) External power supply for the servo (recommended if powering multiple servos) Potentiometer or sensors (optional, for making the servo respond to inputs)
Connecting the Servo to Arduino The typical servo motor has three wires: power (usually red), ground (black or brown), and signal (orange or white). Here’s a basic connection guide:
Connect the red wire to Arduino 5V power or an external 5V supply Connect the black/brown ground wire to Arduino GND Connect the signal wire to a digital PWM pin (like pin 9)
Remember, if you're planning to power multiple servos, or if your servo requires more current than the Arduino can provide, use an external power source. Connecting servos directly to the Arduino's 5V pin might lead to voltage drops or resets.
The Core Idea: PWM and Servo Libraries At the heart of servo control is Pulse Width Modulation (PWM)—a method to simulate varying voltage levels by switching the supply rapidly on and off. For servos, it’s about sending a PWM signal with a specific pulse width to tell the servo where to position its arm.
Luckily, Arduino’s Servo library simplifies this process substantially. Using this library, you can command your servo to move to a specific angle with just a few commands, without manually generating PWM signals.
A Simple Example to Get Started Here's a minimal code snippet to rotate a servo motor from 0° to 180° and back, creating a gentle back-and-forth movement:
#include // Create a servo object Servo myServo; void setup() { // Attach the servo on pin 9 myServo.attach(9); } void loop() { // Move servo from 0 to 180 degrees for (int pos = 0; pos <= 180; pos += 1) { myServo.write(pos); delay(15); // Wait 15ms for servo to reach position } // Move servo back from 180 to 0 degrees for (int pos = 180; pos >= 0; pos -= 1) { myServo.write(pos); delay(15); } }
This simple script demonstrates how easy it is to animate your servo with the Arduino. The myServo.write() function takes an angle from 0 to 180 degrees, translating that into the necessary PWM signals to position the servo precisely.
Understanding the Code
The Servo.h library handles the PWM signals internally, freeing you from manual timing calculations. myServo.attach(9); designates pin 9 as the control pin for the servo. The for loops increment and decrement the angle, creating a smooth sweeping motion. The delay() function ensures the servo has enough time to reach the position before moving to the next.
Fine-Tuning and Enhancements Once you’re comfortable with the basics, start experimenting:
Use sensors like potentiometers to make the servo respond dynamically. Implement more complex movements, such as sequences or coordinated multi-servo actions. Integrate with other components—LED indicators, distance sensors, buttons—to create interactive projects.
Common Troubleshooting Tips
Make sure your servo’s power supply can handle your servo’s current draw. Confirm wiring connections are secure; a loose connection can cause erratic behavior. Use myServo.detach() if your project involves stopping the servo for some reason. Keep in mind servo motor specifications to avoid overheating or damaging the device.
Established in 2005, Kpower has been dedicated to a professional compact motion unit manufacturer, headquartered in Dongguan, Guangdong Province, China.


