Unlocking Creativity with Arduino and Servo Motors
If you've ever dreamt of building a robot, automating a device, or creating a mechanical art piece, understanding how to control servo motors with Arduino opens up a world of possibilities. Servo motors are compact, precise, and versatile, making them ideal for projects that require controlled movement—be it pointing a camera, opening a door, or even mimicking robotic limbs. In this guide, we'll explore what servo motors are, why they’re fundamental to robotics, and how you can start controlling them through Arduino's programming environment.

What Is a Servo Motor?
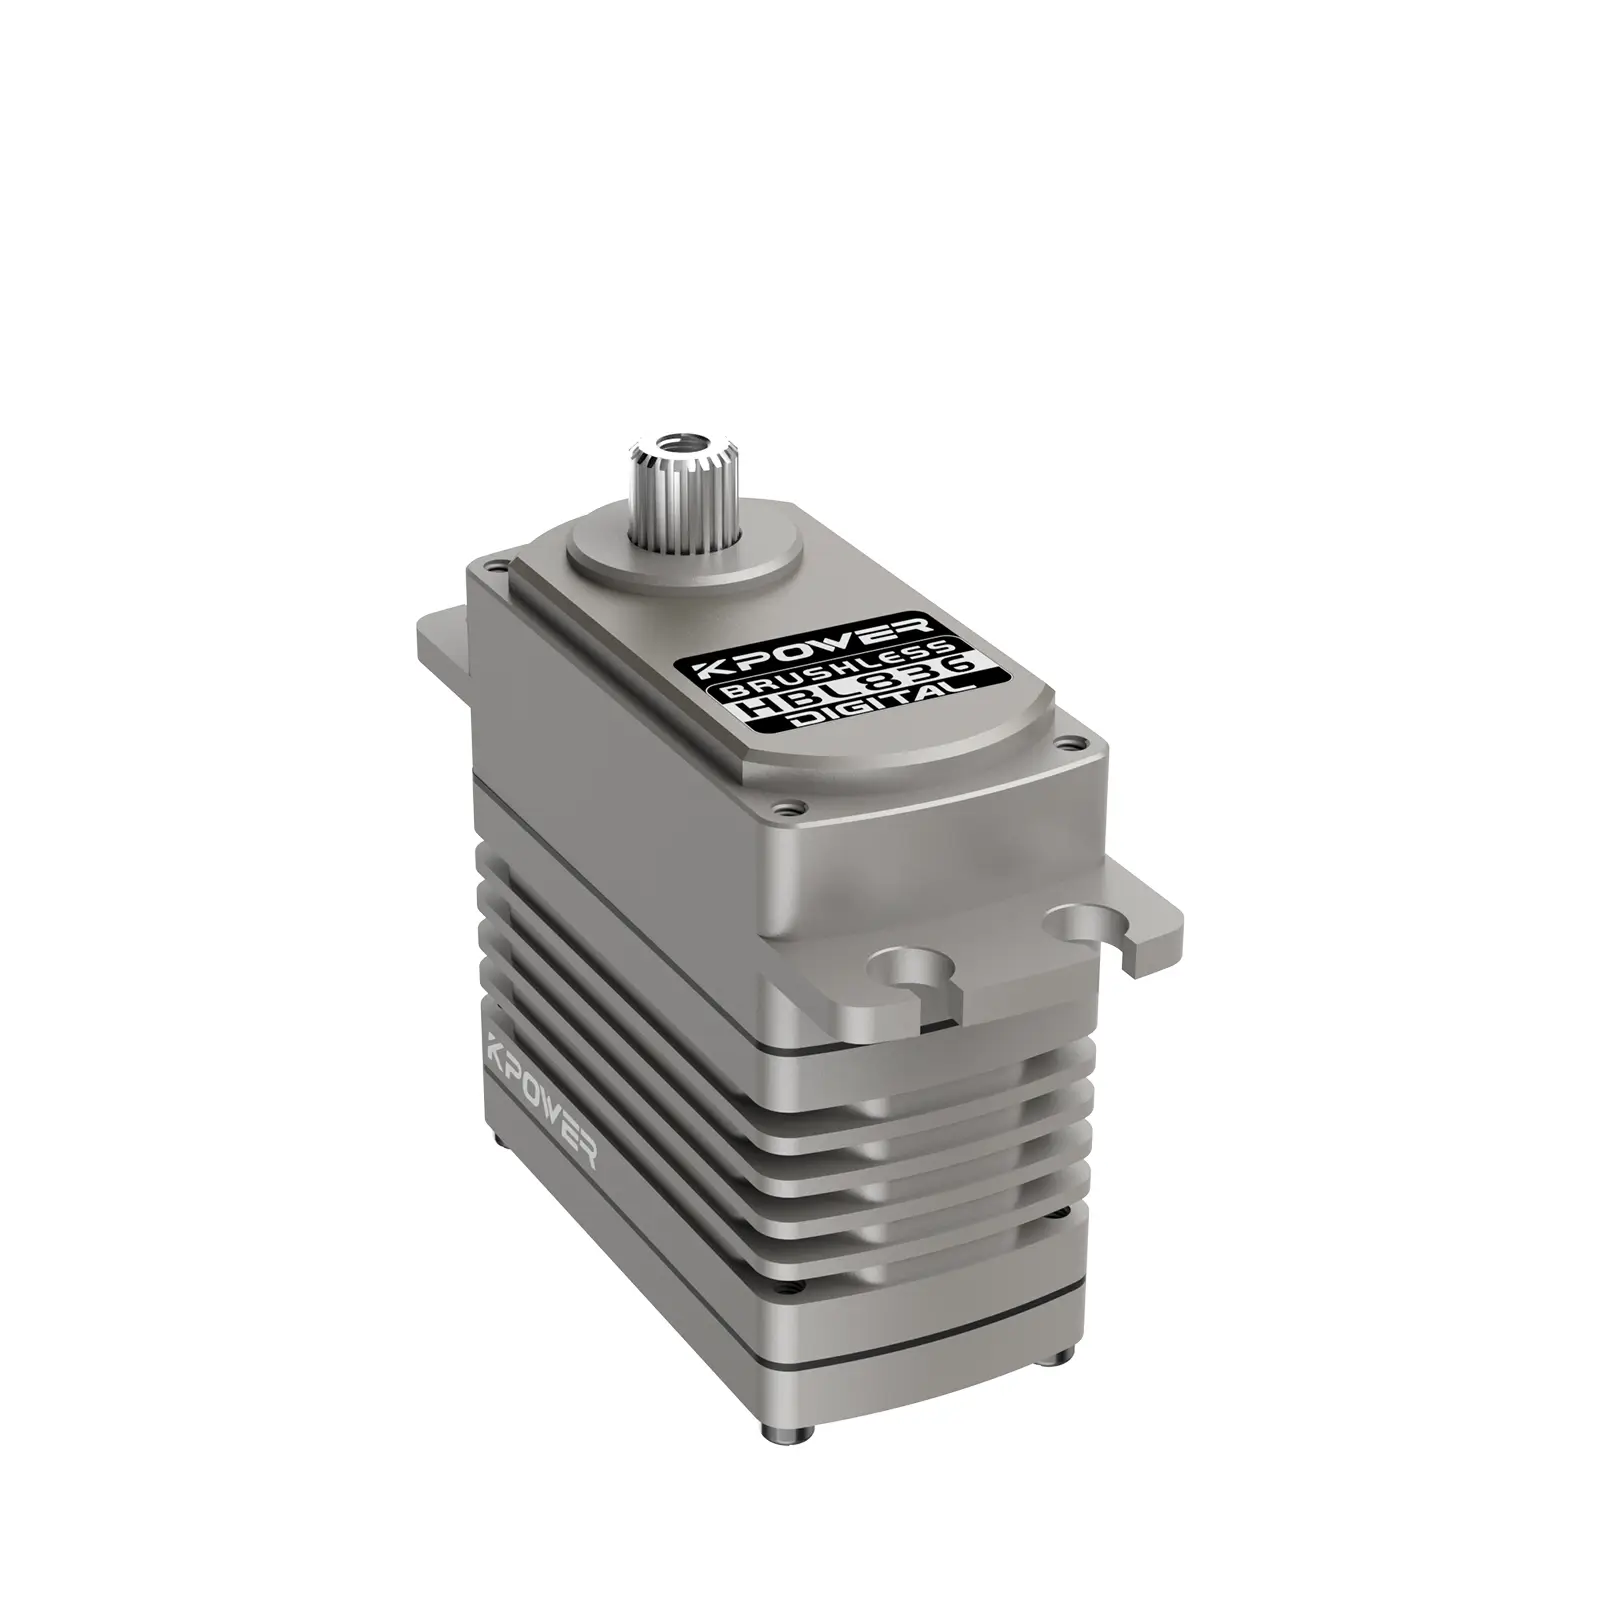
A servo motor isn’t just any motor; it's a specialized device that includes a built-in feedback system, allowing precise position control. Unlike a typical DC motor, which spins continually when powered, a servo rotates to a specific angle within a range (usually 0° to 180°) and holds that position. This ability is made possible by an integrated control circuit that compares the desired position (received via a signal) with the current position, adjusting accordingly.
Servos generally consist of a small motor connected to a gear train, a potentiometer for position feedback, and a control circuit. They’re highly efficient for applications requiring accurate positioning, such as animatronics, camera gimbals, or steering mechanisms in remote-controlled vehicles.
Why Use Arduino for Servo Control?
Arduino, an open-source microcontroller platform, is the perfect partner for working with servo motors for a few reasons:
Simplicity: Its user-friendly programming environment simplifies writing code to control servos. Flexibility: Supports multiple servo motors simultaneously. Community & Resources: Extensive tutorials, libraries, and community support make learning and troubleshooting easier. Hardware Compatibility: Compatible with various servo modules that can handle different voltage and power requirements.
Getting Started: What You Need
Before diving into coding, gather the essentials:
An Arduino board (Uno, Mega, Nano—any will do) A servo motor (e.g., SG90 micro servo, MG995, or other standard servos) A breadboard and jumper wires External power source (for multiple or high-torque servos) Resistors, if needed for specific configurations
Connecting the Servo to Arduino
Setting up is straightforward. The servo typically has three wires: power (red), ground (black or brown), and signal (yellow or white).
Connect the red wire to the Arduino’s 5V pin (or an external power supply if needed). Connect the black or brown wire to the Arduino’s GND. Connect the signal wire to a PWM-capable digital pin (e.g., pin 9).
If you’re using multiple servos, it’s prudent to power each from an external source to prevent drawing too much current through the Arduino, which could lead to resets or damage.
A Basic Arduino Sketch for Servo Control
Once connected, controlling the servo involves using the Servo library, which simplifies communication.
#include Servo myServo; // create servo object to control a servo void setup() { myServo.attach(9); // attaches the servo on pin 9 } void loop() { myServo.write(0); // move to 0 degrees delay(1000); // wait 1 second myServo.write(90); // move to 90 degrees delay(1000); myServo.write(180); // move to 180 degrees delay(1000); }
This sketch makes the servo sweep through three positions, pausing at each.
Part 2 will continue with advanced control techniques, programming tips, practical project ideas, troubleshooting, and best practices to elevate your Arduino servo motor mastery. Stay tuned!
Established in 2005, Kpower has been dedicated to a professional compact motion unit manufacturer, headquartered in Dongguan, Guangdong Province, China.


