


Looking for a suitable motor?


小编
Published2025-10-15
Introduction to Servo Motors and Arduino Integration
In the world of electronics and robotics, servo motors are one of the most essential components for creating precise movements. Whether you’re building a robotic arm, a moving camera platform, or just experimenting with basic motion control, knowing how to connect a servo motor to an Arduino board opens a world of possibilities.
In this article, we’ll dive deep into the process of connecting a servo motor to an Arduino, step by step, and show you how to use this connection to control the motor’s movement with code. Before we start with the connection details, it’s essential to understand what a servo motor is and why it’s often the preferred choice for controlled motion in various DIY projects.
A servo motor is a type of motor designed to rotate to a specific angle within a certain range. Unlike regular motors, which rotate continuously, servo motors allow precise control over their position. This makes them ideal for applications that require specific, repeatable movements, such as robotics, remote-control vehicles, and automation systems.
Typically, servo motors come in three basic components:
DC Motor: A small electric motor that generates the rotational motion.
Gearbox: Reduces the speed and increases the torque to ensure more precise control.
Control Circuit: A feedback system that ensures the motor reaches the desired position.
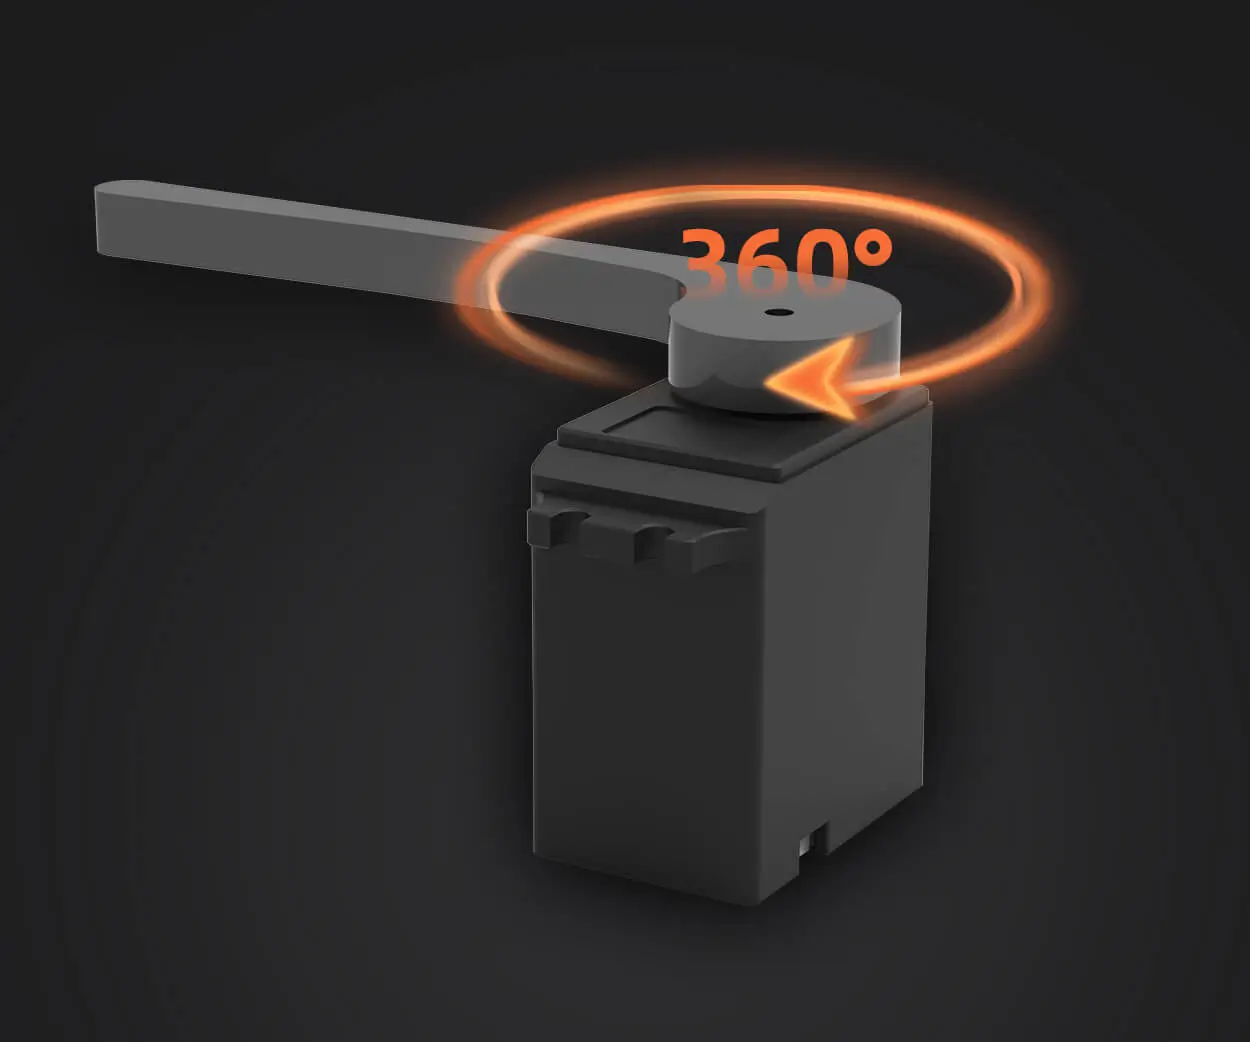
The most common servo motors are 180-degree or 360-degree models, but they can also have a more specialized range of movement. Arduino boards make the control of these motors relatively simple, thanks to libraries and functions that automate much of the heavy lifting.
Arduino is a powerful yet beginner-friendly microcontroller that can interface with a variety of electronic components. It has become a popular choice for DIYers and engineers alike because of its open-source nature, affordability, and ease of use. With Arduino, you can easily send signals to the servo motor, telling it to move to a specific position, rotate to a particular angle, or even perform complex motions in response to sensor inputs.
What makes Arduino especially great for controlling servo motors is the fact that it’s capable of generating PWM (Pulse Width Modulation) signals. Servo motors rely on PWM to control their position, and Arduino makes this process incredibly easy to implement.
Materials Needed for Connecting a Servo Motor to Arduino
Before jumping into the wiring and coding, let’s list the essential components you'll need for this project:
Arduino board (e.g., Arduino Uno)
Servo motor (SG90 or MG995 are commonly used)
Jumper wires (for connections)
Breadboard (optional, but useful for prototyping)
Power supply (depending on your servo motor’s requirements)
Arduino IDE (installed on your computer)
How to Wire a Servo Motor to Arduino
The first step in the process is to establish the physical connection between the Arduino and the servo motor. Servos typically have three wires: one for power (usually red), one for ground (usually black or brown), and one for the signal (usually yellow or white). Here’s how to connect them to your Arduino:
Power (Red Wire): Connect the red wire from the servo to the 5V pin on the Arduino. This will supply the servo with the necessary power.
Ground (Black/Brown Wire): Connect the black (or brown) wire from the servo to the GND (Ground) pin on the Arduino. This ensures a common ground reference for both the servo and Arduino.
Signal (Yellow/White Wire): The signal wire needs to be connected to a PWM-capable pin on the Arduino. In most cases, you can use pin 9, but other PWM pins (e.g., pin 3, 5, or 6) can also work.
Now that the wiring is done, we’re ready to move on to programming the Arduino to control the servo motor. But before jumping into coding, let's talk a bit about the signal that the Arduino will send to the servo.
The PWM Signal and Servo Control
Servo motors are controlled using Pulse Width Modulation (PWM), which involves sending a series of electrical pulses to the motor. The length of each pulse determines the angle of the servo motor. For example:
A pulse width of 1 millisecond (ms) might rotate the servo to 0 degrees.
A pulse width of 1.5 milliseconds could rotate the servo to 90 degrees.
A pulse width of 2 milliseconds might rotate it to 180 degrees.
Arduino can generate these PWM signals very easily using its built-in Servo library. By sending different pulse widths to the servo, you can control its rotation angle.
Coding and Controlling the Servo Motor with Arduino
Now that your servo motor is wired to the Arduino, it’s time to write some code to control it. The Arduino IDE, which is the software platform used to write and upload code to your Arduino, includes a built-in Servo library that simplifies the process of sending PWM signals.
Step 1: Install the Servo Library
In Arduino IDE, the Servo library is usually pre-installed, so there’s no need to install anything manually. However, you can always double-check by navigating to Sketch > Include Library > Servo. Once the library is included, you’re good to go.
Step 2: Writing Your First Servo Control Code
Here’s a simple example code that moves the servo motor from 0 to 180 degrees and back in a continuous loop:
#include // Include the Servo library
Servo myServo; // Create a Servo object to control the servo
myServo.attach(9); // Attach the servo control to pin 9
myServo.write(0); // Move the servo to 0 degrees
delay(1000); // Wait for 1 second
myServo.write(180); // Move the servo to 180 degrees
delay(1000); // Wait for 1 second
#include : This line includes the Servo library that allows you to control the servo motor.
Servo myServo;: Creates a Servo object that you can use to control the motor.
myServo.attach(9);: Binds the myServo object to pin 9, where the servo’s signal wire is connected.
myServo.write(angle);: Sends a PWM signal to move the servo to a specified angle (0 to 180 degrees).
delay(1000);: Pauses the program for 1000 milliseconds (1 second) to give the servo time to move.
Once the code is written, connect your Arduino to your computer using a USB cable, and upload the sketch to the board by clicking the Upload button in the IDE. After the upload completes, you should see the servo motor begin to move between 0 and 180 degrees.
Expanding the Project: Adding Controls
Now that you’ve successfully moved the servo motor, let’s explore a few additional features you can add to your project to make it more interactive and functional.
Control the Servo with a Potentiometer: A potentiometer is a simple variable resistor that can be used to control the angle of the servo. By reading the analog input from the potentiometer, you can map its value to control the servo’s position.
Use Sensors for Automation: Integrating sensors like a distance sensor or a temperature sensor can help automate the movement of the servo based on environmental conditions. For instance, you could use an ultrasonic sensor to move the servo based on proximity to an object.
Create a Robot Arm: By connecting multiple servos to different joints of a robotic arm, you can control the position of the arm with more precision. This is where you can get creative and build advanced systems!
Connecting a servo motor to an Arduino is an excellent entry point into the world of robotics and electronics. With just a few wires and some simple code, you can create a wide range of projects that involve precise movement control. Whether you’re building a simple hobby project or diving into more complex robotic systems, mastering servo motor control with Arduino is a skill that will serve you well in countless applications.
Leveraging innovations in modular drive technology, Kpower integrates high-performance motors, precision reducers, and multi-protocol control systems to provide efficient and customized smart drive system solutions.
Update:2025-10-15
Contact Kpower's product specialist to recommend suitable motor or gearbox for your product.


