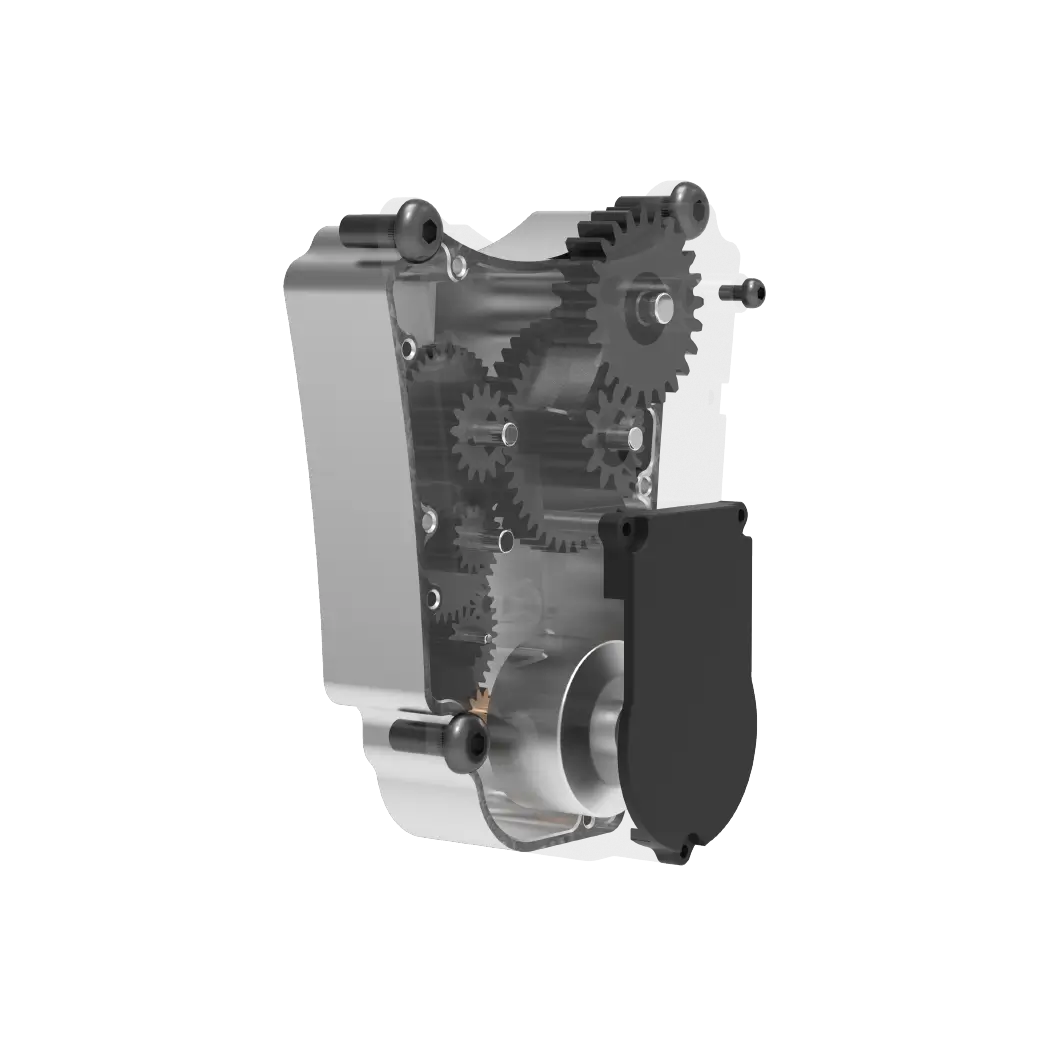
Let’s face it: There’s something deeply satisfying about making things move. Whether you’re building a robotic arm, animating a Halloween prop, or creating a sun-tracking solar panel, servo motors are your gateway to bridging the digital and physical worlds. But if you’re staring at an Arduino board and a tiny servo motor, wondering where to even begin, you’re not alone.

Why Servo Motors?
Unlike regular motors that spin endlessly, servos are precision ninjas. They rotate to specific angles (usually between 0° and 180°) and hold their position with surprising strength. This makes them perfect for:
Steering remote-controlled cars Rotating sensor mounts Mimicking human joint movements in robots
The best part? You don’t need an engineering degree to control one. With an Arduino and six lines of code, you’ll have your servo dancing in minutes.
The Hardware Lowdown
What You’ll Need:
Arduino Uno (or Nano/Leonardo) Micro servo (SG90) or standard servo (MG996R) Jumper wires Breadboard (optional but handy)
Servos have three wires:
Brown/Black: Ground (connect to Arduino’s GND) Red: Power (5V for small servos) Yellow/Orange: Signal (any PWM-capable pin like 9 or 10)
Pro Tip: For beefier servos, use an external power supply. Arduino’s 5V pin can’t handle currents above 500mA reliably.
Let’s Get Physical: Wiring Made Simple
Ground Connection: Plug the servo’s brown/black wire into Arduino’s GND rail. Power Up: Connect the red wire to 5V. Signal Line: Attach the yellow/orange wire to digital pin 9.
No soldering required. If you’re using a breadboard, it acts as a tidy connector hub.
Your First Servo Sketch
Open the Arduino IDE and type this: ```cpp
include
Servo myServo;
void setup() { myServo.attach(9); }
void loop() { myServo.write(0); // Rotate to 0° delay(1000); myServo.write(90); // Neutral position delay(1000); myServo.write(180); // Full sweep delay(1000); }
What’s Happening Here? - The `Servo` library handles complex pulse-width modulation (PWM) behind the scenes. - `attach()` tells the Arduino which pin to use. - `write()` sends angle commands from 0 to 180 degrees. Upload the code and watch your servo snap between positions like a disciplined soldier. ### Why This Matters You’ve just created a feedback loop between software and hardware. That servo isn’t just moving—it’s responding to mathematical instructions with physical motion. This is the foundation of every robot, automated system, and smart device you’ve ever encountered. Troubleshooting Quick Fixes: - *Jittery movement?* Add a 100µF capacitor between 5V and GND. - *Not moving at all?* Double-check wiring order (ground first, always). - *Strange noises?* Avoid forcing the servo beyond its mechanical limits. --- Now that you’ve got the basics down, let’s turn that cautious first step into a full-blown sprint. Servo control isn’t just about making something wiggle—it’s about creating *intentional* motion that serves a purpose. ### Level Up: Smooth Sweeps & Precision Control The `write()` function is great for basic moves, but real-world applications demand finesse. Try this refined approach:
cpp
include
Servo myServo; int pos = 0;
void setup() { myServo.attach(9); }
void loop() { for (pos = 0; pos <= 180; pos += 1) { myServo.write(pos); delay(15); } for (pos = 180; pos >= 0; pos -= 1) { myServo.write(pos); delay(15); } }
This creates a graceful sweeping motion by incrementing angles gradually. Adjust the `delay()` value to control speed—lower numbers mean faster movement. ### Project Ideas to Spark Creativity 1. Automated Plant Waterer: - Use a moisture sensor + servo to tilt a water bottle - Perfect for forgetful plant parents 2. Smart Blinds Controller: - Combine with a light sensor to adjust window coverings - Bonus: Add IoT capabilities via WiFi module 3. Interactive Art Installations: - Make kinetic sculptures react to audience movement - Ultrasonic sensors work great for proximity detection ### The Power of Multiple Servos Want to control more than one? Just declare additional `Servo` objects:
cpp Servo servoA, servoB, servoC;
void setup() { servoA.attach(9); servoB.attach(10); servoC.attach(11); }
*Watch Your Power Budget:* Each standard servo can draw 500-1000mA under load. Powering multiple servos? Use a dedicated 5V/2A supply connected to the breadboard’s power rails. ### Advanced Techniques 1. Custom Pulse Widths: Override default timing for non-standard servos: `myServo.attach(9, 500, 2500);` // min/max pulse in microseconds 2. Detaching Servos: Save power when idle: `myServo.detach();` 3. Interrupt-Driven Control: Keep servos moving while handling other tasks:
cpp
include
ServoTimer2 myServo; ```
Real-World Gotchas
Gear Stripping: Cheap plastic-geared servos wear out fast. For heavy loads, invest in metal gears. Electrical Noise: Servos can cause voltage spikes. Isolate motor power from sensitive sensors. Position Drift: Environmental factors (temperature, load) may affect accuracy. Consider feedback systems like potentiometers.
From Hobby to Prototype
Imagine this: You’re designing a drone’s camera gimbal. Servos provide the tilt and pan motion, while Arduino processes data from an accelerometer. This isn’t just a classroom exercise—it’s how real engineering prototypes are born.
The Bigger Picture
Every robotic arm in a factory, every animatronic figure at a theme park, every surgical robot in a hospital—they all started with someone connecting a motor to a microcontroller. What you’re doing right now isn’t just a “beginner project.” It’s the first chapter in a story that could literally move mountains.
So go ahead—break out the hot glue gun, raid your junk drawer for materials, and start building. Your servo isn’t just waiting for commands; it’s waiting for imagination. What will you make it do next?


