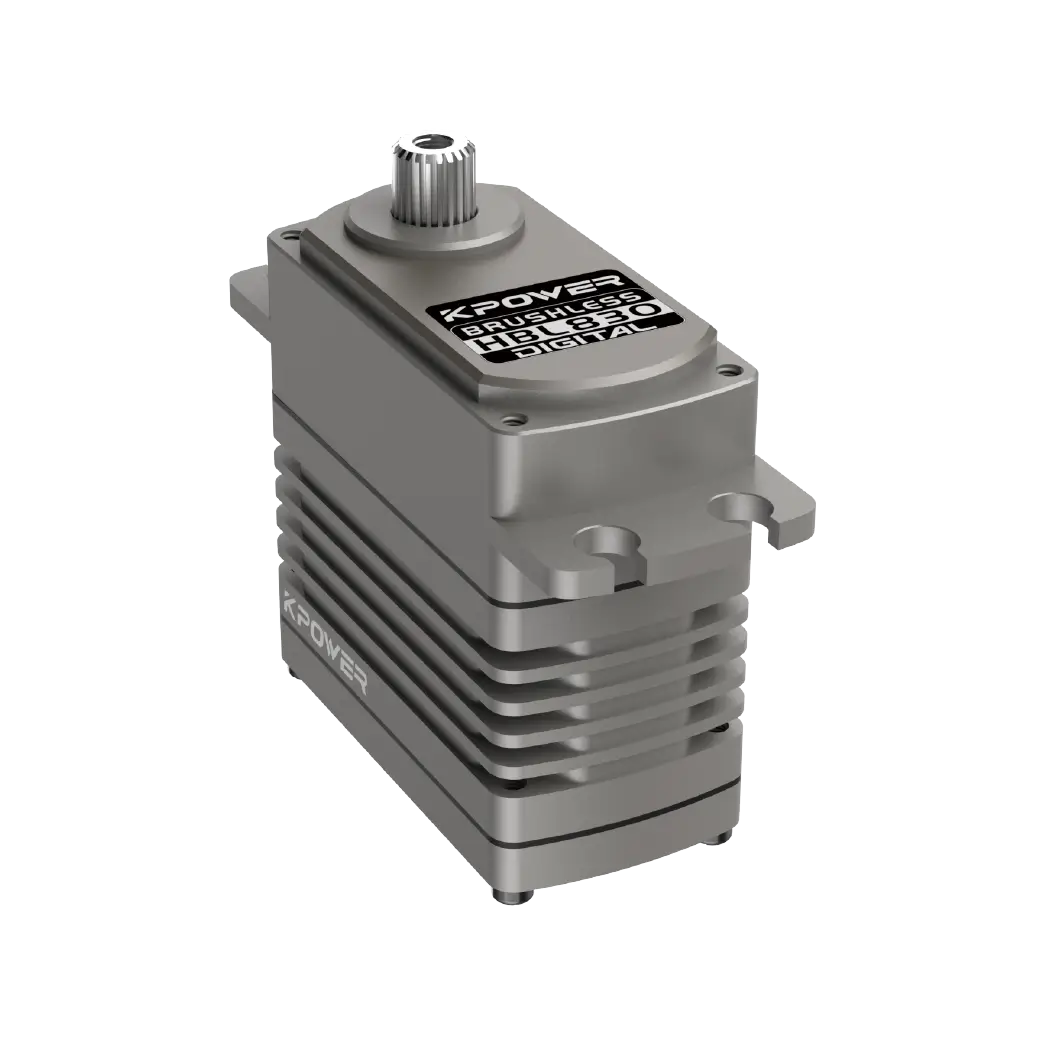
Let’s get one thing straight: servo motors are the unsung heroes of the maker world. These compact devices don’t just spin – they position themselves with surgical precision, making them perfect for everything from robot arms to camera gimbals. And here’s the kicker: you don’t need an engineering degree to harness their power. With an Arduino and some clever code, you’ll be controlling angles like a puppet master in under an hour.

Why Servos Rule the Motion Game Unlike regular motors that mindlessly spin, servos operate on a closed-loop system. Translation: They constantly check their position and adjust accordingly. The secret sauce? Pulse Width Modulation (PWM). By sending precisely timed electrical pulses from your Arduino, you dictate exactly where the servo horn points – 0°, 90°, 180°, or anywhere in between.
Your First Servo Circuit (No Magic Required) Grab these essentials:
Arduino Uno ($10 clone works fine) SG90 micro servo (the “gateway drug” of servos) Jumper wires Breadboard
The wiring couldn’t be simpler:
Servo red wire → Arduino 5V Servo brown/black wire → Arduino GND Servo yellow/orange wire → Digital Pin 9
The Code That Makes It Dance Fire up the Arduino IDE and punch in this barebones sketch:
#include Servo myServo; // Create servo object void setup() { myServo.attach(9); // Attach to pin 9 } void loop() { myServo.write(0); // Zero degrees delay(1000); myServo.write(90); // Neutral position delay(1000); myServo.write(180); // Full sweep delay(1000); }
Upload this, and watch your servo snap between positions like a metronome on espresso. But let’s break down what’s really happening:
The Servo.h library handles PWM complexity behind the scenes myServo.write(angle) converts degrees to pulse widths automatically The delay gives your servo time to reach each position
Level Up: Smooth Sweeps & Analog Control Jerky movements got you down? Let’s implement a buttery-smooth sweep using for loops:
void loop() { for(int pos = 0; pos <= 180; pos += 1) { myServo.write(pos); delay(15); // Adjust for speed } for(int pos = 180; pos >= 0; pos -= 1) { myServo.write(pos); delay(15); } }
Now try hooking up a potentiometer to analog pin A0:
void loop() { int sensorValue = analogRead(A0); int angle = map(sensorValue, 0, 1023, 0, 180); myServo.write(angle); delay(20); }
Suddenly you’ve got manual servo control smoother than a fader on a mixing board.
Project Spark: DIY Pan-Tilt Mechanism Combine two servos to create a surveillance camera platform:
Mount one servo horizontally (pan) Stack another servo vertically (tilt) Control with dual potentiometers or pre-programmed movements
This isn’t just academic – it’s the foundation of industrial automation systems scaled down to fit on your desk.
When One Servo Isn’t Enough Real-world applications usually demand coordinated movements. Let’s control three servos simultaneously for a robotic arm prototype:
#include Servo base, elbow, gripper; void setup() { base.attach(9); elbow.attach(10); gripper.attach(11); } void loop() { // Wave sequence base.write(90); elbow.write(45); gripper.write(0); delay(1000); gripper.write(90); delay(1000); }
The Dark Art of Servo Timing Advanced users can ditch the library and manipulate PWM directly:
void setup() { pinMode(9, OUTPUT); } void loop() { // 0° position (1ms pulse) digitalWrite(9, HIGH); delayMicroseconds(1000); digitalWrite(9, LOW); delay(20); // Repeat for other angles: // 90° = 1.5ms, 180° = 2ms }
This low-level control is crucial for driving multiple servos without library conflicts.
Battery Blues: Why Your Servo Jitters Ever seen your servo twitch like it’s had too much coffee? The Arduino’s 5V regulator can’t handle current-hungry servos. Solution:
Use a separate 6V battery pack for servos Keep Arduino powered via USB Connect all grounds together
Your code stays the same – just upgrade the hardware.
Project Deep Dive: Automated Plant Waterer Combine a servo with moisture sensors:
3D-print a valve mechanism Program to rotate 90° when soil dries out Add a water flow sensor for feedback
This isn’t just a weekend project – it’s IoT prototyping in action.
Servo Hacks They Don’t Teach in School
Continuous Rotation Hack: Modify servos for 360° spinning by removing the internal potentiometer Torque Boost: Increase voltage to 7.4V (check servo specs first!) Silent Operation: Use writeMicroseconds() instead of write() for finer control
Troubleshooting Cheat Sheet
Symptom Likely Fix Servo doesn’t move Check 5V and GND connections Erratic behavior Add 100µF capacitor to power Limited rotation Calibrate with attach(pin, 1000, 2000)
From Hobby to Prototype: Real-World Applications
Robotic Exoskeletons: Medical rehab devices using torque-controlled servos Camera Rigs: Time-lapse sliders with programmable motion paths Smart Agriculture: Automated greenhouse vent openers
Where to Go From Here
Experiment with servo feedback using optical encoders Integrate with Python via Firmata for PC control Explore ROS (Robot Operating System) for advanced robotics
The servo motor is your mechanical muse – it responds exactly as programmed, yet enables endless creativity. Whether you’re building a chess-playing robot or custom window blinds, remember: every grand motion begins with a single line of code. Now go make something that moves – literally.


