The Basics – Wiring, Coding, and Your First Sweep
There’s something almost magical about watching a servo motor spring to life – that smooth, precise rotation that makes robots wave, cameras pan, or mechanical arms grip. If you’ve ever wanted to harness this magic, you’re in the right place. Let’s demystify servo motors and turn your Arduino into a puppeteer of precision motion.

What Makes a Servo Motor Tick?
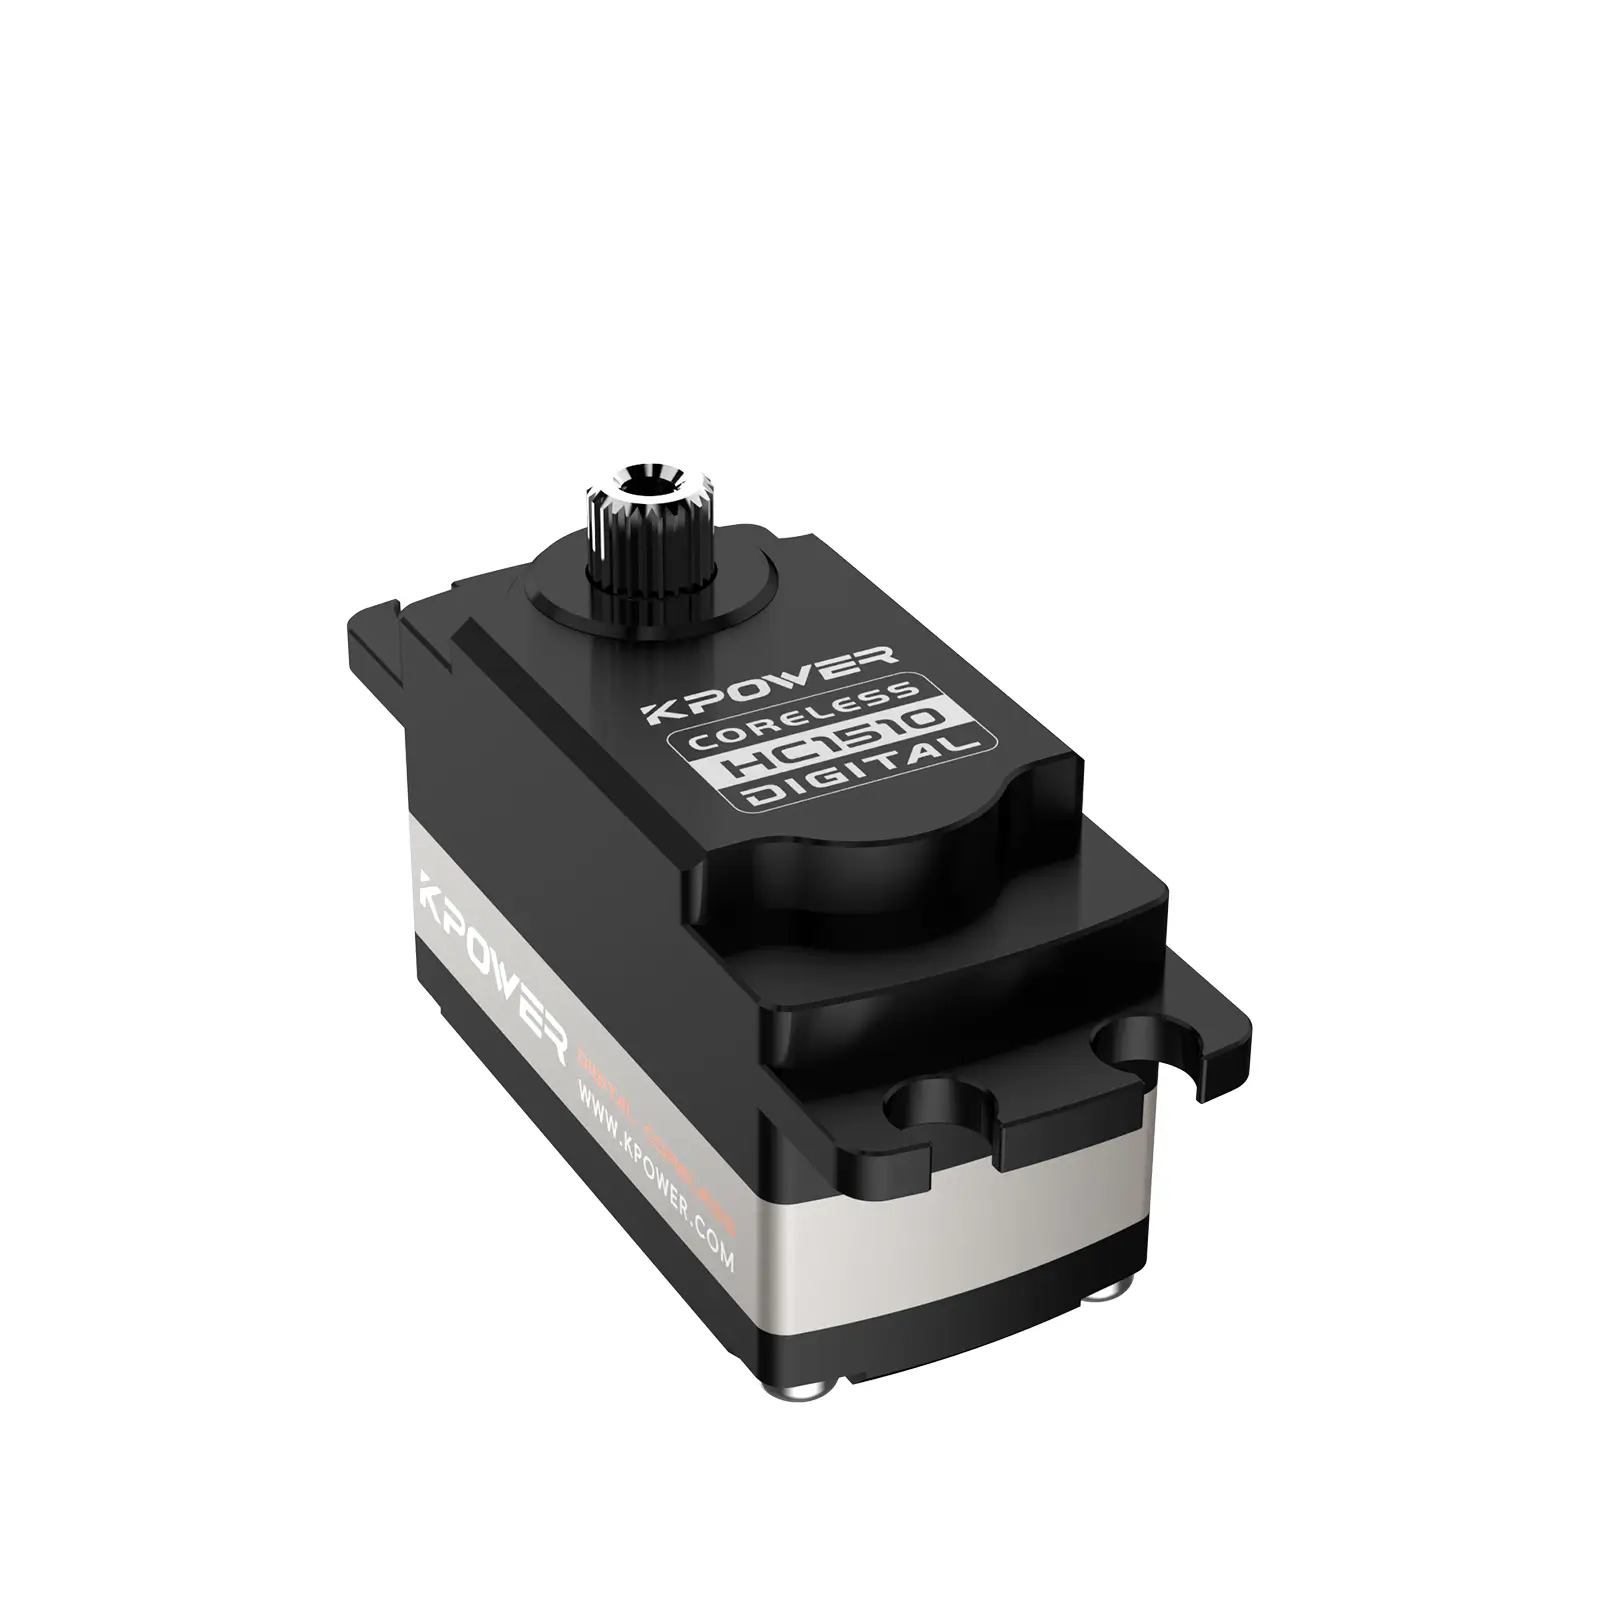
Unlike regular motors that spin freely, servo motors are obsessed with angles. They’re the overachievers of the motor world, combining a motor, gearbox, and feedback circuit to hit exact positions (usually between 0° and 180°). The most common type, the SG90 micro servo, is cheap, lightweight, and perfect for beginners.
Anatomy of a Servo:
Brown Wire: Ground (GND) Red Wire: Power (5V) Orange/Yellow Wire: Signal (PWM pin)
Gathering Your Tools
You’ll need:
Arduino Uno/Nano SG90 servo motor Jumper wires Breadboard (optional but tidy)
Let’s Get Physical: Wiring It Up
Power Connections: Servo’s brown wire → Arduino GND Servo’s red wire → Arduino 5V Warning: Don’t power servos directly from your computer’s USB port for larger projects – use an external supply. Signal Wire: Servo’s orange/yellow wire → Arduino digital pin 9 (PWM capable).
This simple setup lets your Arduino whisper commands to the servo via Pulse Width Modulation (PWM).
Coding the “Hello World” of Servos
Open the Arduino IDE and let’s write a sweep program:
```cpp
include
Servo myServo; int pos = 0;
void setup() { myServo.attach(9); // Signal pin connected to D9 }
void loop() { for (pos = 0; pos <= 180; pos += 1) { myServo.write(pos); delay(15); } for (pos = 180; pos >= 0; pos -= 1) { myServo.write(pos); delay(15); } }
Breaking Down the Code: - `#include `: Imports the servo library. - `myServo.attach(9)`: Assigns the servo to pin 9. - `myServo.write(pos)`: Sends angle commands. Upload the code, and watch your servo sweep like a metronome! ### Why This Matters This isn’t just about making something move – it’s about *orchestrating* movement. Servos are the backbone of interactive projects: - Robot joints - Camera sliders - Automated plant waterers But here’s the kicker: This basic sweep hides a problem. Servos can jitter or draw too much power if not handled carefully. Which brings us to… ### Pro Tips for Smooth Operation 1. Power Management: Use a separate 5V supply for servos in multi-servo setups. 2. Decouple Capacitors: Add a 100µF capacitor between 5V and GND to stabilize voltage. 3. Avoid `delay()`: Use `millis()` for non-blocking code in complex projects. Up Next: In Part 2, we’ll dive into advanced control with potentiometers, multi-servo systems, and real-world project blueprints. --- Leveling Up – Potentiometers, Multi-Servo Systems, and Real-World Projects Now that you’ve mastered the servo sweep, let’s make things interactive. Imagine turning a knob to control a robotic arm or building a sun-tracking solar panel. Grab your potentiometer – things are about to get tactile. ### Analog Meets Digital: Control with a Potentiometer A potentiometer (pot) is your analog ally here. Let’s map its rotation (0-1023) to the servo’s angle (0-180°). Wiring Additions: - Pot’s middle pin → Arduino A0 - Pot’s outer pins → 5V and GND Code Upgrade:
cpp
include
Servo myServo; int potPin = A0;
void setup() { myServo.attach(9); }
void loop() { int potValue = analogRead(potPin); int angle = map(potValue, 0, 1023, 0, 180); myServo.write(angle); delay(15); }
Turn the pot, and your servo becomes a puppet to your whims. This is the foundation for custom controllers! ### When One Servo Isn’t Enough Robots don’t have one joint – why should you settle? Let’s control two servos: Wiring: - Servo 1: Signal → D9 - Servo 2: Signal → D10 Code:
cpp
include
Servo servo1, servo2; int pot1 = A0, pot2 = A1;
void setup() { servo1.attach(9); servo2.attach(10); }
void loop() { servo1.write(map(analogRead(pot1), 0, 1023, 0, 180)); servo2.write(map(analogRead(pot2), 0, 1023, 0, 180)); delay(15); } ```
Now you’re controlling two axes – a robotic arm’s elbow and wrist, perhaps?
Project Blueprints to Steal
Sun-Tracking Solar Panel: Use two servos (pan/tilt) and LDR sensors. Code logic: Adjust servos to maximize light on LDRs. Automated Pet Feeder: Servo rotates a lid at scheduled times. Pair with a real-time clock (RTC) module. Gesture-Controlled Robot Hand: Flex sensors on a glove → servo angles.
Troubleshooting: When Servos Misbehave
Jittering: Add a delay ≥15ms between angle changes. Overheating: Check for mechanical resistance (is something stuck?). Inaccurate Angles: Recalibrate using writeMicroseconds(1500) for center position.
The Bigger Picture
Servos are gateways to mechatronics. Once you’ve nailed these basics, explore:
PID Control: For ultra-precise positioning. Serial Communication: Let Python scripts control servos via USB. 3D Printing: Design custom mounts and linkages.
Final Thought: Motion as a Language
Every servo movement is a sentence in the story your project tells. Whether it’s the dramatic sweep of a robot arm or the subtle tilt of a sensor, you’re not just coding – you’re choreographing. So, what story will your servos tell?
This guide gives you the vocabulary; now it’s your turn to write the poetry of motion.


