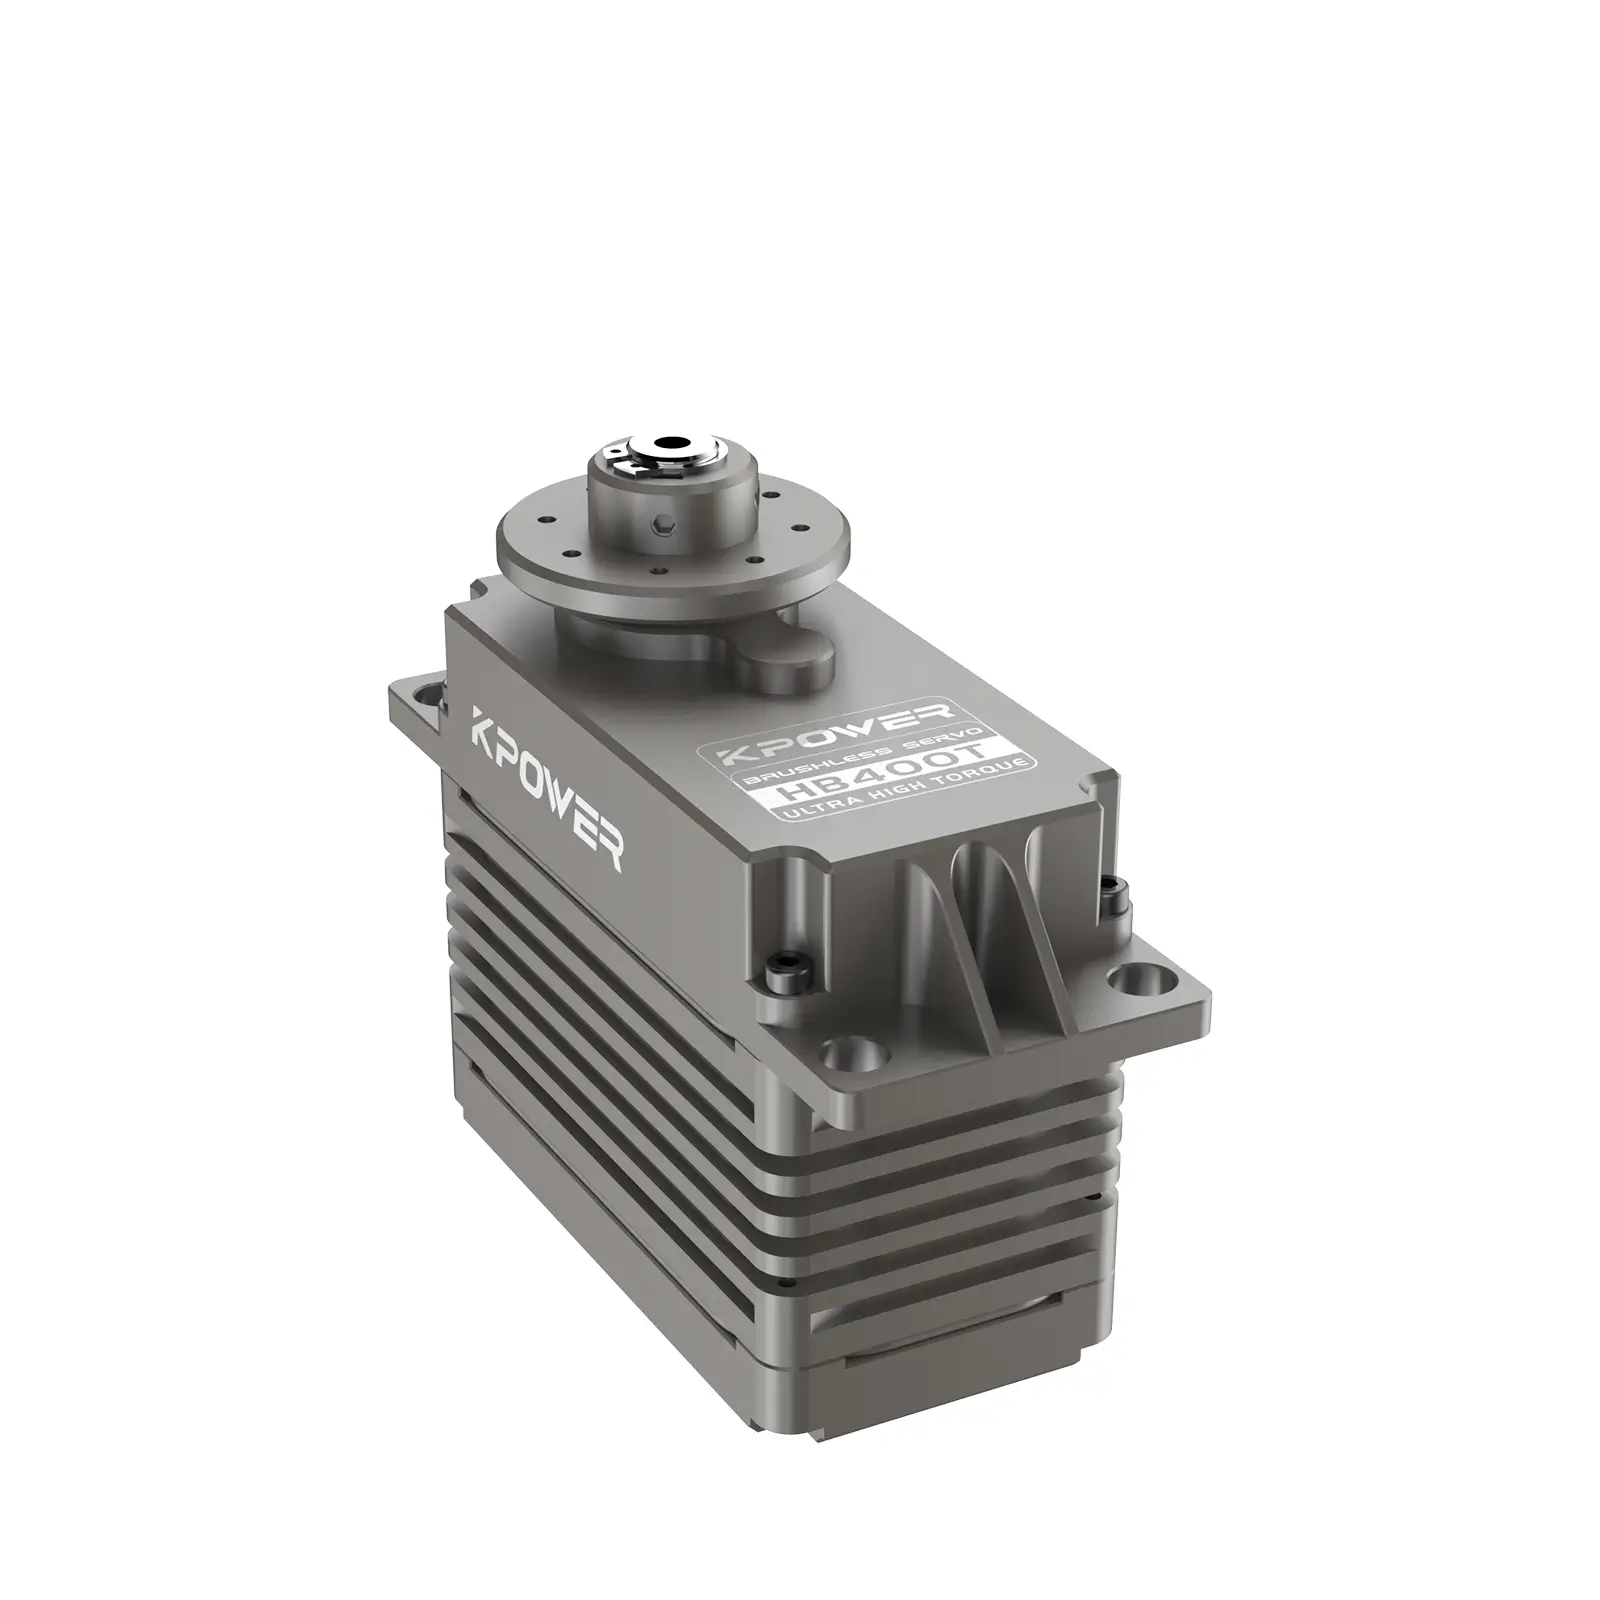
The Dance of Precision: Why Servo Motors and Arduino Are a Perfect Pair
Imagine giving your robot the grace of a ballerina or your automated plant-watering system the finesse of a seasoned gardener. Servo motors make this possible by delivering controlled, angular motion—a superpower that transforms static projects into dynamic creations. In this guide, you’ll learn how to harness this power using Arduino, the beloved microcontroller that’s a playground for makers.

What Makes Servo Motors Special?
Unlike regular motors that spin endlessly, servo motors rotate to specific angles (typically between 0° and 180°). They’re the muscle behind robotic arms, camera gimbals, and even animatronic puppets. Inside every servo, a tiny circuit, motor, and gearbox work together to hold positions with military precision.
Key Components You’ll Need:
Arduino Uno or Nano Micro servo (e.g., SG90 or MG996R) Jumper wires Breadboard (optional) 5V power supply (for high-torque servos)
Wiring 101: Connecting the Dots
Servo motors have three wires:
Brown/Black: Ground (connect to Arduino’s GND) Red: Power (5V from Arduino or external supply) Orange/Yellow: Signal (connect to a PWM pin like 9 or 10)
Pro Tip: For small servos, Arduino’s 5V pin can handle the load. But if your servo growls or stalls, use an external 5V power supply. Just remember to connect the grounds of the Arduino and external supply!
Coding the Magic: Your First Sweep
Let’s make the servo dance! Upload this code to your Arduino: ```cpp
include
Servo myServo;
void setup() { myServo.attach(9); // Signal pin at D9 }
void loop() { for (int pos = 0; pos <= 180; pos++) { myServo.write(pos); delay(15); } for (int pos = 180; pos >= 0; pos--) { myServo.write(pos); delay(15); } }
This code sweeps the servo arm back and forth like a metronome. The `Servo.h` library handles the complex pulse-width modulation (PWM) signals needed to control the motor. #### Why PWM Matters PWM is the language of servo control. By sending rapid on/off pulses, Arduino tells the servo which angle to hold. The duration of these pulses (500–2500 microseconds) maps directly to the servo’s position. Think of it as Morse code for motion. #### Troubleshooting Common Hiccups - Jittery Movement: Add a 100µF capacitor across the servo’s power and ground wires. - Overheating: Avoid forcing the servo beyond its mechanical limits. - No Movement: Double-check wiring—backward power leads are a classic oops moment. --- ### From Basics to Brilliance: Advanced Servo Projects and Pro Tips Now that you’ve mastered the servo sweep, let’s level up. Servos are versatile—they can mimic human gestures, automate your home, or even launch paper planes. Here’s how to push the limits. #### Project 1: Potentiometer-Controlled Servo Turn a knob, and the servo follows. Connect a potentiometer to analog pin A0 and update the code:
cpp
include
Servo myServo; int potPin = A0;
void setup() { myServo.attach(9); }
void loop() { int val = analogRead(potPin); val = map(val, 0, 1023, 0, 180); // Convert analog to angle myServo.write(val); delay(15); }
This turns your Arduino into a puppet master—twist the potentiometer, and the servo obeys. #### Project 2: Robotic Arm (The Mini Version) Combine four servos to create a desktop robotic arm. Use a breadboard to power them externally and write coordinated movements:
cpp // Sample code for two-axis control
include
Servo baseServo; Servo clawServo;
void setup() { baseServo.attach(9); clawServo.attach(10); }
void loop() { baseServo.write(90); // Center position clawServo.write(0); // Open claw delay(1000); clawServo.write(90); // Close claw delay(1000); } ```
Power Play: When to Go External
Arduino’s built-in 5V regulator can supply ~500mA, but a hungry servo like the MG996R can gulp up to 1.2A under load. For multi-servo setups, use a dedicated 5V/2A supply. Connect:
External +5V to servo’s red wire External GND to servo’s black wire and Arduino’s GND
The Art of Smooth Movement
Servos snap to positions like overeager interns. For fluid motion, use myservo.writeMicroseconds() instead of write(), or try third-party libraries like VarSpeedServo to add speed control.
Servo Hacks You’ll Love
360° Modification: Disable the servo’s internal limiter to turn it into a continuous-rotation motor. Sound Activation: Use a sound sensor to make servos react to claps or music beats. Solar-Powered: Pair a servo with a solar panel to create sun-tracking systems.
Final Thoughts: Your Servo Journey Begins
Servo motors are gateways to kinetic creativity. Whether you’re building a weather station’s anemometer or a Halloween prop that jumpscares your neighbors, Arduino and servos turn ideas into motion. Now, go make something that moves—literally.


