


Looking for a suitable motor?


小编
Published2025-09-04
The Tiny Powerhouse: Why Your Micro Servo Horn Matters
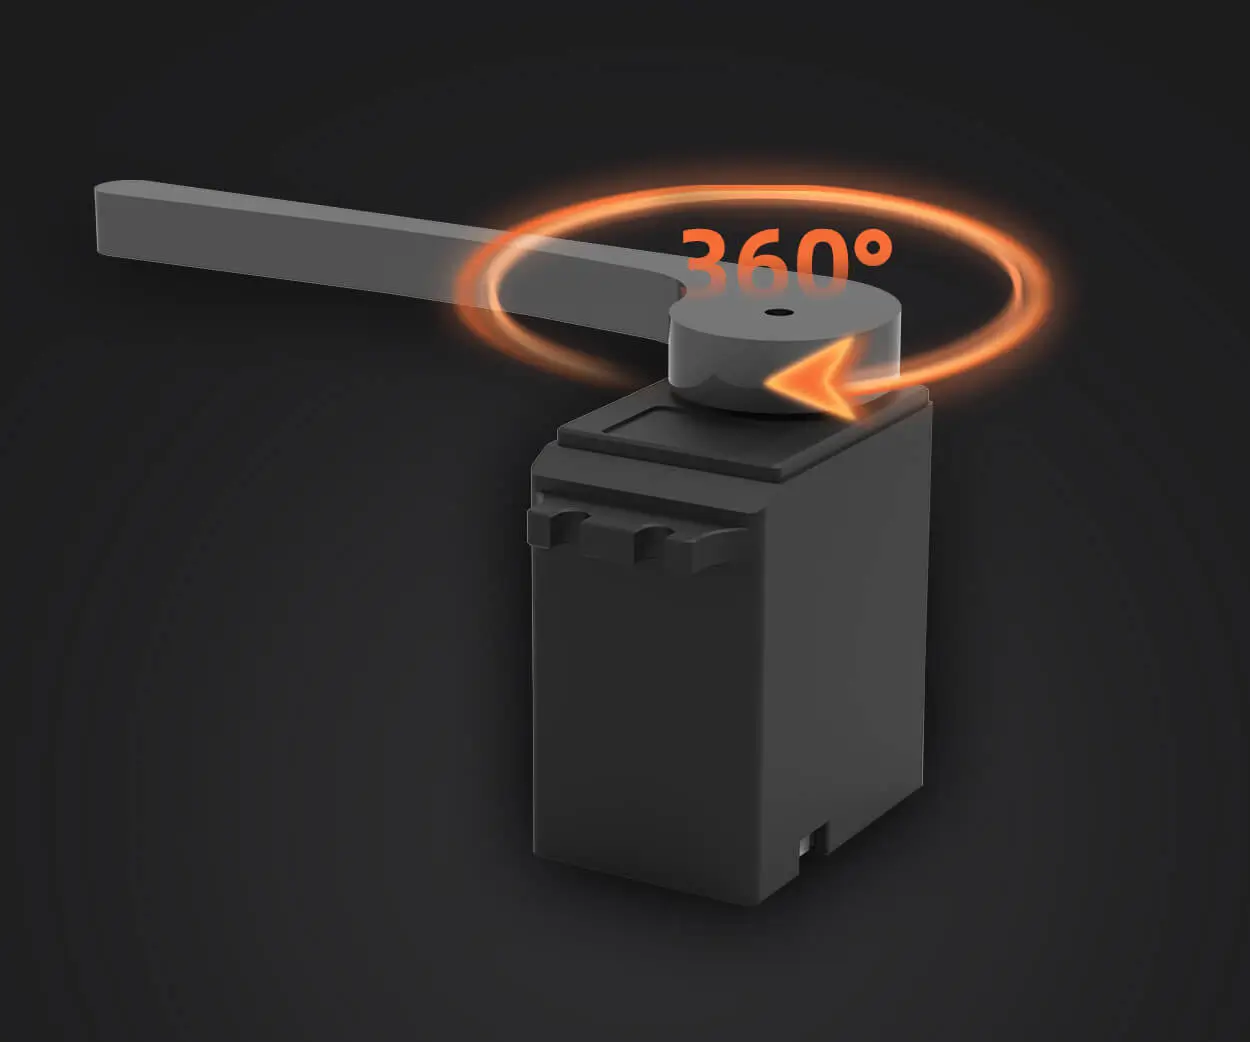
If you’ve ever tinkered with robotics, RC cars, or DIY automation projects, you’ve probably encountered the humble micro servo horn. This unassuming plastic or metal piece is the critical link between your servo motor’s spinning shaft and the gadget it brings to life—whether that’s a robot arm waving hello or a drone’s rudder tilting mid-flight. But here’s the catch: Attaching it wrong can turn your high-tech project into a wobbly mess. Let’s break down how to get it right.
Tools You’ll Need (No Rocket Science Here)
Before diving in, gather these basics:
Micro servo horn (usually included with your servo motor). Small screwdriver (Phillips or flathead, depending on your servo’s screws). Optional but handy: Needle-nose pliers, thread-locking adhesive, sandpaper.
Pro tip: If your servo horn feels flimsy, upgrade to an aluminum one for heavy-duty projects.
Start by unplugging your servo motor from any power source. Even micro servos can jerk unexpectedly, and nobody wants a surprise finger pinch. Next, inspect the servo’s output shaft—the part that rotates. Most micro servos have a splined shaft (tiny ridges) that grips the horn’s center hole. If your horn isn’t fitting snugly, check for debris or mismatched spline counts. A quick blow of compressed air can clear dust; a magnifying glass helps spot alignment issues.
Step 2: Align, Don’t Force
Gently press the servo horn onto the shaft. If it resists, don’t hammer it down. Forcing it can strip the splines, turning your servo into a paperweight. Instead, rotate the horn slightly until the grooves click into place. Think of it like threading a needle: patience beats brute strength.
Step 3: Secure with Screws (But Not Too Tight)
Most micro servo horns attach with one or two tiny screws. Here’s where beginners go wrong: over-tightening. Cranking down on the screw can crack the plastic horn or warp the servo’s gears. Tighten just enough to eliminate wobble—a quarter-turn past finger-tight is usually perfect. If your screws keep loosening, a dab of thread-locking adhesive (like Loctite) works wonders.
Ignoring calibration: Before finalizing the horn, center your servo using a tester or controller. Attaching it off-center limits your project’s range of motion. Using mismatched parts: Not all micro servos are created equal. A 25T horn won’t fit a 23T shaft. Double-check compatibility. Skipping the dry fit: Test the horn’s position without glue or screws first. Adjust early to save headaches later.
Why This Matters Beyond “Making It Work”
A well-attached servo horn isn’t just about functionality—it’s about longevity. A loose connection strains the motor, drains battery life, and risks mid-operation failures. Imagine your RC car’s steering giving out during a race or a robotic arm dropping its payload. Precision here saves time, money, and frustration.
Up Next in Advanced techniques for custom projects, troubleshooting stubborn horns, and creative hacks to elevate your builds.
Beyond the Basics: Customizing, Troubleshooting, and Leveling Up
So you’ve mastered the fundamentals—now let’s turn that micro servo horn into a canvas for innovation. Whether you’re building a kinetic sculpture or a battle-ready robot, these advanced strategies will keep your projects sharp.
Custom Horns for Unconventional Projects
Sometimes stock horns don’t cut it. Maybe you need a longer arm for extra leverage or a unique shape to fit a 3D-printed part. Here’s how to DIY:
3D Printing: Design a custom horn in CAD software (Tinkercad works for beginners). Use PLA or PETG filament for durability. Laser Cutting: For lightweight projects, acrylic or plywood horns add a rustic flair. Seal wooden horns with varnish to prevent splitting. Modding Existing Horns: Extend a plastic horn by gluing a carbon fiber rod to it. Sand the connection point for better adhesion.
Troubleshooting the Tricky Stuff
Problem: The horn slips mid-operation. Fix: Roughen the shaft and horn’s interior with sandpaper for a tighter grip. Add a drop of super glue (sparingly—you don’t want it seizing the motor).
Problem: Screw holes stripped out. Fix: Fill the hole with epoxy, let it cure, then re-drill. For metal horns, use a helicoil insert.
Problem: Horn interferes with adjacent parts. Fix: Trim excess material with a hobby knife or use a spacer (e.g., nylon washers) to elevate the horn.
Creative Hacks for Peak Performance
Dual Horns for Double Duty: Stack two horns on the same shaft for multi-axis control. Use longer screws and check clearance. Shock Absorption: Slip a rubber O-ring between the horn and servo to dampen vibrations in high-impact setups. Magnetic Quick-Release: Embed a neodymium magnet in the horn and another in the attached part. Perfect for prototypes needing frequent adjustments.
When to Ditch the Horn Entirely
Wait, what? Sometimes bypassing the horn makes sense. For direct-drive applications—like a micro servo powering a camera shutter—you can glue the driven part straight to the shaft. Just ensure the load is minimal and alignment is perfect.
The Bigger Picture: Servo Horns in Smart Tech
Micro servos aren’t just for hobbyists. They’re in prosthetic hands, smart home gadgets, and even art installations. A securely attached horn ensures these systems respond accurately to sensors, apps, or voice commands. For example, a solar tracker’s servo horn must withstand outdoor elements while maintaining precise angles. Waterproofing the connection with silicone sealant can make all the difference.
Label Your Horns: Use a marker to note the servo type or project name on the horn. No more mix-ups! Embrace Failure: Stripped a screw? Cracked a horn? Congrats—you’ve just found a learning opportunity. The best builders have a graveyard of “nope” prototypes. Share Your Wins: Post a video of your project in action. Tag it #ServoSuccess to inspire others.
Whether you’re a weekend hobbyist or a seasoned engineer, nailing the micro servo horn attachment is a small step with big ripple effects. Now go forth and make something that moves—literally.
Update:2025-09-04
Contact Kpower's product specialist to recommend suitable motor or gearbox for your product.


