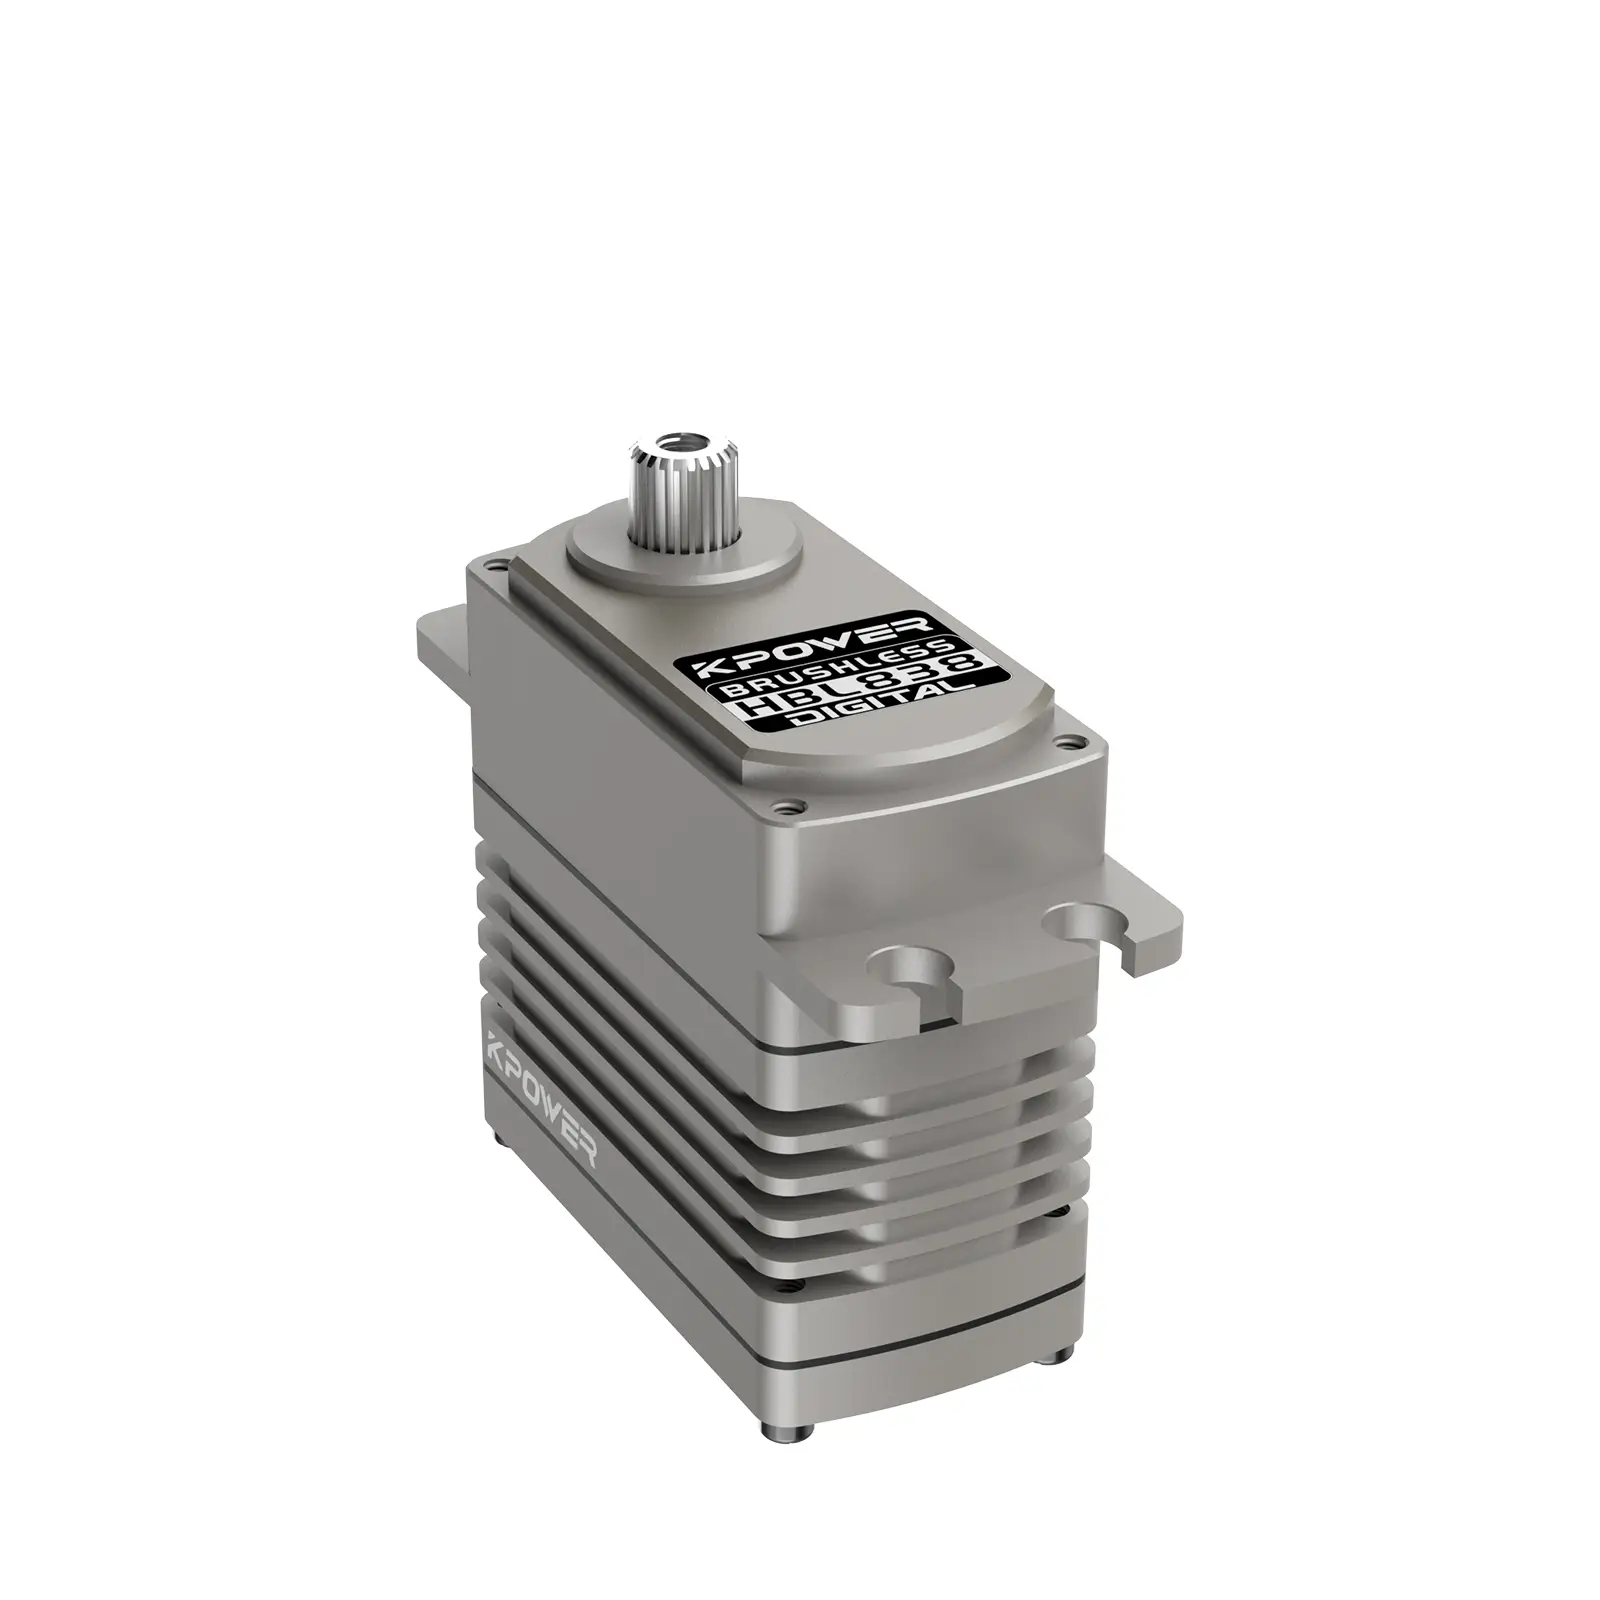
If you’ve ever stared at a robot’s graceful movements or marveled at automated art installations and thought, “I could never build that,” let the Arduino Micro Servo SG90 change your mind. This pocket-sized powerhouse—smaller than a matchbox and lighter than a AA battery—is the unsung hero of DIY robotics, animation, and interactive projects. It’s not just a motor; it’s a blank canvas for turning “what if” into “what’s next.”

The SG90: Small but Mighty
The SG90 is a 9-gram micro servo that rotates up to 180 degrees, making it ideal for precision tasks. Unlike bulkier motors, it’s designed for projects where space and weight matter—think robotic arms, camera sliders, or even whimsical kinetic sculptures. With a torque rating of 1.8 kg/cm (at 4.8V), it’s strong enough to lift small objects, rotate sensors, or adjust tiny levers. But its real magic lies in accessibility: for under $5, it bridges the gap between curiosity and creation.
Why Pair It with Arduino?
Arduino’s open-source ecosystem turns the SG90 from a component into a collaborator. The Arduino Uno or Nano acts as the brain, sending precise PWM (Pulse Width Modulation) signals to control the servo’s angle. This combo democratizes robotics. You don’t need an engineering degree—just a breadboard, jumper wires, and basic code.
Your First Project: The “Sweeping Sentinel”
Let’s build a simple sweeping motion detector. This project uses the SG90 to pan an ultrasonic sensor (like the HC-SR04) back and forth, measuring distances like a mini lighthouse.
Hardware Setup:
Connect the SG90’s brown wire to Arduino GND, red to 5V, and orange to digital pin 9. Mount the ultrasonic sensor on the servo horn using tape or a 3D-printed bracket. Wire the sensor’s Trig and Echo pins to Arduino pins 10 and 11.
Code Snippet: ```cpp
include
Servo myServo; const int trigPin = 10; const int echoPin = 11;
void setup() { myServo.attach(9); pinMode(trigPin, OUTPUT); pinMode(echoPin, INPUT); Serial.begin(9600); }
void loop() { for (int angle = 0; angle <= 180; angle += 15) { myServo.write(angle); delay(500); long duration = pulseIn(echoPin, HIGH); Serial.print("Angle: "); Serial.print(angle); Serial.print(" | Distance: "); Serial.println(duration * 0.034 / 2); } } ``` This code sweeps the servo while logging distance data. It’s a foundational step toward building autonomous robots or smart security systems.
Troubleshooting 101
New to servos? Here’s how to avoid rookie mistakes:
Jittery Movement: Ensure your power supply delivers 5V. Weak batteries cause erratic behavior. Overheating: Don’t force the servo past its 180-degree limit; it strains the motor. Code Errors: Double-check PWM pins. Not all Arduino pins support servo libraries.
Beyond Basics: Think Like a Maker
The SG90 thrives in unexpected places. Tape it to a desk lamp for automated adjustments. Embed it in a Halloween prop to animate a witch’s hand. Use it to tilt a smartphone for time-lapse photography. Its limitations aren’t technical—they’re imaginative.
From Hobby to Hero: Intermediate SG90 Projects
Once you’ve mastered the basics, the SG90 becomes a tool for storytelling. Here’s how to push further:
1. Solar Tracker
Harness renewable energy by building a solar panel that follows the sun. Use two SG90s (for X/Y axis movement) and light-dependent resistors (LDRs). The Arduino compares LDR values to rotate the panel toward the brightest light source. It’s eco-friendly engineering on a micro scale.
2. Robotic Bartender
Mix drinks with style. Attach syringes to SG90s to pump liquids, and program a sequence for your favorite cocktail. Add an LCD screen for menu selection. It’s equal parts engineering and entertainment—perfect for impressing guests.
3. Interactive Shadow Art
Create wall-mounted sculptures where servo-controlled shapes shift under Arduino command. Pair with a motion sensor so viewers’ movements alter the shadows. It’s art that bridges code and emotion.
The SG90 in Robotics: A Gateway to Complexity
While the SG90 can’t handle industrial tasks, it’s a training wheel for advanced concepts. For example:
Gripper Mechanisms: Combine three SG90s to build a robotic claw. One servo opens/closes the grip, while two others control horizontal/vertical movement. Bipedal Robots: Use six SG90s to animate walking legs. The challenge? Synchronizing movements to avoid faceplants.
Prototyping Pro Tips
3D Printing: Design custom servo mounts in Tinkercad or Fusion 360. Noise Reduction: Glue a small capacitor between the servo’s power and ground wires to reduce electrical noise. Battery Life: Use a separate 5V supply for servos in multi-motor projects to prevent Arduino crashes.
When to Upgrade (and When Not To)
The SG90 isn’t perfect. For 360-degree rotation or higher torque, consider servos like the MG996R. But for lightweight, budget-friendly prototyping, the SG90 remains unbeatable.
The Bigger Picture: Learning Through Iteration
Every burnt-out servo or buggy script teaches resilience. One maker’s “failed” robotic arm becomes another’s avant-garde clock. The SG90’s low cost encourages experimentation—breaking things is part of the process.
Join the Community
Platforms like Instructables and Hackaday overflow with SG90 projects. Modify a shared design, then post your version. Collaboration fuels innovation, and your quirky idea might inspire the next big thing.
Final Spark
The Arduino Micro Servo SG90 isn’t just about moving parts—it’s about moving minds. Whether you’re 12 or 52, it invites you to play, fail, and rediscover the joy of making. So grab one, wire it up, and let your curiosity steer. After all, every big dream starts with a tiny motor.
This article blends technical guidance with creative inspiration, avoiding jargon while encouraging experimentation—a balance that mirrors the SG90’s own blend of simplicity and potential.


