


Looking for a suitable motor?


小编
Published2025-10-15
Imagine a spirited dance where precision and control take center stage—each movement deliberate, smooth, and purposeful. That’s exactly what a servo motor brings to your electronics or robotics projects. These tiny but mighty components empower your creations with the ability to execute accurate movements, whether you're building a robotic arm, a remote-controlled vehicle, or an automated system. But before these self-professed “musicians” of the mechanical world can perform their dance, they need to be wired correctly—a process that, when done properly, unlocks limitless potential.
Understanding a servo motor's wiring is the fundamental first step in harnessing its power. Most hobbyist servo motors are designed with simplicity in mind, typically featuring three wires: power (usually red), ground (usually black or brown), and control (often yellow, white, or orange). These wires connect your servo to a power supply, a controller (like a microcontroller), and ground, creating a closed circuit that allows the servo to interpret control signals and move accurately.
Before diving into the wiring process, gather your materials:
Servo motor(s): Choose based on your project requirements. Power supply: Usually 5V DC, but verify your servo's specifications. Microcontroller or control board: Arduino, Raspberry Pi, ESP32, etc. Connecting wires: Jumper wires are ideal for quick and flexible connections. Breadboard (optional): Useful for prototyping. Multimeter (optional): To verify voltage and connections.
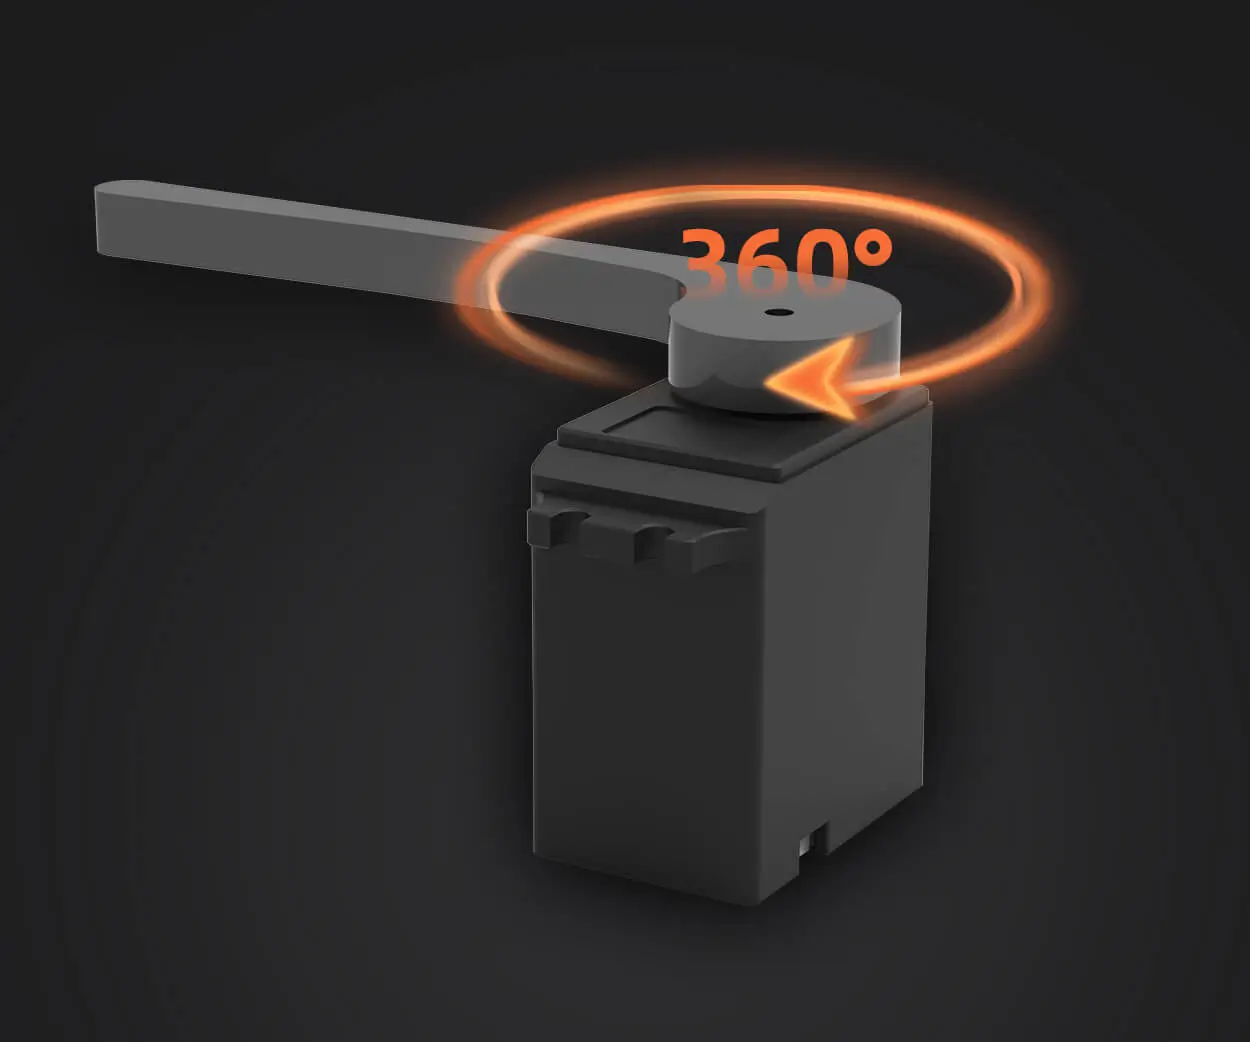
Step 1: Understand the Wiring Diagram
Before touching any wires, it's vital to understand the typical wiring diagram for a standard servo:
Red wire: Positive power supply (Vcc) Black/Brown wire: Ground (GND) Yellow/White/Orange wire: Control signal (PWM)
In a schematic, you'll see the servo's power and ground connected to your power source, while the control wire connects to a designated PWM output pin on your microcontroller.
Step 2: Connect Power and Ground
Start with the core connections:
Power (Red): Connect this wire to your power supply's positive terminal. Ground (Black/Brown): Connect to your power supply’s negative terminal, which should also connect to your microcontroller ground.
Ensure your power supply can provide the current necessary for your servo's operation, especially if you're using multiple servos. Underpowered supplies lead to jittery movements or failure to respond.
Step 3: Connecting the Control Signal
The control wire is the telepathic link that tells the servo what position to move to. Connect this wire to one of your microcontroller’s PWM-capable output pins. In Arduino, for example, pins labeled with a tilde (~) are suitable.
Step 4: Double-Check Connections
Before powering up, verify all your connections:
No wires are loose or misplaced. Power supply voltage matches the servo’s requirements. Ground connections are common between power source and controller. Control wire is connected to a PWM port.
Use a multimeter to confirm voltage levels if you're unsure, and always proceed with caution: a miswired servo can cause temporary damage or reset your microcontroller.
Step 5: Testing Your Setup
Once everything is connected, power on your system:
Ensure your power supply is switched on. Run a simple test program that instructs the servo to move to specific angles. Observe the servo's response—smooth, deliberate movements indicate a successful wiring.
If you encounter issues such as jitter, noise, or no movement:
Check your power supply voltage. Confirm that your control signal is being sent correctly. Ensure common ground sharing among all units.
In the next part, we’ll explore programming your servo motor, troubleshooting common problems, and tips for expanding your servo setup for more advanced projects.
Continuing from the wiring fundamentals, the next step is to effectively control your servo motor through programming. Wiring alone is just the beginning; the real magic happens when you tell your servo how to behave. Whether you're an aspiring robot builder or a seasoned engineer, understanding how to send the right signals is key to unlocking the full potential of your servo motor.
Most hobbyist servo motors are compatible with microcontrollers like Arduino—thanks to their straightforward pulse-width modulation (PWM) control signals. PWM is a technique where the duration of a digital high signal (the pulse) determines the position of the servo’s shaft. For example, a 1-millisecond pulse might rotate the servo to 0°, while a 2-millisecond pulse might turn it to 180°, with intermediate pulses moving it to various angles.
Step 1: Include the Servo Library
In Arduino IDE, controlling a servo becomes a breeze with the built-in Servo library. Begin by including it:
This library simplifies generating the precise PWM signals required by servos.
Step 2: Declare Your Servo Object
Create a Servo object in your code:
And attach the servo to the desired control pin in the setup() function:
void setup() { myServo.attach(9); // Pin 9 is PWM capable on most Arduino boards }
Step 3: Write Command to Move the Servo
Use write() to set an angle:
void loop() { myServo.write(0); // Move to 0° delay(1000); myServo.write(90); // Move to 90° delay(1000); myServo.write(180); // Move to 180° delay(1000); }
This simple loop will cycle your servo between these positions, giving you immediate feedback on your wiring’s success.
Understanding Power Management
While programming is straightforward, power management is complex. When dealing with multiple servos, or high-torque models, external power supplies are often necessary. Connecting multiple servos to your microcontroller's 5V pin can cause voltage drops, leading to jitter or power shutdowns. A dedicated 5V power supply with sufficient current capability (measured in amps) ensures smooth operation.
Advanced Control Techniques
Beyond basic angle setting, you can implement more sophisticated control:
Continuous rotation: Many servos can be converted to continuous rotation mode, controlled by different PWM signals. Feedback systems: Certain servos provide position feedback, which can be read via additional sensors or dedicated signals. Serialization: Use communication protocols like I2C or UART for controlling multiple servos for synchronized movements.
Troubleshooting Common Issues
Even experienced hobbyists encounter hiccups:
Jittery servo: Often caused by insufficient power or noise. Use a dedicated power supply and add decoupling capacitors. Servo not responding: Confirm wiring, check the control signal with an oscilloscope or multimeter, and ensure your code is correct. Erratic movement: Possibly due to ground loops or interfering signals—try separating power and signal grounds or shielding cables.
Once you’ve mastered wiring and basic control, consider expanding:
Multiple servos: Use a servo controller board or PWM driver to manage several servos simultaneously. Sensors integration: Add distance sensors, cameras, or encoders for feedback-driven movement. Automation: Create routines or integrate with sensors to automate complex tasks such as picking and placing objects.
Always verify wiring before powering your system. Use proper power supplies aligned with your servo’s current draw. Avoid daisy-chaining multiple power consumers without adequate wiring. Keep control signals short to prevent interference. Use sturdy connectors to prevent accidental disconnects.
Wiring up a servo motor might seem straightforward at first glance, but it’s where the journey to robotic finesse begins. With a good understanding of wiring principles, proper power management, and effective programming, you can elevate your projects from simple experiments to fully functional, responsive machines. Dive in, experiment, and let your curiosity drive your innovations—servo motors are just waiting for your command.
Established in 2005, Kpower has been dedicated to a professional compact motion unit manufacturer, headquartered in Dongguan, Guangdong Province, China.
Update:2025-10-15
Contact Kpower's product specialist to recommend suitable motor or gearbox for your product.


