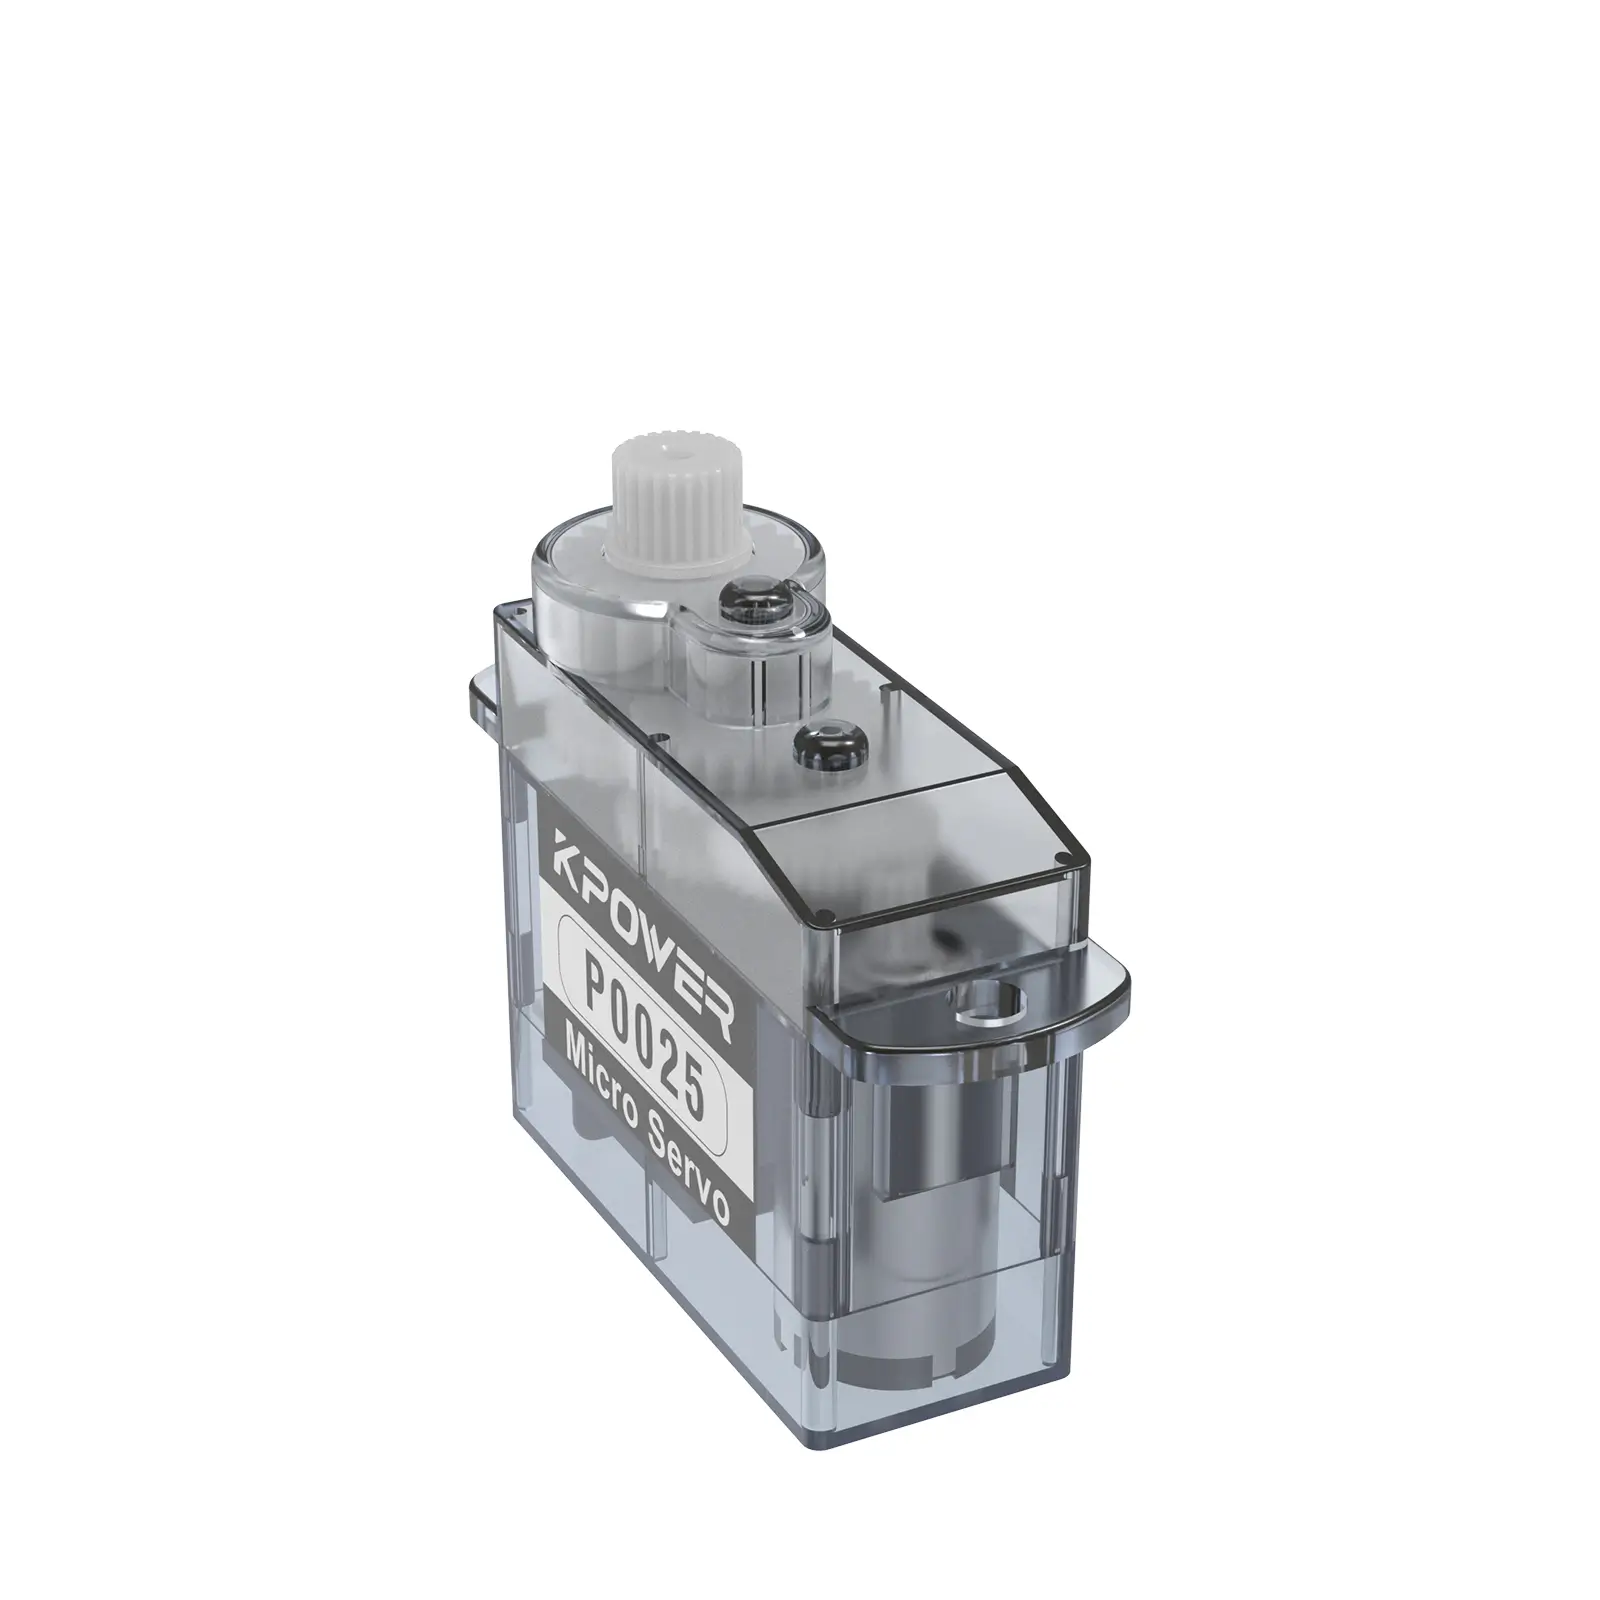
Unlock Endless Motion: Mastering Continuous Rotation Servo Motors with Arduino
So, you’ve got a servo motor and an Arduino board. You’re itching to create something that spins, rotates, or moves smoothly without stopping—like a robot arm, a custom conveyor belt, or even a quirky kinetic sculpture. But wait, standard servos only swing back and forth. What if you need continuous rotation? Let’s talk about how to break free from limits and turn that servo into a 360-degree powerhouse.

Why Continuous Rotation?
Imagine a weather vane that adjusts itself to wind direction, a camera slider that glides endlessly, or a smart plant pot that follows sunlight. These projects demand motion without boundaries. Traditional servos can’t do that—they’re built for precise angles. But with a few tweaks to your code and hardware, you can transform a standard servo into a non-stop motion machine.
“But how does it even work?”
Great question! Inside a servo, there’s a potentiometer that tracks position. For continuous rotation, you’ll essentially override this feedback loop. Instead of telling the motor where to go, you’ll control how fast it spins. It’s like switching from giving directions to controlling the gas pedal.
KPOWER’s Secret Sauce
Not all servos are created equal. KPOWER’s motors come pre-modified for smooth, reliable rotation right out of the box. No soldering, no guesswork—just plug, code, and go. Their gearboxes are optimized for torque and durability, so whether you’re building a mini rover or an automated pet feeder, these motors won’t quit mid-mission.
Code Snippet Simplified
Let’s get hands-on. Using Arduino’s Servo.h library, here’s the magic:
```cpp
include
Servo myServo;
void setup() {
myServo.attach(9); // Pin 9 for signal
}
void loop() {
myServo.write(90); // Full stop
delay(1000);
myServo.write(180); // Full speed clockwise
delay(2000);
myServo.write(0); // Full speed counter-clockwise
delay(2000);
}
```
Notice how values between 0-180 translate to speed and direction. At 90, the motor chills. At 180, it sprints forward; at 0, it reverses. Tweak these numbers to fine-tune your project’s rhythm.
Real-World Wins
Take Jenna, a hobbyist who built a solar tracker using KPOWER’s servo. “I needed something that could rotate panels all day without jittering or overheating. This motor just… works.” Or Mark, who automated his Halloween decorations: “The motor’s quiet, which matters when you’re aiming for spooky, not squeaky.”
“What if I’m new to coding?”
No sweat. Arduino’s community is packed with tutorials, and KPOWER’s motors include clear documentation. Start with basic sketches, then level up. The goal? Make mistakes, learn, and iterate. Your coffee-powered robot barista might still be a few prototypes away, but hey—every revolution starts with a spin.
Final Spin
Continuous rotation servos open doors for projects that demand persistence. With KPOWER’s hardware and a dash of code creativity, you’re not just building gadgets—you’re crafting motion that tells a story. So, grab your Arduino, fire up the IDE, and let those motors run wild. The only limit? Well, there isn’t one.
Ready to redefine motion? Your next project just found its heartbeat.


