Imagine a world where your hand gestures seamlessly dictate the movement of a robotic arm, or a game controller becomes an extension of your mechanical creations. That's the magic of controlling servo motors with a joystick—an interaction that blends human intuition with precise engineering. Whether you're a hobbyist, student, or professional developer, mastering this control technique unlocks a universe of possibilities, from robotics to automation projects and beyond.

Understanding the Basics:
Before diving into the circuitry and coding, it’s essential to grasp what a servo motor is and why a joystick makes an ideal control device.
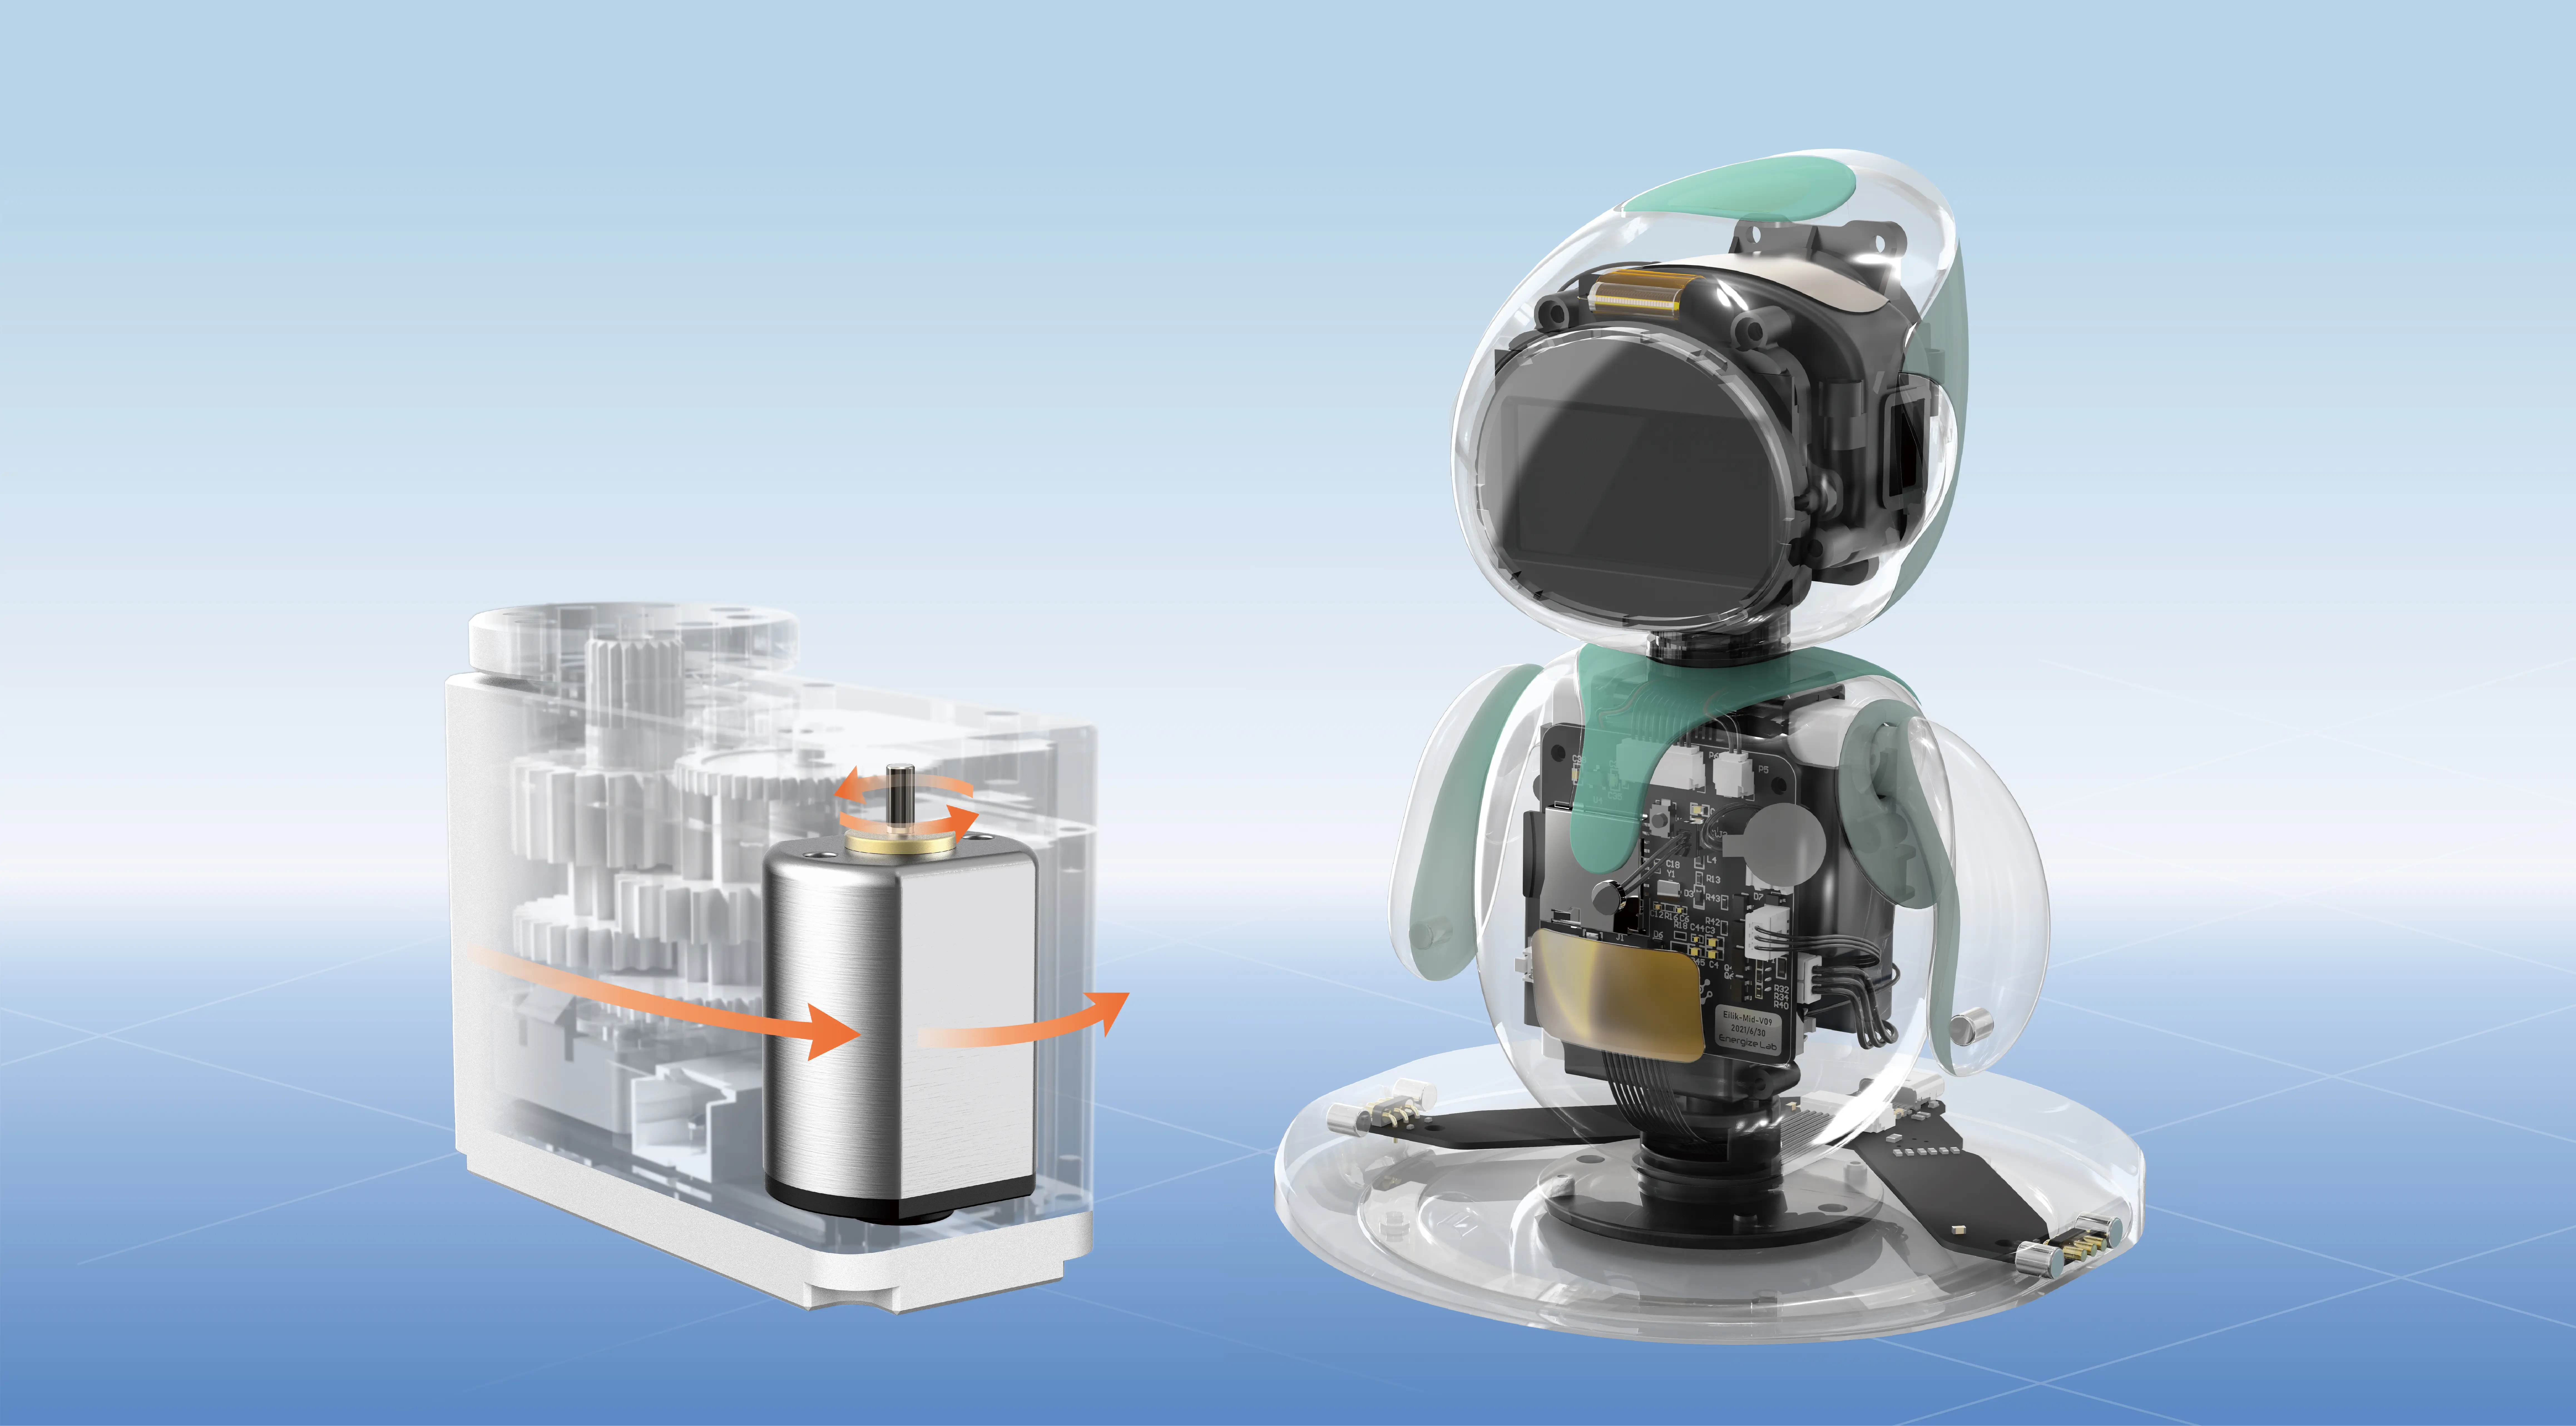
A servo motor is a rotary actuator capable of precise control of angular position, voltage, and speed. Unlike regular DC motors that rotate freely, servos are equipped with a feedback system and a control circuit, allowing them to position the shaft accurately based on signals received. They are widely used in RC vehicles, robotics, CNC machines, and countless automation systems.
A joystick is an input device that translates physical movement into electronic signals. Typically, a joystick has two axes—X (horizontal) and Y (vertical)—and sometimes additional buttons or switches. By scaling these signals, you can manipulate the servo motor position with the tilt and direction of the joystick.
Choosing the Right Components:
Microcontroller: Arduino Uno is a popular choice for beginners due to its straightforward programming environment and robust community support.
Servo Motor: Select a standard hobby servo with adequate torque and speed for your application. For small projects, a standard 9g servo is sufficient; for heavier loads, consider a high-torque servo.
Joystick Module: The traditional analog joystick module, which features two potentiometers, translates physical movement into analog voltage signals. These signals can be read with Arduino’s analog inputs.
Power Supply: Ensure your servo motor has an appropriate power source, especially if you use high-torque models. Avoid powering servos directly from the microcontroller to prevent voltage drops or damage.
Connecting Cables and Breadboard: Use appropriately rated wires and a breadboard for prototyping.
Setting Up the Circuit:
Here’s a step-by-step outline:
Connect the joystick’s VCC and GND pins to the Arduino’s 5V and GND. Connect the joystick’s VRx (horizontal) and VRy (vertical) outputs to Arduino’s analog inputs (A0 and A1). Connect the servo signal wire (usually orange or white) to a PWM-capable digital pin (e.g., D9). Connect the servo’s power (red) and ground (black or brown) to an external power supply if needed, ensuring common ground with Arduino.
Programming the System:
Once wired, the next step is coding. Arduino’s environment simplifies this process:
Read analog values from the joystick. Map these values to an angular range suitable for your servo (usually 0-180 degrees). Command the servo to move to the mapped position.
Here's a simple example sketch outline:
#include Servo myServo; int joystickXPin = A0; int joystickYPin = A1; void setup() { myServo.attach(9); // PWM pin Serial.begin(9600); } void loop() { int xValue = analogRead(joystickXPin); int yValue = analogRead(joystickYPin); // Map analog input from 0-1023 to servo angle 0-180 int servoXPos = map(xValue, 0, 1023, 0, 180); int servoYPos = map(yValue, 0, 1023, 0, 180); // For example, control servo based on x-axis myServo.write(servoXPos); Serial.print("X: "); Serial.print(xValue); Serial.print(" -> "); Serial.println(servoXPos); delay(15); }
This initial setup allows basic control: moving the joystick's X-axis adjusts the servo angle. You can expand this to include Y-axis control, button inputs, or more complex behaviors.
Refining Control:
Smoothness and responsiveness depend on calibration:
Adjust the mapping to match your servo’s midpoints and limits. Implement dead zones to prevent jitter due to minor joystick fluctuations. Use exponential or linear scaling for more sensitive control.
Applications in the Real World:
This basic circuit and code serve as stepping stones:
Robotics: Control robotic arms or grippers. Camera Gimbals: Stabilize and maneuver cameras with intuitive input. Educational Demonstrations: Teach concepts of servomechanisms and input devices. Custom Remote Controls: Build your own controller for drones or RC vehicles.
Looking Ahead:
Expanding beyond basic control involves integrating multiple servos, adding feedback sensors, or employing wireless modules such as Bluetooth or Wi-Fi. Combining these elements leads to sophisticated, interactive systems capable of mimicking human gestures or executing complex automation routines.
This concludes the first part of your comprehensive guide. Up next, we'll dive into advanced control schemes, troubleshooting, creative modifications, and inspiring project ideas that harness servo motors and joysticks' full potential.
Kpower has delivered professional drive system solutions to over 500 enterprise clients globally with products covering various fields such as Smart Home Systems, Automatic Electronics, Robotics, Precision Agriculture, Drones, and Industrial Automation.


