Imagine holding the power to animate objects, create precise movements, or add interactivity to your projects—all from a tiny yet mighty microcontroller. The Arduino Uno, a popular and beginner-friendly development board, opens up endless possibilities in the realm of electronics and robotics. At the heart of many creative projects lies the servo motor, a device that offers precise angular positioning, making it perfect for tasks requiring accurate movement—think robotic arms, camera sliders, or model cars steering mechanisms.

So, how does one bring these components together? The process is simpler than you might think. This guide will walk you through the fundamental concepts and practical steps to control a servo motor using an Arduino Uno, allowing you to start your journey into automation and robotics.
First, let’s clarify what a servo motor is. Unlike regular DC motors that just spin freely, a servo motor is equipped with a built-in control circuit that allows for precise control of angular position. Typically, you can set it to turn to specific angles—say, 0°, 90°, 180°, or any value in between—making it incredibly useful for projects that require accurate movement.
To start, gather your materials: an Arduino Uno, a servo motor (commonly the SG90 or MG90S models for beginner projects), a breadboard, jumper wires, and a power supply (the Arduino's 5V output usually suffices for small servos). It's good practice to check the datasheet of the servo to confirm its voltage and current requirements, ensuring your power supply can handle the load without issues.
Now, let’s delve into the wiring. The typical servo motor has three wires: a power wire (usually red), a ground wire (black or brown), and a signal wire (white, yellow, or orange). Connect the power wire to the 5V pin on the Arduino, the ground wire to the GND pin, and the signal wire to one of the digital PWM pins, such as pin 9.
Once wired up, the next step is programming. Arduino’s integrated development environment (IDE) simplifies code writing with its user-friendly interface. To control servos, Arduino offers a dedicated library called Servo.h. Including this library in your sketch unlocks simple commands for precise servo control.
Here’s a peek at the basic code structure:
#include // Create a Servo object Servo myServo; void setup() { // Attach the servo on pin 9 myServo.attach(9); } void loop() { // Move servo to 0 degrees myServo.write(0); delay(1000); // Wait for 1 second // Move servo to 90 degrees myServo.write(90); delay(1000); // Move servo to 180 degrees myServo.write(180); delay(1000); }
This simple sketch commands the servo to sweep between three positions—0°, 90°, and 180°, pausing briefly at each. The write() function takes an angle value, and the servo motor moves accordingly. The delay ensures each position is held for a second before moving on.
Now, beyond the basics, you can explore more dynamic control by using sensors, potentiometers, or even wireless modules like Bluetooth or Wi-Fi to interact with your servo remotely. For example, attaching a potentiometer to one of the Arduino’s analog inputs allows you to manually control the servo position based on user input, adding interactivity to your project.
Keep in mind that powering multiple servos or larger models may require a separate power supply, as drawing too much current from the Arduino can lead to unstable operation or damage it. Using an external battery pack or dedicated power source ensures your setup remains reliable.
With this knowledge, what can you create? Perhaps a robotic arm that you can control with your hand gestures, a camera pan-tilt system for smooth video recording, or a miniature traffic light with moving signals. The possibilities are limited only by your imagination.
Stay tuned for the second part of our guide, where we’ll delve deeper into advanced techniques: programming multiple servos, achieving synchronized movements, implementing feedback systems, and troubleshooting common issues. Whether you’re a hobbyist, student, or aspiring engineer, mastering servo control with Arduino opens up a universe of innovation waiting to be explored.
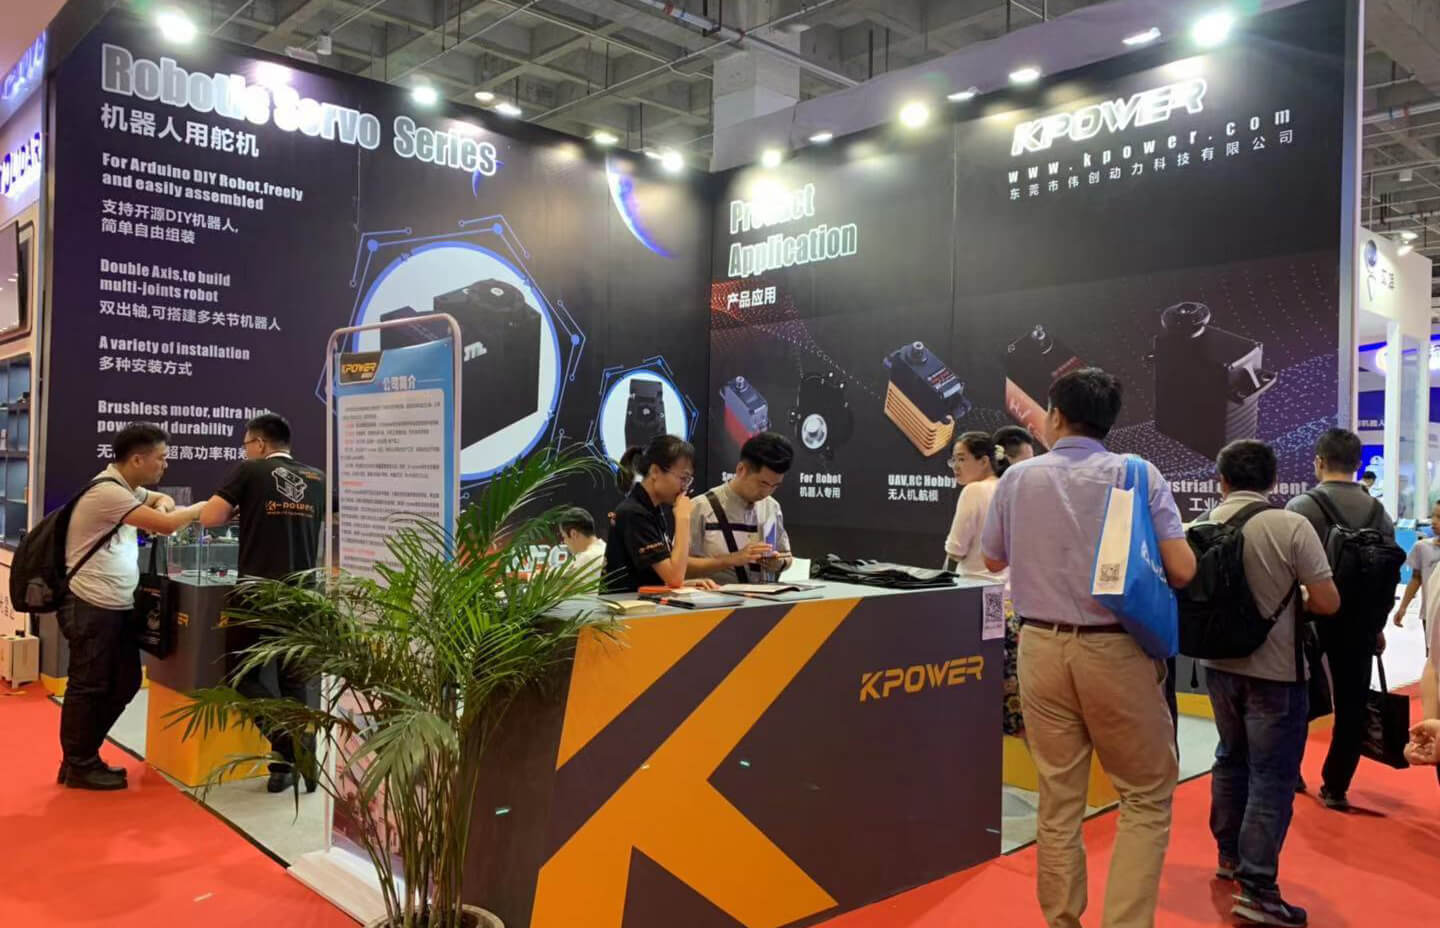
Established in 2005, Kpower has been dedicated to a professional compact motion unit manufacturer, headquartered in Dongguan, Guangdong Province, China.


