


Looking for a suitable motor?


小编
Published2025-10-15
Unleashing Creativity with Arduino Nano and Servo Control: A Beginner’s Guide to Smooth Movements
Imagine being able to breathe life into a machine with just a tiny microcontroller, a motor, and a sprinkle of code. The Arduino Nano, petite yet powerful, has become a favorite for hobbyists, students, and even seasoned engineers looking for a compact platform to experiment with automation and robotics. When combined with servo motors, it opens doors to countless possibilities—robotic arms, camera gimbals, remote-controlled vehicles, and artistic kinetic sculptures.
What makes Arduino Nano special?
The Arduino Nano packs a punch—it's small, affordable, and versatile. Measuring just 45 by 18 millimeters, it can fit into tight spaces, making it ideal for compact automation projects. Despite its size, it boasts a 32-bit microcontroller, multiple GPIO pins, analog inputs, and the ability to upload and run custom code seamlessly.
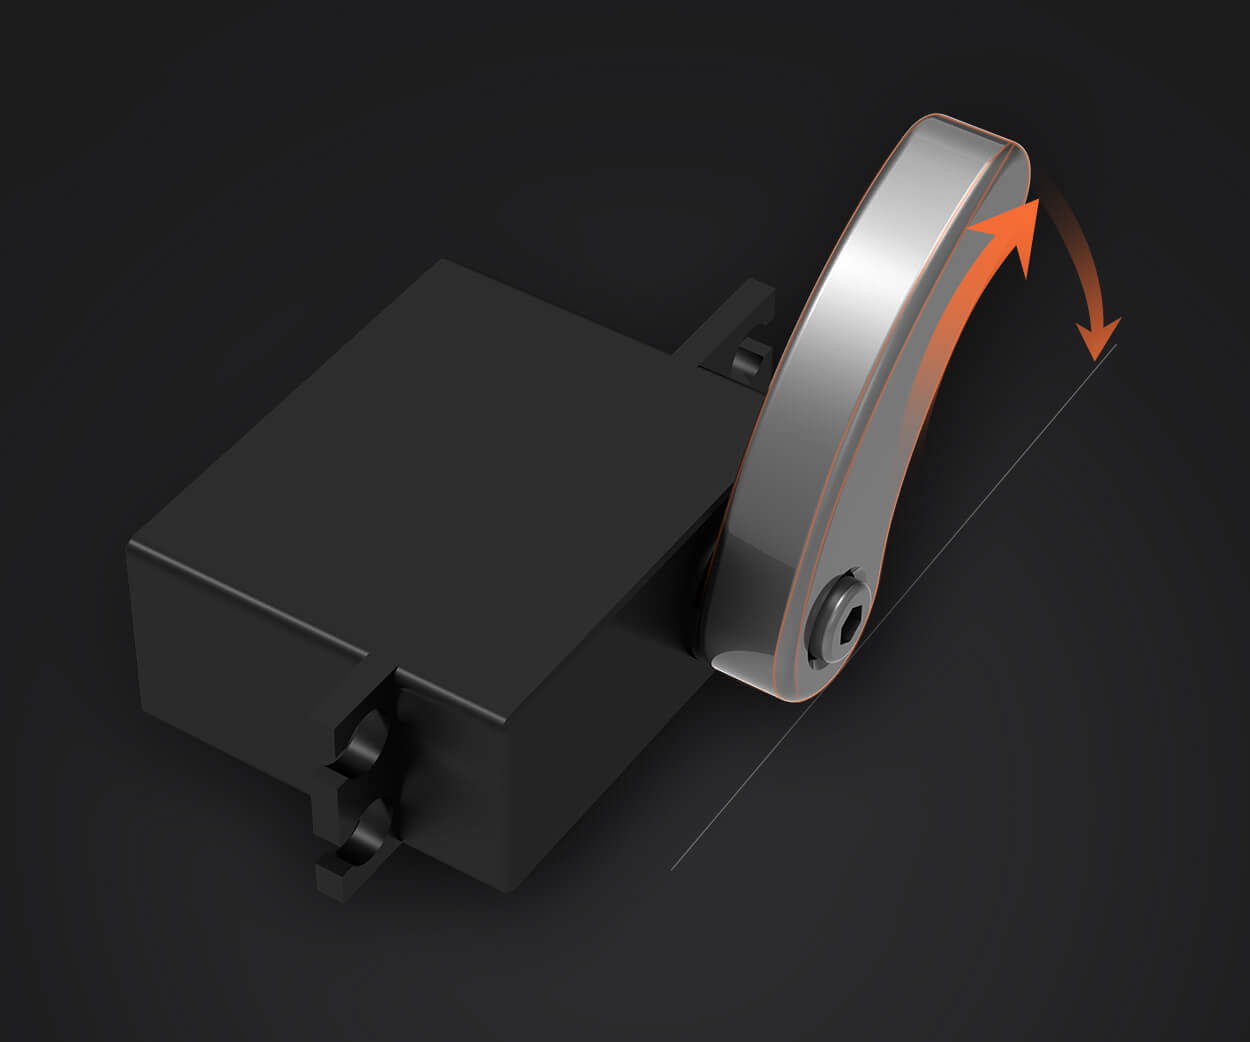
Understanding servo motors
Servo motors are a type of rotary actuator that allows precise control of angular position, speed, and acceleration. Unlike simple DC motors, servos are equipped with built-in control circuitry, which makes them ideal for applications requiring exact movements. They typically come with a three-wire connection: power (usually 5V), ground, and control signal.
Connecting an Arduino Nano to a servo
Getting started is straightforward. All you need is an Arduino Nano, a servo motor (like the popular SG90 or MG995), jumper wires, and a power source. Connect the servo's power and ground to the Nano's 5V and GND pins, respectively, and then connect the control wire (usually orange or yellow) to one of the digital PWM pins on the Nano—say, D9.
Programming your servo with Arduino IDE
Reading the movements of your servo is easier than slicing a cake. You'll write a simple sketch using the Arduino IDE, incorporating the Servo library, which simplifies control commands. Once uploaded, your servo will respond to commands, moving to specified angles with smooth precision.
Getting comfortable with code
Here's a quick snippet to move a servo to 0, 90, and 180 degrees:
#include Servo myServo; void setup() { myServo.attach(9); // attaches the servo on pin 9 } void loop() { myServo.write(0); delay(1000); myServo.write(90); delay(1000); myServo.write(180); delay(1000); }
This loop slides the servo back and forth, demonstrating simple positional control.
While small servos like the SG90 draw little current and can be powered directly from the Nano, larger servos demand external power supplies. Always check your servo specifications and avoid drawing all power through the Nano to prevent damage or unreliable operation.
Why use Arduino Nano for servo control?
Beyond its compact size, the Nano provides excellent flexibility and ease of use. Its programming environment is beginner-friendly, yet powerful enough to handle complex sequences and sensor integrations. Whether you're building a robot arm, an automated camera slider, or a robotic pet, the Nano's capabilities make it a go-to choice.
Pan and tilt camera system: Use multiple servos to control the camera's orientation for surveillance or time-lapse photography. Robotic arm: Construct an arm with several servos to mimic human movements and perform pick-and-place tasks. Automated greenhouse: Adjust vents, blinds, or watering mechanisms with servo-driven actuators based on sensor inputs.
From Simple Movements to Sophisticated Automation: Exploring Advanced Arduino Nano Servo Projects
Building on the basics, you’re probably eager to expand your project horizons. The Arduino Nano’s ability to handle multiple servos, integrate sensors, and respond to real-world inputs turns simple movements into elaborate automation. Here’s a deeper dive into more complex applications, tips for optimizing performance, and creative ideas to propel your projects further.
Controlling multiple servos
Many projects demand more than one movement mechanism. Luckily, the Nano's multiple GPIO pins and PWM outputs make controlling several servos manageable. For projects with several servos, consider using a servo driver or a PCA9685 PWM driver board, which handles up to 16 channels over I2C, freeing up the Nano’s resources for other tasks.
Implementing PID control for smooth motion
Sometimes, you want servo movements to be not just accurate but also wearisomely smooth. Implementing Proportional-Integral-Derivative (PID) control algorithms can significantly enhance performance, especially in applications involving nested or coordinated movements like robotic arms.
Sensor integration for responsive automation
Sensors transform your project from a simple moving platform into an intelligent system. Ultrasonic sensors can help servos respond to distance, while light sensors enable you to create solar trackers. Incorporate these sensors to command servos based on environmental inputs, making your device truly interactive.
Using pulse width modulation (PWM) creatively
Servo control is based on pulse width modulation signals. Understanding the timing intricacies allows more refined control. For example, very fast or slow movements can be programmed with precise delay and write commands, mimicking natural movements or synchronized actions.
Handling power supply challenges
When scaling up, power management becomes critical. Excessive current draw can cause voltage drops or damage. Use separate power supplies for servos and the Nano, and employ common grounds to ensure stable operation. Adding capacitors across the power lines can also suppress voltage spikes caused by servo motion.
Programming for automation and safety
Advanced projects often involve safety parameters—limits for movements, emergency stops, or completion feedback. Integrate limit switches or potentiometers to give your controller feedback on position and prevent mechanical over-rotation or damage.
Interactive robotic hand: Use multiple servos to simulate finger movements, controlled by sensors or user inputs. Drawbot or plotter: Create a canvas drawing robot, where servos move the pen based on code patterns or image inputs. Home automation peripherals: Automate blinds or curtains with servo-driven mechanisms that react to time or ambient conditions.
Troubleshooting and optimization tips
Always check wiring before powering up. Use serial debugging messages to monitor code execution. Avoid overloading your servos—use external power sources. Adjust the servo's response speed in code for more fluid movements.
Looking ahead: Arduino Nano and beyond
While the Nano is highly capable, you might find yourself wanting more speed, more PWM channels, or additional connectivity options. Modules like the Arduino Mega or ESP32 can extend your capabilities, but for many hobbyist projects, Nano remains the perfect starting point.
In summary, controlling servos with an Arduino Nano bridges the gap between simple electronics and dynamic, interactive projects. Its accessibility encourages experimentation, while its flexibility caters to a broad range of applications—from art installations to robotics. The key to mastering servo control lies in understanding the fundamentals, exploring advanced topics gradually, and always pushing the boundaries of what your tiny, mighty Nano can do.
Leveraging innovations in modular drive technology, Kpower integrates high-performance motors, precision reducers, and multi-protocol control systems to provide efficient and customized smart drive system solutions.
Update:2025-10-15
Contact Kpower's product specialist to recommend suitable motor or gearbox for your product.


