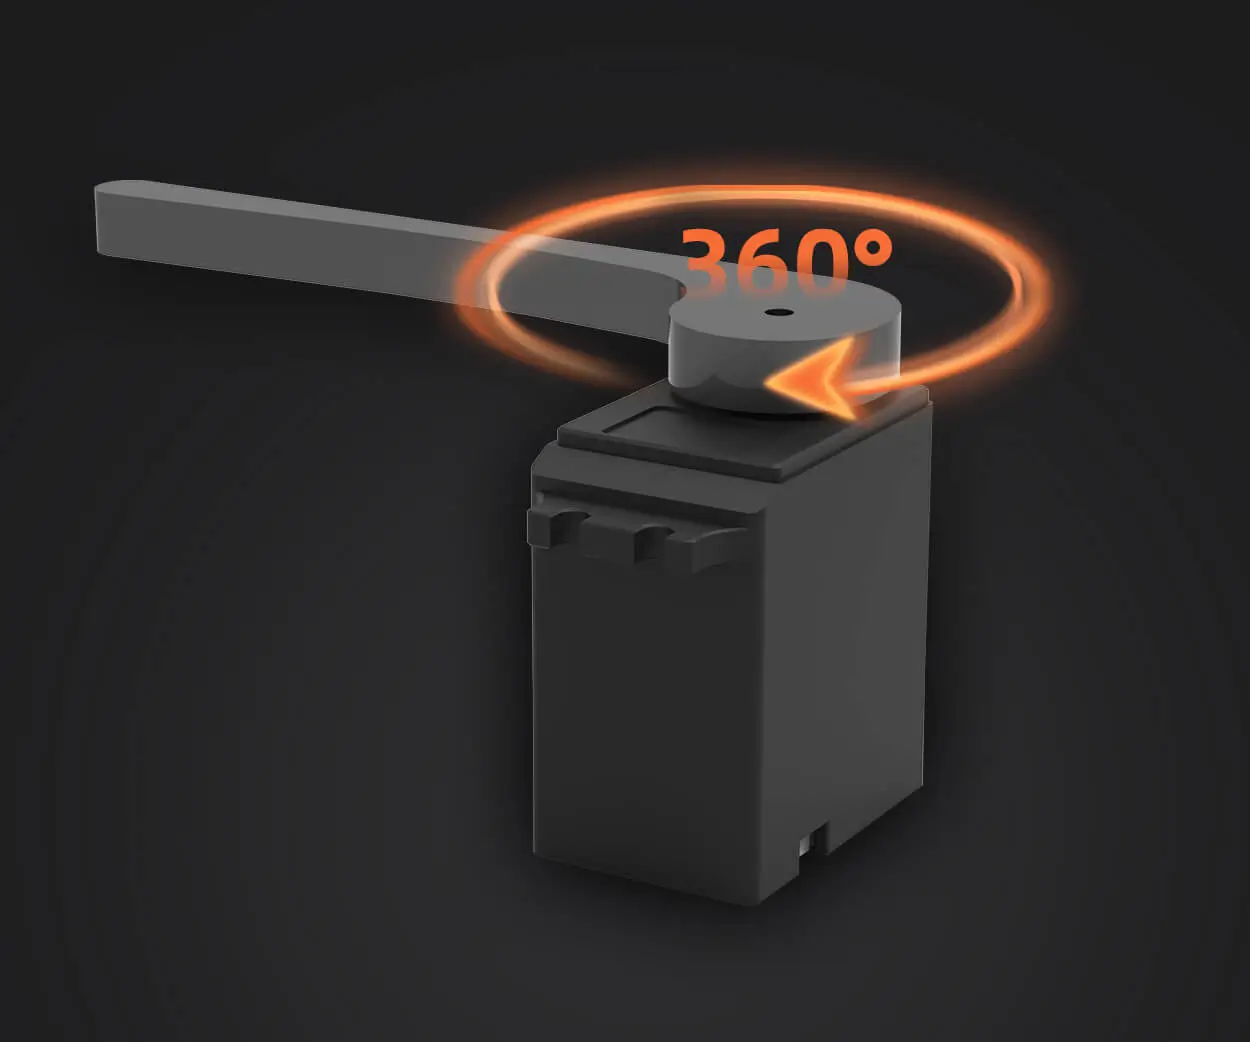
Introduction to DC Motors and Arduino
What is a DC Motor?
A DC motor (Direct Current motor) is a widely used mechanical device that converts electrical energy into rotational motion. It’s one of the most fundamental components used in robotics, automation, and electronics projects. DC motors come in various sizes and types, but they all operate on the same basic principle: applying voltage across a motor's terminals creates a magnetic field that causes the rotor to spin.

DC motors are popular due to their simplicity, cost-effectiveness, and ease of control. They can rotate in both directions (clockwise and counterclockwise) and their speed can be varied by adjusting the input voltage.
What is Arduino?
Arduino is an open-source electronics platform based on simple software and hardware. It is widely known for being user-friendly, making it accessible to both beginners and professionals. The Arduino board consists of a microcontroller that allows you to control various electronic components such as sensors, lights, motors, and more.
Arduino provides a straightforward programming environment (IDE), which is perfect for hobbyists, engineers, and students. When paired with a DC motor, it offers incredible flexibility for building interactive projects like robots, automated systems, and motor-driven gadgets.
Why Interface a DC Motor with Arduino?
Interfacing a DC motor with Arduino allows you to add movement to your projects. Whether you're building a robot, a conveyor belt system, or a simple fan, controlling the speed and direction of the motor becomes much easier with Arduino. By using Arduino’s Pulse Width Modulation (PWM) functionality, you can fine-tune the motor’s speed, making your project more dynamic and versatile.
Essential Components for Interfacing DC Motor with Arduino
To successfully interface a DC motor with Arduino, you’ll need the following components:
DC Motor: The main actuator for your project.
Arduino Board: The control unit, such as the Arduino Uno.
Motor Driver: An H-Bridge circuit or motor driver module like L298N or L293D is used to drive the motor. It helps handle the high current required by motors and isolates the Arduino from the motor’s electrical demands.
Power Supply: A separate power supply is often necessary for the motor because Arduino cannot provide sufficient power for high-current motors.
Jumper Wires: For connecting the motor, motor driver, and Arduino.
Breadboard: For organizing and testing connections (optional but recommended).
Step-by-Step Guide to Connecting a DC Motor to Arduino
Step 1: Wiring the Components
To begin interfacing the DC motor with Arduino, you need to correctly wire the components:
Motor Driver to Arduino: Connect the input pins of the motor driver (such as L298N) to specific pins on the Arduino. The IN1, IN2, IN3, and IN4 pins control the direction of the motor.
For example, connect IN1 to Arduino pin 8, IN2 to pin 9, IN3 to pin 10, and IN4 to pin 11.
Motor to Motor Driver: Connect the output pins of the motor driver to the terminals of the DC motor. Most motor driver modules have two output pins for each motor, one for each terminal of the motor.
Power Supply to Motor: Connect the motor's power input pins (often labeled as VCC or +12V) to an external power supply that can provide the required voltage and current for the motor.
Be sure not to draw too much current from the Arduino itself, as it may damage the board.
Arduino to Power Supply: Connect the ground (GND) pin of Arduino to the ground of the motor driver and external power supply.
Pulse Width Modulation (PWM) Pin: Connect one of the PWM pins from Arduino to the motor driver’s enable pin (ENA or ENB, depending on the motor driver model). This enables you to control the motor’s speed.
Step 2: Writing the Code
Once the hardware is set up, you’ll need to program the Arduino to control the motor. Here’s a simple example code to get you started:
// Motor pins
int motorPin1 = 8;
int motorPin2 = 9;
int motorSpeed = 10; // PWM pin
void setup() {
pinMode(motorPin1, OUTPUT);
pinMode(motorPin2, OUTPUT);
pinMode(motorSpeed, OUTPUT);
}
void loop() {
// Move motor forward
digitalWrite(motorPin1, HIGH);
digitalWrite(motorPin2, LOW);
analogWrite(motorSpeed, 255); // Full speed
delay(2000); // Run motor for 2 seconds
// Stop motor
digitalWrite(motorPin1, LOW);
digitalWrite(motorPin2, LOW);
analogWrite(motorSpeed, 0);
delay(2000); // Wait for 2 seconds
// Move motor backward
digitalWrite(motorPin1, LOW);
digitalWrite(motorPin2, HIGH);
analogWrite(motorSpeed, 255); // Full speed
delay(2000); // Run motor in reverse for 2 seconds
// Stop motor
digitalWrite(motorPin1, LOW);
digitalWrite(motorPin2, LOW);
analogWrite(motorSpeed, 0);
delay(2000); // Wait for 2 seconds
}
In this code:
The motor is set to move forward for 2 seconds, stop for 2 seconds, and then reverse for another 2 seconds.
The analogWrite() function is used to control the speed of the motor using PWM.
Step 3: Testing the Motor
After uploading the code to your Arduino, the motor should begin to rotate, following the instructions you’ve programmed. Observe how the motor switches directions and adjusts speed based on the provided code.
Step 4: Troubleshooting
If the motor doesn’t respond as expected:
Double-check the wiring connections.
Ensure the external power supply is providing the correct voltage for the motor.
Make sure your Arduino board is properly connected to your computer and the code has been uploaded.
Advanced Techniques
After you’ve successfully interfaced a DC motor with Arduino, you can experiment with more advanced techniques, such as:
Speed Control: Vary the motor speed using PWM to simulate acceleration or deceleration.
Direction Control: Change motor direction programmatically to control your project’s movements.
Motor Encoders: Use encoders to track motor rotation and integrate feedback loops for precise control.
Multiple Motors: Connect multiple motors for larger robotic or automated systems.
Interfacing a DC motor with Arduino opens up endless possibilities in terms of project development. Whether you're building a robot, a fan, or an automated system, the ability to control motors brings your designs to life.
Leveraging innovations in modular drive technology, Kpower integrates high-performance motors, precision reducers, and multi-protocol control systems to provide efficient and customized smart drive system solutions.


