Welcome to the World of Arduino and Tinkercad—Unleash Your Inner Inventor
Imagine stepping into a universe where you can build anything from simple robots to complex automation systems—all within your computer. That universe is very much accessible through platforms like Arduino paired with Tinkercad. Whether you're an aspiring maker, a curious student, or someone looking to dip their toes into electronics, understanding how to control a DC motor with Arduino in Tinkercad opens up a treasure trove of possibilities.

Why Use Tinkercad for Learning Arduino?
Tinkercad, a product by Autodesk, is renowned for its user-friendly interface, especially for beginners. It provides a virtual environment where you can simulate circuits, design 3D models, and code microcontrollers—all without needing physical components. This saves you time, money, and frustration, especially when just starting out.
For Arduino enthusiasts, Tinkercad's Circuits feature means you can assemble your electronic projects virtually, trial your ideas, troubleshoot errors, and refine your designs—all in a sandbox that mimics real-life electronic behavior.
Getting Started: The Basics of Arduino and DC Motors
Before diving into the simulation, let’s briefly review the essential components:
Arduino: An open-source microcontroller platform that serves as the brain of your project. It reads inputs, processes them, and controls outputs.
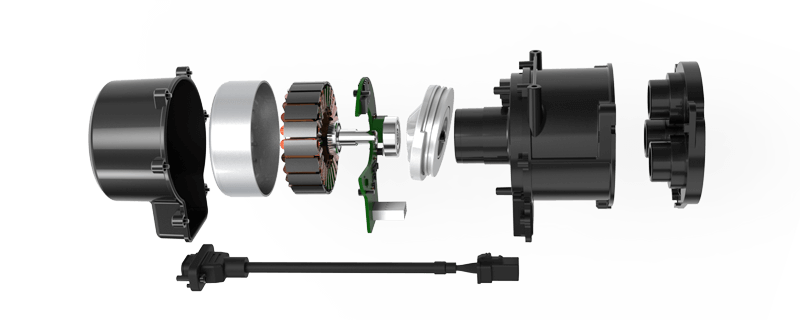
DC Motor: A common type of electric motor that runs on direct current. It’s ideal for robots, fans, wheels, and other mechanical devices requiring rotational motion.
Motor Driver Module: Since Arduino cannot supply enough current to run a motor directly, a driver like the L298N or the transistor-based circuits is used to power the motor while being controlled by the Arduino.
Power Supply: Provides the necessary voltage and current for both the Arduino and motor.
In a physical setup, hooking these up can seem intimidating at first glance. That’s why Tinkercad’s virtual environment simplifies your learning curve by allowing you to visualize your circuit and test your code interactively.
Building Your First Virtual Circuit for a DC Motor Control
Let’s plan a simple project: control a DC motor—turn it on and off and perhaps vary its speed.
Step 1: Setting Up in Tinkercad
Log in to Tinkercad and navigate to the Circuits section. Click “Create New Circuit.” Drag an Arduino Uno onto the workspace. Place a DC motor component. Connect a motor driver module (such as L298N) between the Arduino and the motor. Add a power supply suitable for the motor (consider 5V or 9V depending on your motor specs).
Step 2: Wiring the Components
Connect Arduino digital pins (say, pin 9) to the motor driver input. Connect the motor to the driver output. Connect the motor driver’s power inputs to the power supply. Ensure common ground between Arduino, motor driver, and power source.
Step 3: Writing the Code
Here’s a simple example code to control motor speed using PWM (Pulse Width Modulation):
int motorPin = 9; // PWM pin connected to motor driver void setup() { pinMode(motorPin, OUTPUT); } void loop() { // Accelerate motor for (int speed = 0; speed <= 255; speed++) { analogWrite(motorPin, speed); delay(20); } // Decelerate motor for (int speed = 255; speed >= 0; speed--) { analogWrite(motorPin, speed); delay(20); } }
This sketch gradually speeds up and slows down the motor, demonstrating basic PWM control.
In Part 2, we'll explore more advanced control methods, sensor integration, troubleshooting, and real-world applications of Arduino-driven DC motors in Tinkercad.
Kpower has delivered professional drive system solutions to over 500 enterprise clients globally with products covering various fields such as Smart Home Systems, Automatic Electronics, Robotics, Precision Agriculture, Drones, and Industrial Automation.


