Let's dive into this exciting theme! Here's the first part of a comprehensive, engaging article on "Servo Motor Arduino Coding".

Imagine a tiny but mighty component that can precisely control movement, turn an arm, rotate a camera, or automate countless mechanical tasks — that’s the magic of a servo motor. Paired with the versatile Arduino microcontroller, servo motors become an accessible and powerful tool for hobbyists, students, and professionals alike. Whether you’re dreaming of building a robotic arm, a camera gimbal, or a home automation system, knowing how to control a servo with Arduino opens a world of possibilities.
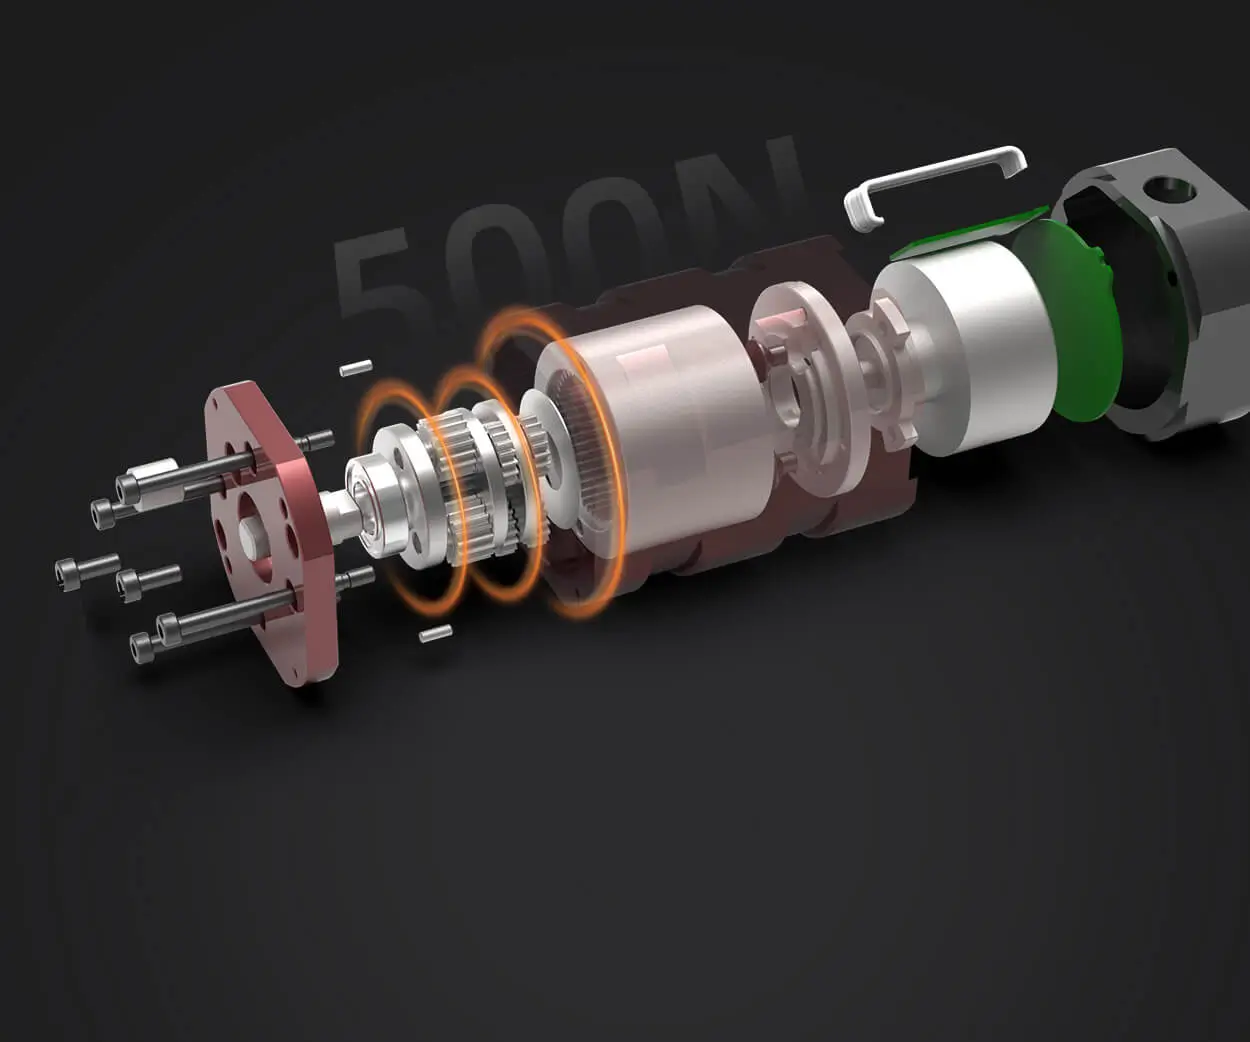
Understanding what a servo motor is, is the first step. Unlike simple DC motors that spin freely in both directions and require additional components for position control, servo motors are designed to rotate to a specific position within their range, typically 0 to 180 degrees. They contain a small built-in control circuit and a feedback mechanism, which keeps the motor shaft at a precise angle when commanded. The result? Accurate, repeatable movement that’s ideal for robotics, automation, and instrument control.
Getting started with servo motors and Arduino is remarkably straightforward. The basic setup involves connecting the servo’s power and ground lines to the Arduino’s power supply (usually 5V and GND) and the control wire to a designated PWM (Pulse Width Modulation) digital pin. PWM is a technique that allows the Arduino to send signals that instruct the servo on how far to turn. The electrical wiring is minimal, making it suitable even for beginners.
The first thing you need is an Arduino board — such as the Arduino Uno, Nano, or Mega. Alongside, a standard hobby servo motor, which costs just a few dollars and is readily available from electronics suppliers or online marketplaces. Once you have your hardware ready, the next step is to harness the power of the Arduino IDE, a free, user-friendly programming environment.
The core library used for servo control in Arduino is the Servo.h library. This library simplifies the process by providing functions that handle the generation of PWM signals internally, allowing you to set the servo position with simple commands. Here’s a typical code snippet for basic control:
#include Servo myServo; // create a servo object to control a servo void setup() { myServo.attach(9); // attach the servo control on pin 9 } void loop() { myServo.write(0); // move to 0 degrees delay(1000); // wait for a second myServo.write(90); // move to 90 degrees delay(1000); myServo.write(180); // move to 180 degrees delay(1000); }
This simple sketch moves the servo to three positions, pausing a second between each move. It demonstrates how intuitive controlling servos can be. By changing the angles in write(), you can make the servo move exactly where you want.
But controlling a servo isn’t just about moving to predefined positions. It's often about precision, responsiveness, and sometimes, smoothness. The Arduino’s Servo.h library allows for smooth transitions also: with functions like writeMicroseconds() for very fine control or implementing custom routines to interpolate movement between points.
More Advanced Control: The Timing and Speed
In real-world applications, you might need to control the speed at which the servo moves, or coordinate multiple servos simultaneously. This is where understanding the timing and signals becomes crucial.
For example, to make the servo move gradually from 0 to 180 degrees, you can implement a for-loop that incrementally updates the position:
for (int pos = 0; pos <= 180; pos++) { myServo.write(pos); delay(15); // small delay for smooth movement }
This code creates a slow, visually appealing transition, perfect for animating robotic arms or camera gimbals.
Power considerations and safety
When working with servo motors, especially multiple units or larger models, power management becomes important. Servos can draw significant current — sometimes up to 1A at stall — so powering them directly from the Arduino’s 5V pin can cause resets or damage your board. For more robust setups, using an external power source (like a dedicated 5V regulator or battery pack) and common ground connection is advisable.
Real-world applications
Once you’re comfortable with the basics, you can integrate servo control into larger projects, such as:
Robotics: arm movement, wheel steering, or grippers Photography: camera positioning, tracking systems Home automation: opening vents, adjusting blinds, or controlling door locks Interactive art: animatronics, kinetic sculptures
This is just the beginning of your journey into servo motor control with Arduino. In the next part, we’ll delve into more sophisticated coding techniques, sensor integration, and troubleshooting tips to empower your projects even further. Whether you want to automate a robot or craft a responsive handmade device, mastering Arduino servo coding is your key to bringing mechanical dreams to life.
Leveraging innovations in modular drive technology, Kpower integrates high-performance motors, precision reducers, and multi-protocol control systems to provide efficient and customized smart drive system solutions.


