


Looking for a suitable motor?


小编
Published2025-10-15
Harnessing the Power of Servo Motors with Arduino: A Beginner’s Journey into Robotics and Automation
Embarking on a journey into robotics with Arduino and servo motors is like opening the door to a universe where innovation meets hands-on experimentation. Whether you're a curious hobbyist, a student eager to learn, or a seasoned engineer, crafting projects with these tools offers endless opportunities for creativity and learning.
The Charm of Servo Motors
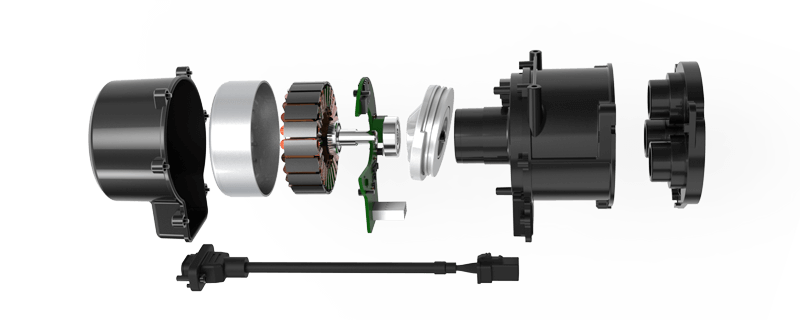
At the core of many automation and robotics projects, the servo motor is an unsung hero—small yet mighty, precise yet versatile. Unlike traditional motors, servo motors possess built-in feedback mechanisms, allowing for accurate position control. This means they can rotate to a specified angle and hold that position with remarkable stability, which makes them indispensable in robotic arms, camera gimbals, remote-controlled vehicles, and even art installations.
Arduino, the open-source microcontroller platform, has revolutionized electronics education and DIY projects worldwide. Its simplicity and vast community support make it an ideal choice for controlling servo motors. With just a few lines of code, you can command a servo to move smoothly, respond to sensors, or even perform complex sequences.
Getting Started: Essential Components
Before diving into the project, gather these essentials:
An Arduino board (Uno, Mega, Nano—pick your favorite) A servo motor (commonly SG90 or MG995 for hobby projects) Jumper wires Power supply (if using multiple servos or power-hungry models) Breadboard (optional, for organizing connections) Sensors or additional components based on your project goals
Connecting a servo to an Arduino is straightforward:
Power and Ground: Connect the servo's red wire to the Arduino's 5V (or external power supply if needed), and the black/brown wire to ground (GND). Control Signal: Connect the servo's control wire (often yellow or orange) to a digital PWM pin on the Arduino (e.g., D9).
Once wired, upload a simple code sketch to test movement:
#include Servo myServo; void setup() { myServo.attach(9); // Connects servo control to pin 9 } void loop() { myServo.write(0); // Move to 0 degrees delay(1000); myServo.write(90); // Move to 90 degrees delay(1000); myServo.write(180); // Move to 180 degrees delay(1000); }
This fundamental sketch allows your servo to rotate to different positions, showcasing the basics of control.
Programming Tips and Tricks
Control precision depends on the quality of your code and components. Here are tips for enhancing your servo projects:
Use libraries: The Servo.h library simplifies code development. Manage power carefully: Servos can draw significant current. Using an external power source prevents voltage drops that cause erratic behavior. Implement smooth transitions: Instead of instant jumps, interpolate between angles for fluid motion. Limit servo range: Properly range-limit your servos to prevent mechanical damage. Add feedback and sensors: Incorporate potentiometers, encoders, or distance sensors for autonomous or interactive behaviors.
Creative Project Ideas to Expand Your Skills
Once you master basic movements, challenge yourself with more complex projects:
Automated Camera Gimbal: Stabilize and control camera pitch/yaw for smooth footage. Robotic Arm: Program multi-joint movements for picking and placing objects. Line or Obstacle Following Robots: Use sensors and servos to create autonomous vehicles. Interactive Art Installations: Use servo movements to create dynamic art that responds to user input or environmental cues.
Troubleshooting and Optimization
Getting a servo to behave exactly as expected can sometimes be tricky. Common issues include jittering, weak movements, or unresponsive servos. Solutions involve:
Ensuring stable power supply Updating code to optimize delays and movement speeds Checking wiring connections Using shielded or higher-quality servos for demanding projects
We've uncovered the foundations of integrating servo motors with Arduino, understanding their vital role in creative automation, assembling essential hardware, and exploring beginner-level coding. With this starting point, you're ready to embark on more ambitious projects, blending mechanics, electronics, and programming into cohesive masterpieces.
Established in 2005, Kpower has been dedicated to a professional compact motion unit manufacturer, headquartered in Dongguan, Guangdong Province, China.
Update:2025-10-15
Contact Kpower's product specialist to recommend suitable motor or gearbox for your product.


