


Looking for a suitable motor?


小编
Published2025-10-15
Unlocking the Power of Arduino and Servo Motors: The Ultimate Control Tutorial
Imagine a tiny device that can rotate, tilt, or position objects with incredible precision—this is the magic of servo motors. Coupled with an Arduino microcontroller, these powerful little actuators become the heartbeat of countless projects, from robotic arms and drones to automated camera systems and custom toys. If you're eager to step into the fascinating world of electronics and robotics, mastering Arduino control of servo motors is a fantastic place to start.
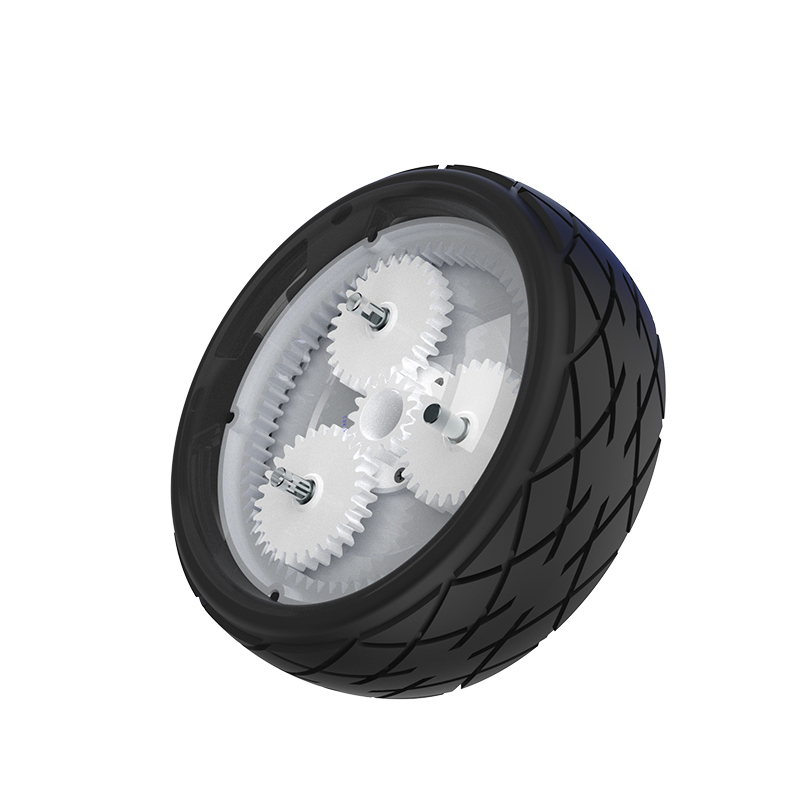
Before diving into the how-tos, let's understand what sets servo motors apart. Unlike simple DC motors that spin continuously, servo motors are precision devices designed for controlled angular movement. Typically, they consist of a small motor, a gear system, a control circuit, and a feedback mechanism. This setup allows the servo to precisely position its shaft at a specified angle, usually within a 0°–180° range.
Servo motors are commonly used in applications requiring accurate movement and positioning, such as robotic joints, RC vehicles, camera gimbals, and industrial automation. Their ability to hold a position under load makes them indispensable in precise control systems.
Why Use Arduino for Servo Control?
Arduino has become the go-to microcontroller platform for hobbyists and professionals alike due to its simplicity, affordability, and extensive community support. Combining Arduino with servo motors opens up a universe of creative possibilities. It allows you to quickly prototype, learn, and implement control systems without the need for complex hardware or software.
Moreover, Arduino's rich library ecosystem, especially the Servo library, makes controlling servos straightforward—even for complete beginners. You only need a few lines of code to get your motor moving at the desired position, leaving you more time to innovate and build your dream project.
Essential Components for Your Servo Control Project
To get started, you'll need some basic hardware. Here's a quick list:
Arduino Board: Uno, Nano, Mega—any compatible model works. Servo Motor: Standard hobby servos like SG90 or MG995. Power Supply: Typically, a 5V supply; for multiple servos, a dedicated power source is recommended. Jumper Wires: For connections. Breadboard: For easy prototyping. Resistors and Potentiometers: Optional, for advanced control schemes.
Understanding your components sets the stage for a smooth project. Now, let’s talk about connecting these components effectively.
Wiring the Servo to Arduino
The typical servo has three wires: power (red), ground (black or brown), and signal (white, yellow, or orange). Proper wiring is crucial for reliable operation:
Connect the red wire to the Arduino's 5V pin (or external 5V power supply if you're controlling multiple servos). Connect the black/brown wire to the GND pin. Connect the signal wire to one of the Arduino's PWM-capable digital pins (e.g., pin 9).
If you're controlling a single servo, powering through the Arduino's 5V and GND usually suffices. For multiple servos, consider using an external power source to avoid overloading the Arduino board.
Writing Your First Arduino Servo Program
Now, onto coding! The Arduino IDE is user-friendly, making programming accessible even for those with minimal coding experience. Here's a simple sketch to control a servo:
#include // Include the Servo library Servo myServo; // Create servo object to control a servo void setup() { myServo.attach(9); // Attach servo to digital pin 9 } void loop() { for (int pos = 0; pos <= 180; pos += 1) { // Sweep from 0 to 180 degrees myServo.write(pos); // Tell servo to go to position 'pos' delay(15); // Wait 15ms for the servo to reach position } for (int pos = 180; pos >= 0; pos -= 1) { // Sweep back to 0 myServo.write(pos); delay(15); } }
This simple code rotates the servo from 0° to 180° and back, creating an oscillating motion. It’s a perfect starting point for understanding how to control servo positions precisely.
Expanding Your Control: From Analog Inputs to Sensors
Once you're comfortable with basic sweep movements, you can extend your project. Incorporate potentiometers to manually set servo angles, or use sensor data—such as distance sensors or accelerometers—to automate movements. For example, attaching a potentiometer to an analog pin enables you to control the servo position dynamically:
#include Servo myServo; int potPin = A0; // Potentiometer connected to analog pin A0 void setup() { myServo.attach(9); } void loop() { int sensorValue = analogRead(potPin); // Read potentiometer int angle = map(sensorValue, 0, 1023, 0, 180); // Map to 0-180 myServo.write(angle); delay(15); }
This simple snippet gives you real-time control over the servo via a potentiometer, laying the foundation for interactive projects.
Stay tuned for Part 2, where we'll delve into advanced control schemes, timed movements, feedback loops, and integration into larger robotic systems. Your journey into precise servo control with Arduino is just beginning—and the possibilities are endless.
Established in 2005, Kpower has been dedicated to a professional compact motion unit manufacturer, headquartered in Dongguan, Guangdong Province, China.
Update:2025-10-15
Contact Kpower's product specialist to recommend suitable motor or gearbox for your product.


