


Looking for a suitable motor?


小编
Published2025-10-15
Embarking on the journey of configuring your RC plane's rudder servo is both an art and a science. The rudder serves as the pivotal control surface that enables yaw movement—allowing your aircraft to turn left or right smoothly and accurately. Proper setup not only improves flying performance but also guarantees safety and precision, especially for beginner pilots venturing into aerobatics or cross-country flights. Whether you’re building a new model or troubleshooting an existing setup, understanding all facets of rudder servo installation and calibration is vital.
Choosing the Right Rudder Servo
The first step in setting up a rudder servo involves selecting the right component. While it might seem straightforward—after all, most servos are similar—the specifics matter greatly. Several parameters influence your choice:
Torque: This is the force the servo can exert to move the rudder. Larger or heavier aircraft demand higher torque servos—typically measured in kg/cm or oz/in. For small park fly or beginner models, a 2-3 kg/cm servo might suffice, but for larger planes, look for 6 kg/cm or more.
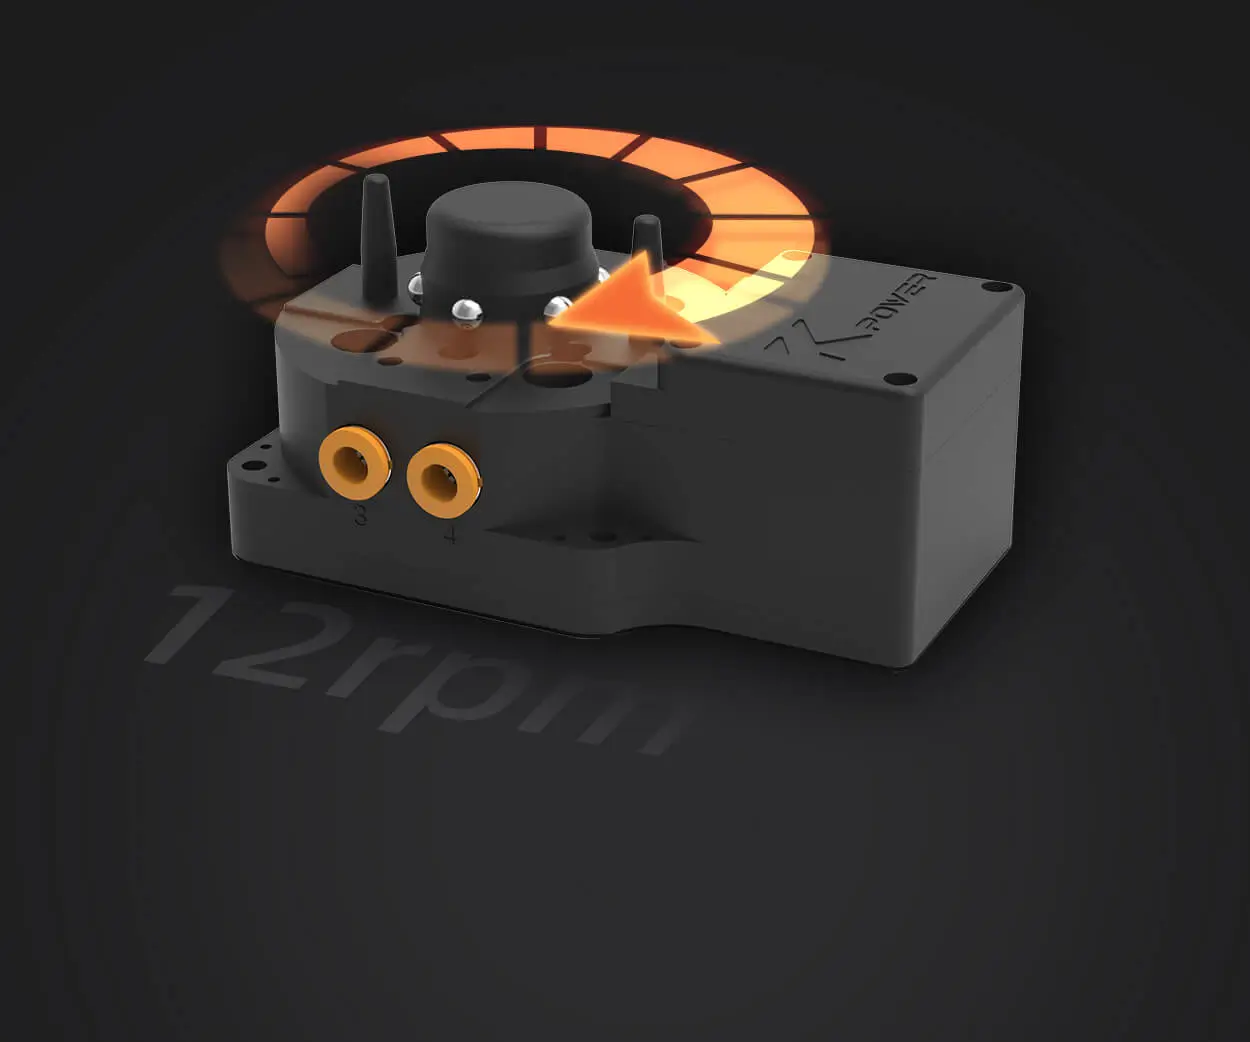
Speed: Servo speed determines how quickly the rudder responds to control inputs. Fast servos, with speeds around 0.10 seconds or less at 60 degrees, provide sharper response crucial for aerobatic or combat planes, whereas slower ones can work fine in stable, trainer aircraft.
Size and Weight: Since weight impacts flight dynamics, choose a servo proportionate to your aircraft’s size. Micro or sub-micro servos excel in small models, while standard size is common in larger planes.
Shaft Type and Compatibility: Make sure the servo's spline matches your servo arm and linkage. Most servos have a 25-tooth or 23-tooth spline; compatibility prevents slipping during vigorous maneuvers.
Digital vs. Analog: Digital servos provide better hold and more precise control, especially with programmable features, albeit at a higher cost and power consumption.
Preparing for Installation
Once you've selected an appropriate servo, prepare for installation:
Inspect the Servo: Ensure there are no damages, and that the servo moves smoothly when powered up. Test the servo in the hand by applying the control signal—this can often be done via your radio transmitter or a servo tester.
Gather Components: You'll need a mounting board or servo tray, screws, servo arms (horns), linkages, and sometimes additional hardware such as ball links or servo savers.
Plan Your Placement: Position the servo so that the servo arm aligns naturally with the rudder control linkage. Mounting the servo as close as possible to the rudder hinge reduces control system slack and enhances responsiveness.
Mounting the Rudder Servo
Proper mounting is critical. Here is a step-by-step:
Position the Servo: Find the optimal spot, typically within the fuselage or wing trailing edge, minimizing bend in the linkage and avoiding interference with other components.
Secure the Mount: Use sturdy screws and, if necessary, wider brackets or rubber grommets to shield vibrations. Some pilots prefer foam or rubber pads beneath the servo to absorb vibrations.
Set the Servo Horn: Attach the servo arm with the recommended torque—usually a screw tightening to a specific torque, to avoid stripping or loosening over time.
Check for Free Movement: Before connecting the linkage, manually move the servo horn to ensure no interference or binding. The horn should move smoothly through its full range of motion—generally 0 to 90 degrees, depending on your setup.
After the servo is securely mounted and tested, the next phase involves connecting the servo horn to the rudder control surface. Correct linkage setup is crucial for optimal performance:
Choose the Correct Length: The linkage should enable the rudder to achieve maximum deflection without overdriving the servo or causing binding.
Use Quality Hardware: Ball links or clevises help in precise control and reduce play or slop.
Center the Rudder: Before connecting, ensure the rudder is in its neutral (centered) position. This involves adjusting the transmitter's endpoint settings or servo horn position so that the rudder faces directly forward when the controls are neutral.
Connect the Linkage: Attach the linkage to the servo horn at the appropriate hole. Using the outermost holes increases throw; the middle for moderate movement.
Calibrating the Rudder Servo
Now that the hardware is in place, calibration is essential to synchronize the servo response with your transmitter inputs. Most modern radios have endpoint limits or sub-trims:
Set Neutral Position: Power up the transmitter and receiver, then move the rudder stick to the neutral position.
Adjust Endpoints: Using your radio's endpoint or travel adjust menu, set the servo to respond fully from center to max deflection without strain or jitter.
Ensure Symmetry: Confirm that left and right deflections are equal, and the rudder is centered when the stick is neutral.
Travel Adjustment: Fine-tune the maximum throw to your preference—this may vary based on your aircraft and flying style.
Servo Testing and Fine-Tuning
Perform comprehensive testing:
Manual Check: With the aircraft on the ground, move the rudder stick and observe the rudder’s response. It should be crisp, with no jitter or delay.
Vibration and Interference: Ensure vibrations or interference don’t cause jittering. Use dampers or securing methods as needed.
Travel Limits: Avoid overtravel that could strain the servo or damage the rudder hinge line.
Troubleshooting Common Issues
Servo Not Responding: Check power supply, connections, and that the servo is bound correctly to the transmitter.
Jitter or Noise: Reduce interference, check for loose wiring, and consider adding ferrite beads on the wires.
Unresponsive or Slow Movement: Confirm the servo isn’t over-taxed; switch to a higher torque servo if needed, or reduce travel.
Loose or Sloppy Control: Replace worn or loose linkage components; tighten screws.
Taking your time to fine-tune the setup can dramatically improve your aircraft’s performance. Remember, patience is key—just like fine-tuning a musical instrument.
Always test your setup before attempting a full flight, especially if building from scratch or modifying.
Use quality components and thread-lock compounds to prevent loosening over time.
Consider using programmable servos for advanced adjustments such as exponential or dual-rate settings, giving you even more control.
Keep a log of your settings for future reference or when making adjustments.
Turning your RC plane's rudder servo into a finely tuned component grants you confidence and control, opening the door to more dynamic flying and aerobatic fun. Whether you’re just starting out or refining your skills, mastering the rudder setup elevates your aviation prowess. Now, it’s time to hit the field and see your aircraft respond precisely how you want it—smoothly, swiftly, and accurately.
Would you like some tips on advanced setups like mixing or flight modes? Or perhaps advice on troubleshooting specific issues? I'm here to help make your RC flying experience as enjoyable and seamless as possible!
Leveraging innovations in modular drive technology, Kpower integrates high-performance motors, precision reducers, and multi-protocol control systems to provide efficient and customized smart drive system solutions.
Update:2025-10-15
Contact Kpower's product specialist to recommend suitable motor or gearbox for your product.


