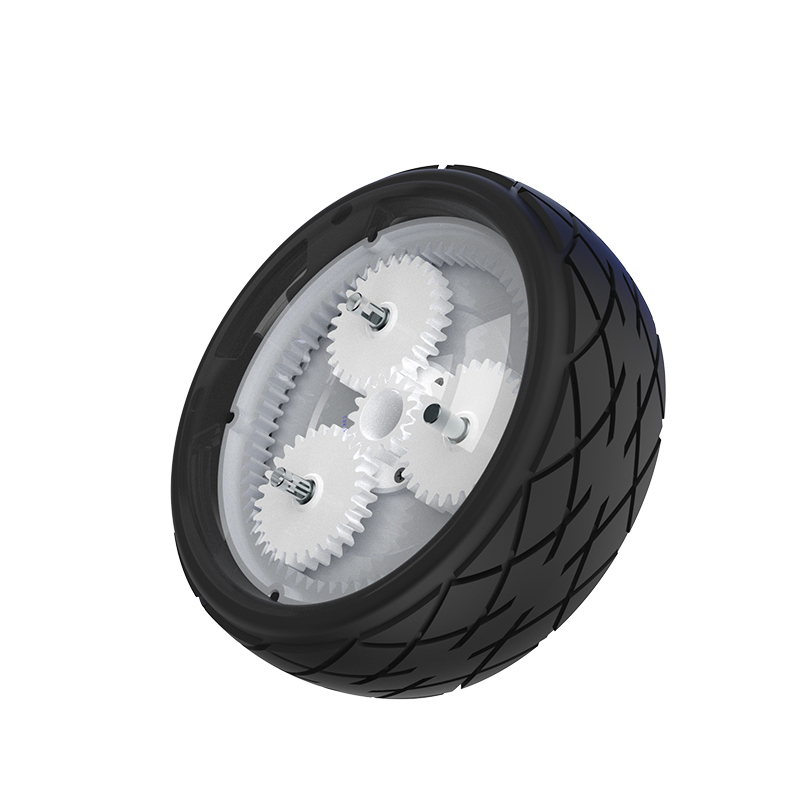
Introduction to Servo Motors and Their Applications
In the world of robotics, automation, and various control systems, servo motors are indispensable. Whether you’re building a robot, an automated arm, or a moving camera, servo motors provide precise control of angular position, speed, and acceleration. But what exactly are servo motors, and why are they so important?

What Is a Servo Motor?
A servo motor is a type of electric motor that is designed to precisely control angular rotation. Unlike regular motors, which rotate continuously, servo motors are designed to rotate to a specific position and hold it there. This makes them perfect for applications requiring precise movement and control.
Servo motors consist of three key components:
Motor: This is the actual motor that drives the rotational movement.
Feedback Device: Typically a potentiometer that tells the controller what position the motor is in.
Controller Circuit: This interprets signals from a controller (like an Arduino) and adjusts the motor's rotation accordingly.
Servo motors are controlled by sending PWM (Pulse Width Modulation) signals to the motor's control circuit. These signals determine the motor’s position by varying the pulse width, which is directly translated into the servo's angle.
Types of Servo Motors
Standard Servo Motors: These motors rotate between 0° and 180° (or 0° to 90° for some models), making them ideal for applications like robotic arms, cameras, and other mechanical systems that require specific angular movements.
Continuous Rotation Servos: Unlike standard servos, continuous rotation servos rotate endlessly, making them more suitable for wheels or conveyor belts where constant rotation is needed.
High-Torque Servo Motors: These servos are designed to handle heavier loads and provide more force. They are often used in industrial applications or larger robotic systems.
Common Applications of Servo Motors
Robotics: Servo motors are often used in robotics for controlling joint movements, such as robotic arms or humanoid robots.
Aerospace: Aircraft and drones use servo motors for control surfaces like ailerons, elevators, and rudders.
RC Models: Remote-controlled cars, airplanes, and boats use servo motors to control steering and other movements.
Camera Systems: Servo motors control the tilt and pan movements of cameras, especially in PTZ (pan-tilt-zoom) cameras.
Writing Your First Servo Motor Example Code
Now that we have a basic understanding of what a servo motor is and where it’s used, let’s move on to the fun part: writing some example code. We will be using the popular Arduino platform for this purpose because of its simplicity and versatility. Arduino offers a library specifically for controlling servos called the Servo library.
Getting Started with Arduino
Before jumping into the code, let's make sure you have everything you need:
Arduino Board: Any standard Arduino board (e.g., Arduino Uno) will work for this.
Servo Motor: A standard hobby servo motor (e.g., SG90 or MG90S).
Jumper Wires: For connecting the servo motor to the Arduino.
Breadboard (optional): For a neat and organized setup.
Wiring the Servo Motor
To connect the servo motor to your Arduino, follow these steps:
Servo Motor Pinout:
Brown or Black wire goes to GND (Ground) on the Arduino.
Red wire goes to 5V on the Arduino.
Yellow or Orange wire (signal) goes to a digital pin on the Arduino, typically pin 9.
Writing the Code
Here’s a simple example code that will rotate the servo motor between 0° and 180° in 15° increments:
#include // Include the Servo library
Servo myServo; // Create a Servo object
void setup() {
myServo.attach(9); // Attach the servo to digital pin 9
}
void loop() {
// Sweep the servo from 0° to 180°
for (int pos = 0; pos <= 180; pos += 15) {
myServo.write(pos); // Tell the servo to go to 'pos' (0-180)
delay(500); // Wait for the servo to reach the position
}
// Sweep the servo back from 180° to 0°
for (int pos = 180; pos >= 0; pos -= 15) {
myServo.write(pos); // Tell the servo to go to 'pos' (180-0)
delay(500); // Wait for the servo to reach the position
}
}
Code Breakdown:
#include : This line includes the Servo library, which provides all the functions needed to control the servo motor.
Servo myServo;: This creates an instance of the Servo class named myServo.
myServo.attach(9);: This tells the Arduino that the servo is connected to digital pin 9.
myServo.write(pos);: This function moves the servo to the specified position (pos), where pos is an angle between 0° and 180°.
delay(500);: This introduces a half-second delay after each movement to allow the servo to reach the target position.
How It Works:
The code first sweeps the servo from 0° to 180° in 15° increments, pauses for 500 milliseconds, then sweeps it back from 180° to 0° in the same increments. The servo will make this sweep continuously, making it easy to visualize the precise control that a servo motor can offer.
Extending the Code
If you want to make your project a bit more interactive, you can modify the code to control the servo’s position using a potentiometer or a joystick. For example, you could use an analog sensor to vary the position of the servo based on user input.
By understanding the fundamentals of servo motors and working with a simple example code, you now have the foundational knowledge to integrate servo motors into your own projects. The versatility of servo motors makes them an essential component for beginners and advanced users alike in the world of robotics and automation.
Established in 2005, Kpower has been dedicated to a professional compact motion unit manufacturer, headquartered in Dongguan, Guangdong Province, China.


