


Looking for a suitable motor?


小编
Published2025-10-15
Micro servo motors are tiny, powerful components that offer a world of possibilities for robotics, automation, and electronic projects. Combined with the versatility of Arduino, they can bring your creations to life. This article will explore the essential aspects of micro servo motors, their compatibility with Arduino, and how they can enhance your projects.
Micro Servo Motor, Arduino, Robotics, Automation, DIY Projects, Electronics, Precision, Control, Motor Control, Servo Motor Programming
Introduction to Micro Servo Motors and Their Role in DIY Projects
When it comes to creating interactive and automated systems, few components are as versatile and effective as the micro servo motor. These small yet powerful devices have become a staple in the world of electronics, robotics, and hobbyist projects. But what exactly is a micro servo motor, and why is it such a game-changer in DIY electronics?
A servo motor is a type of actuator that allows for precise control of angular position, velocity, and acceleration. What sets micro servo motors apart is their compact size, making them ideal for projects where space is limited. Despite their small form, they can deliver substantial torque, making them suitable for a wide range of applications, from robotics to automation systems.
In particular, the combination of micro servo motors and Arduino boards has opened the door to a new realm of possibilities for DIY enthusiasts and makers. Arduino, a popular open-source electronics platform, offers an accessible way for anyone to create electronic projects, and when paired with micro servo motors, the result is a powerful combination that can be programmed to perform complex movements with ease.
How Micro Servo Motors Work
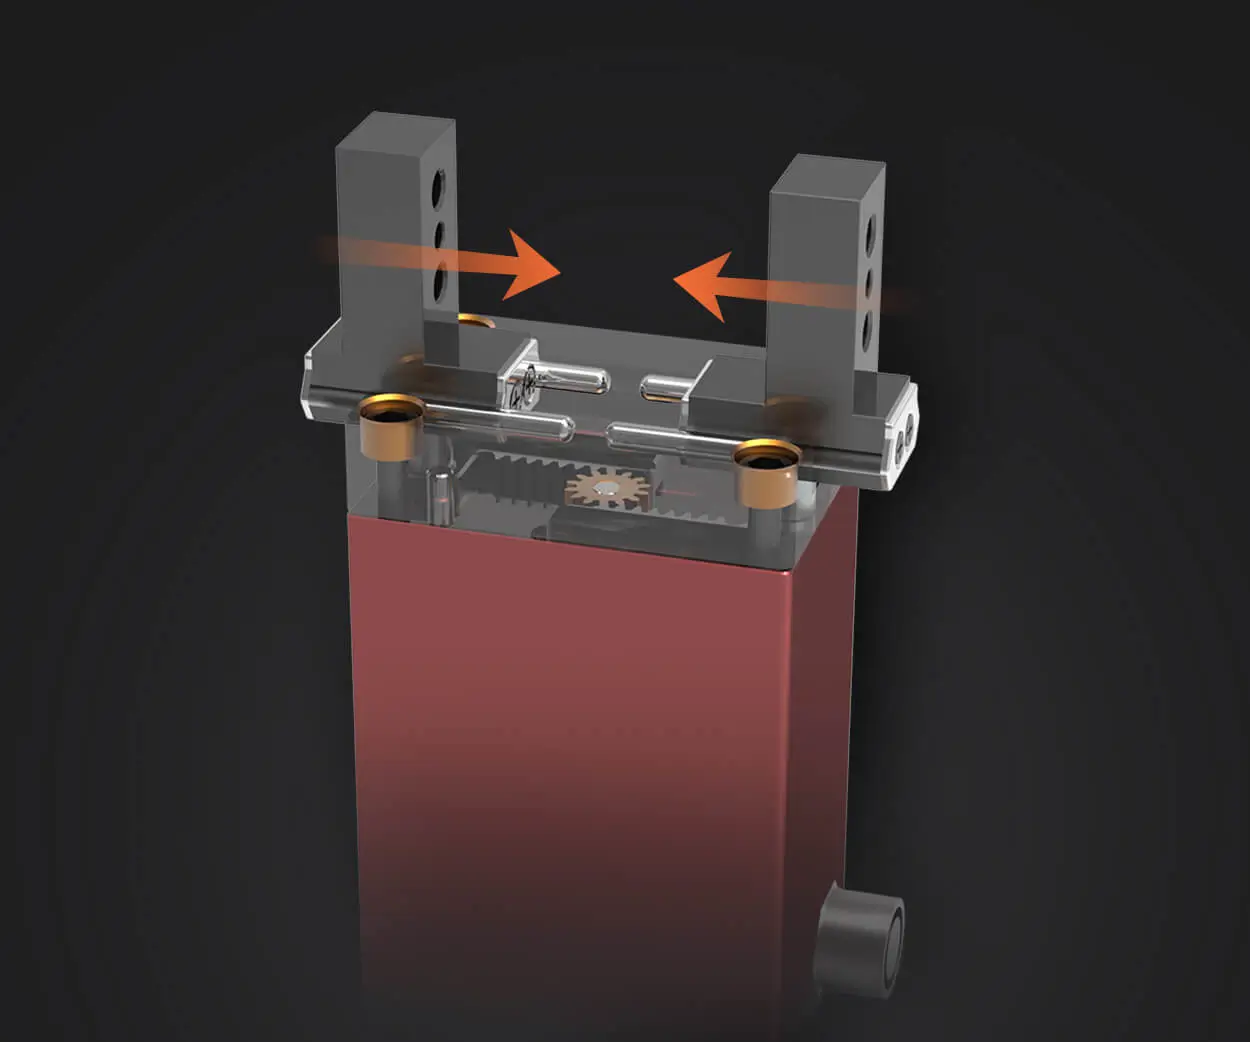
Micro servo motors are composed of three key components: a DC motor, a gear set, and a control circuit. The DC motor provides the power needed to move the shaft, while the gear set translates the motor’s rotational motion into controlled angular movement. The control circuit is what allows the motor to interpret the input signal and adjust the position of the motor’s shaft.
In terms of functionality, micro servo motors can rotate a shaft from 0 to 180 degrees, which makes them ideal for applications where precise positioning is required. For example, in robotics, a micro servo can be used to control the movement of robot arms, steering mechanisms, or even camera gimbals. This level of precision is what makes micro servos so attractive for a wide variety of electronic projects.
Another great feature of micro servo motors is that they come with built-in feedback systems, which means they are capable of maintaining a consistent position even under varying load conditions. This is achieved by a potentiometer that monitors the position of the motor’s shaft and sends feedback to the control circuit, ensuring the motor remains at the desired angle.
Micro Servo Motors and Arduino: The Perfect Match
Arduino is a microcontroller that allows you to create and control electronic circuits and components easily. Thanks to its user-friendly design, Arduino has become a go-to solution for both beginners and experienced engineers alike. When combined with micro servo motors, Arduino provides the perfect platform for creating complex, interactive systems.
The simplicity of programming the Arduino board allows you to control the servo motor with a few simple lines of code. By sending PWM (pulse-width modulation) signals to the servo motor, the Arduino can adjust the angle of the motor’s shaft with remarkable precision. Whether you want to create a robotic arm, control a camera's tilt, or automate a small machine, the combination of Arduino and micro servos allows for easy implementation and rapid prototyping.
Applications of Micro Servo Motors in Arduino Projects
One of the most popular applications of micro servo motors is in robotics. Whether you are building a robot for a competition, creating a DIY robotic arm, or constructing a humanoid robot, micro servo motors play a critical role in movement and control. For example, servo motors are commonly used to operate joints in robotic arms, where precise, repeatable motion is necessary.
Micro servos are also ideal for automation tasks, such as opening and closing doors, controlling gates, or even adjusting blinds. With the help of an Arduino, you can create automated systems that run based on time schedules, environmental conditions, or user input.
Another popular use of micro servos is in remote-controlled (RC) vehicles and drones. In RC vehicles, servos can be used to control steering or other movable parts. In drones, micro servos can be used to adjust the orientation of the camera or gimbals, providing smooth and precise control of the footage.
Micro servo motors are commonly used in educational projects because they offer a hands-on way to learn about electronics and programming. Students and hobbyists can create interactive devices, such as simple robotic arms or automated models, and experiment with how servo motors can be controlled.
Getting Started with Micro Servo Motors and Arduino
If you're interested in integrating micro servo motors into your Arduino project, the process is relatively simple and requires just a few basic components. Here's a step-by-step guide to help you get started:
Arduino Board (e.g., Arduino Uno)
Power Supply (Arduino or external supply, depending on your servo's power requirements)
Step 1: Connect the Micro Servo to the Arduino
The wiring for a micro servo motor is straightforward. The servo has three wires: one for power (typically red), one for ground (typically black or brown), and one for the signal (typically yellow or white). Here’s how to connect them to the Arduino:
Power (Red): Connect this wire to the 5V pin on the Arduino.
Ground (Black/Brown): Connect this wire to one of the GND pins on the Arduino.
Signal (Yellow/White): Connect this wire to one of the PWM-capable pins on the Arduino (e.g., pin 9).
Step 2: Write the Arduino Code
The next step is to program the Arduino to control the servo. Fortunately, Arduino comes with a built-in library called Servo.h, which makes controlling servo motors incredibly simple. Below is an example of a basic Arduino sketch to move a servo motor back and forth:
Servo myServo; // Create a servo object
myServo.attach(9); // Attach the servo to pin 9
myServo.write(0); // Move the servo to 0 degrees
delay(1000); // Wait for 1 second
myServo.write(180); // Move the servo to 180 degrees
delay(1000); // Wait for 1 second
In this example, the servo will rotate between 0 and 180 degrees every second. You can modify the write() function to control the servo’s angle, allowing for more complex movements.
Step 3: Power Your Servo Motor
Some micro servo motors can draw more current than the Arduino board can supply, especially when running multiple servos or under load. In such cases, you might need an external power supply to ensure the servo motor operates smoothly. Be sure to connect the ground of the external power supply to the Arduino’s ground to maintain a common reference.
Tips for Optimal Performance
Use the Right Power Supply:
Always check the voltage and current requirements of your micro servo motor before powering it. Most standard micro servos operate at 5V, but you should consult the datasheet of your specific motor for precise details.
If you're using an external power supply, ensure that the voltage remains stable. Sudden drops in voltage can cause the servo motor to behave erratically or even malfunction.
While micro servos are capable of delivering impressive torque for their size, they have their limits. Avoid overloading the servo by keeping the forces applied within the motor’s specifications.
For more advanced projects, consider adding feedback mechanisms (like a potentiometer or encoder) to ensure that the servo is positioned accurately at all times.
Micro servo motors combined with Arduino offer a fantastic platform for building precise, interactive projects. Whether you're building robots, automating tasks, or exploring the world of DIY electronics, this combination can empower you to bring your ideas to life. With a solid understanding of how micro servos work and how to integrate them with Arduino, you can create sophisticated systems that push the boundaries of what’s possible in your DIY projects. Happy building!
Kpower has delivered professional drive system solutions to over 500 enterprise clients globally with products covering various fields such as Smart Home Systems, Automatic Electronics, Robotics, Precision Agriculture, Drones, and Industrial Automation.
Update:2025-10-15
Contact Kpower's product specialist to recommend suitable motor or gearbox for your product.


