


Looking for a suitable motor?


小编
Published2025-10-15
Introduction to the MG996R Servo Motor and Its Pinout Configuration
In the realm of hobby electronics and robotics, servo motors are indispensable components. Among the various servo motors, the MG996R stands out as a reliable and powerful choice for DIY projects, robotics, and even professional applications. Whether you're building a robot, a mechanical arm, or some automated system, understanding the MG996R servo motor pinout is crucial for ensuring proper connections and optimal performance.
What is the MG996R Servo Motor?
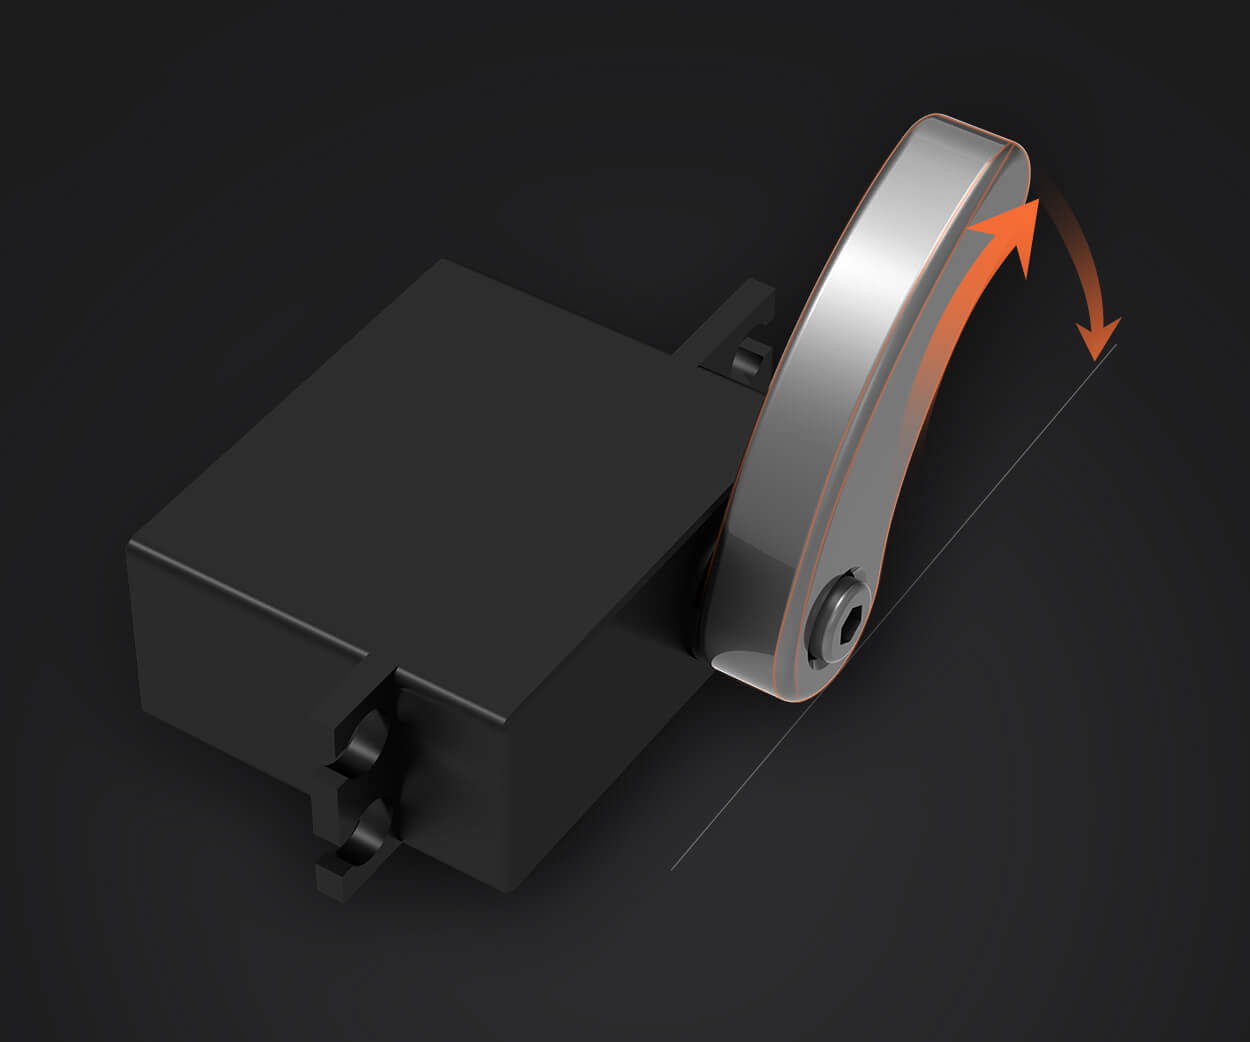
The MG996R is a high-torque, standard-sized servo motor widely used in a range of applications, including remote-controlled vehicles, robotic arms, and even in industrial automation setups. Known for its durability, high precision, and affordability, the MG996R delivers substantial torque (up to 9.4 kg-cm at 4.8V), making it an ideal choice for projects that demand accuracy and power.
The servo motor operates using a PWM (Pulse Width Modulation) signal to control its angular position. This means that you can adjust the servo motor's position by altering the width of the electrical pulses sent to it, with the servo's angle directly corresponding to the pulse width.
Pinout of the MG996R Servo Motor
To use the MG996R motor effectively, you need to understand its wiring and pinout configuration. The motor has three primary pins:
Signal Pin (Orange): This pin is used to send PWM signals to the servo. The signal pin determines the position of the motor shaft by interpreting the pulse width. A pulse width between 1 and 2 milliseconds typically controls the angle of the servo, ranging from 0° to 180°.
Power Pin (Red): The power pin provides the necessary voltage to the servo. The MG996R operates within a voltage range of 4.8V to 6.0V, with 5.0V being optimal for the motor's performance. The power pin must be connected to a stable power source that provides sufficient current to drive the motor.
Ground Pin (Brown or Black): The ground pin completes the electrical circuit. It should be connected to the ground (GND) of the power supply or microcontroller (e.g., Arduino, Raspberry Pi). The ground is essential for completing the circuit and allowing the current to flow properly through the motor.
It is important to note that the color of the wires may vary slightly depending on the manufacturer, but the basic function of each pin remains the same.
Voltage and Power Requirements
The MG996R servo motor requires a steady power supply to operate efficiently. While it can work within the range of 4.8V to 6.0V, 5.0V is often considered optimal for this servo to function at its best. Additionally, the servo can draw a high peak current, especially when it’s under load, so ensure that the power supply is capable of providing sufficient current (around 1A or higher) to avoid voltage drops that could lead to erratic performance.
Connecting the MG996R to a Microcontroller
To control the MG996R using a microcontroller, such as an Arduino or Raspberry Pi, you must connect the signal pin, power pin, and ground pin appropriately:
Signal Pin (Orange): Connect to a PWM-capable pin on your microcontroller. This pin will output the PWM signal that controls the servo’s position.
Power Pin (Red): Connect to the 5V output of the microcontroller or an external 5V power supply. Be sure that the power supply can handle the current draw of the servo.
Ground Pin (Brown/Black): Connect to the GND of the microcontroller or the external power source. This ensures that the circuit is completed.
It’s crucial to use a separate power supply for the MG996R if you are running multiple servos or other power-hungry components, as the microcontroller’s onboard power supply might not be able to handle the load.
Advanced Applications, Troubleshooting, and Tips for Using the MG996R Servo Motor
Understanding the Control Mechanism
Once the MG996R is properly wired, controlling it through a microcontroller is straightforward. The servo is controlled by sending a PWM signal, and the position of the servo is determined by the pulse width. The standard pulse width for the MG996R servo ranges from 1 ms to 2 ms. Here’s a simple breakdown:
A 1 ms pulse rotates the servo to 0°.
A 1.5 ms pulse positions the servo at 90°.
A 2 ms pulse rotates the servo to 180°.
By adjusting the pulse width in real-time, you can precisely control the servo's position.
Common Applications of the MG996R Servo Motor
The MG996R is used extensively in projects where precise angular movement is required. Some of the most common applications include:
Robotic Arms: The MG996R is often used to build robotic arms due to its high torque and precision. Each joint of the arm is typically powered by one or more servos, and the servo’s position is adjusted via PWM signals to control the arm’s movement.
RC Vehicles: The MG996R is frequently used in remote-controlled vehicles, including airplanes, helicopters, and cars. The high torque and responsiveness make it ideal for controlling steering and other mechanical systems in RC models.
Pan and Tilt Systems: A pan-and-tilt camera system requires precise movement for adjusting the angle of the camera. The MG996R, with its accurate positioning, is perfect for these applications.
Automated Systems and Mechanisms: In industrial automation or DIY automated projects, the MG996R servo is often employed to control various moving parts, like doors, gates, or automated machinery.
Troubleshooting Common Issues
While the MG996R is a reliable servo, users may encounter a few common problems. Understanding how to troubleshoot these issues can help ensure smooth operation.
Servo Not Moving or Moving Erratically:
Solution: Ensure that the PWM signal is properly generated and that the pulse width is within the required range (1ms to 2ms). Check the connections to the microcontroller and make sure the power supply is adequate for the servo's current draw.
Solution: This could be a result of insufficient power. The MG996R requires a stable 5V supply and can draw significant current, especially under load. Consider using an external power supply or ensuring that the power supply can handle the servo’s peak current requirements.
Solution: If the servo becomes too hot during operation, it may be under excessive load. Reduce the load on the servo, use a heatsink, or provide adequate cooling if the servo is in continuous use.
Solution: The MG996R may produce noise if it’s trying to move to a position it cannot reach (e.g., when the load is too heavy). Ensure that the servo is not obstructed and that it’s not attempting to turn beyond its mechanical limits.
Final Thoughts on the MG996R Servo Motor
The MG996R servo motor is a powerful, reliable, and versatile component that is perfect for a variety of hobbyist and professional applications. Whether you are building a robot, designing a mechanical system, or experimenting with automation, understanding the servo motor's pinout and wiring is essential for maximizing its potential.
By following the correct wiring guidelines and using appropriate power sources, you can achieve precise control over the servo's movement, enabling you to bring your projects to life. With its excellent torque and durability, the MG996R will continue to be a staple in the world of robotics for years to come.
Leveraging innovations in modular drive technology, Kpower integrates high-performance motors, precision reducers, and multi-protocol control systems to provide efficient and customized smart drive system solutions.
Update:2025-10-15
Contact Kpower's product specialist to recommend suitable motor or gearbox for your product.


