


Looking for a suitable motor?


小编
Published2025-10-15
This article is designed to give you a step-by-step guide on using the Servo MG996R 360 with an Arduino. Learn about the powerful features of the MG996R servo motor, how to set it up, and how to write effective code to control it for different projects.
Servo MG996R, Arduino, Servo Motor, MG996R 360, Arduino Code, Servo Programming, Robotics, DIY Electronics
Introduction to the Servo MG996R 360 and Arduino Integration
When it comes to building DIY robotics and other electronics projects, one of the most useful components you’ll encounter is the servo motor. Among the many available options, the Servo MG996R stands out due to its robustness and versatility, particularly when paired with the Arduino platform. This powerful combo opens the door to a wide variety of projects, from simple mechanical movements to complex robotic arms.
What is the Servo MG996R?
The Servo MG996R is a high-torque, standard-size servo motor that operates on a 4.8V to 6.0V DC power supply. This makes it ideal for many Arduino-based projects that require precision control of movement. With a torque rating of 9.4 kg·cm at 4.8V, the MG996R can handle relatively heavy loads and perform precise rotations in robotics, remote control vehicles, or other mechanical systems.
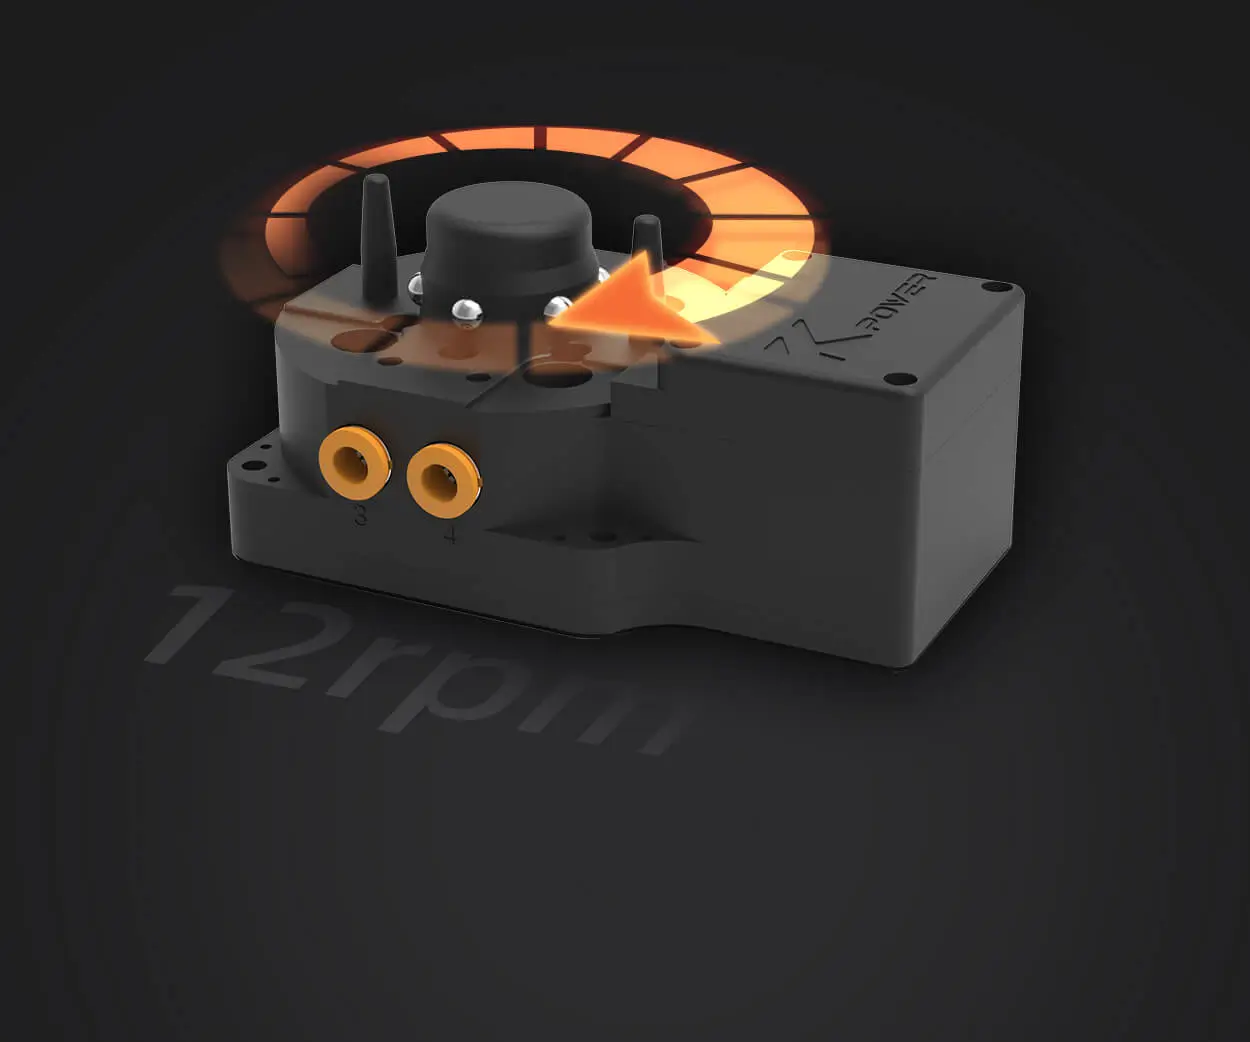
The key feature of the MG996R is its 360-degree rotation, which allows continuous motion, making it suitable for many dynamic applications. Unlike traditional servos that rotate within a limited angle, this 360-degree variant can spin indefinitely in either direction. This feature provides an additional layer of flexibility, especially when building rotating platforms, wheels, or continuously rotating arms.
Servo MG996R vs. Regular Servo Motors
Most standard servos are designed to rotate within a fixed angle—typically 0° to 180°. The MG996R, however, is classified as a continuous rotation servo, meaning it doesn’t have a defined stopping point. This type of servo is ideal for tasks like moving wheels on a robot or actuating a rotating part in your project. Understanding this distinction is crucial when choosing the right servo for your needs.
Regular servos rely on pulse width modulation (PWM) to control their position within a specific range, while continuous rotation servos like the MG996R use PWM to control the speed and direction of the motor. This subtle difference can make a huge impact on how you design your project, especially when precision and smooth movement are required.
Why Choose the MG996R for Your Arduino Projects?
The combination of torque, range, and control makes the MG996R a fantastic choice for anyone working with Arduino. Its ability to rotate continuously makes it particularly useful for applications that require rotation beyond the typical fixed angle. Moreover, Arduino’s easy-to-use servo library and PWM capabilities simplify the coding process, ensuring you can focus more on your project’s design rather than the complexity of controlling the motor.
Additionally, the MG996R’s relatively low cost and availability make it an accessible component for hobbyists and makers alike. Whether you’re building a mobile robot, a camera pan-tilt system, or a mechanical arm, this servo offers a great balance between power and ease of use.
Setting Up the MG996R with Arduino
Now that you understand what the Servo MG996R is and why it’s an excellent choice for your Arduino projects, let’s walk through the setup process and how to control the motor with code.
Wiring the MG996R to the Arduino
Before diving into the Arduino code, the first step is to properly connect your servo to the Arduino. Here’s how you can do it:
Power (Red): Connect the red wire from the servo to the 5V pin on your Arduino.
Ground (Black or Brown): Connect the black wire from the servo to the GND pin on your Arduino.
Control (Yellow or Orange): Connect the control wire from the servo to a PWM-capable pin on your Arduino (usually pins 3, 5, 6, 9, 10, or 11).
External Power Supply (Optional):
If you plan on using multiple servos or need more power, you may want to use an external power supply for the servo. This prevents overloading the Arduino’s 5V pin and ensures consistent performance.
Once the wiring is done, you're ready to start coding.
Arduino Code for Controlling the MG996R
Arduino’s Servo library makes controlling servos incredibly easy. To get started, you first need to include the library in your code. Here’s a simple example of how to control the MG996R with your Arduino:
Servo myServo; // Create a servo object to control the servo
myServo.attach(9); // Attach the servo to pin 9 on Arduino
myServo.write(90); // Rotate to the middle position (90 degrees)
delay(1000); // Wait for a second
myServo.write(0); // Rotate to 0 degrees
delay(1000); // Wait for a second
myServo.write(180); // Rotate to 180 degrees
delay(1000); // Wait for a second
Include the Servo Library:
The #include statement is necessary to include the servo control library in your code.
Servo myServo; creates an object of the Servo class. You can control this object using various functions defined in the Servo library.
In the setup() function, myServo.attach(9); tells the Arduino that the servo is connected to pin 9.
In the loop() function, myServo.write(90); sets the servo to the middle position (90 degrees), myServo.write(0); moves it to 0 degrees, and myServo.write(180); moves it to 180 degrees. You can adjust these values to achieve the desired rotation for your project.
delay(1000); pauses the program for 1000 milliseconds (1 second) between each action.
This code allows you to test the basic functionality of your servo and make sure everything is connected properly.
Advanced Control and Applications with the MG996R
Now that we’ve covered the basics, let’s dive deeper into some advanced uses of the Servo MG996R 360 and how to incorporate it into your projects.
Controlling Speed and Direction
One of the advantages of using a continuous rotation servo like the MG996R is the ability to control its speed and direction. Unlike traditional servos, where the position is adjusted, the speed of rotation in a continuous servo can be adjusted using PWM.
Here’s an example to control the speed and direction of the MG996R:
// Rotate clockwise at full speed
// Rotate counterclockwise at full speed
Writing myServo.write(0) rotates the servo counterclockwise.
Writing myServo.write(180) rotates it clockwise.
Writing myServo.write(90) stops the motor.
Using Feedback for Control
In more advanced robotics projects, you may want to use sensors for feedback and adjust the servo position or speed accordingly. For example, a light sensor can be used to control the servo’s rotation to point toward a light source, or a distance sensor could be used to control the position of a robotic arm. The Arduino’s analog and digital input pins make this possible, allowing you to build complex feedback loops that adjust the servo's behavior based on external factors.
One of the most popular uses of servos is in building robotic arms. By using multiple MG996R servos, you can create a mechanical arm that moves along different axes. With the Arduino controlling each servo independently, you can create a wide range of motions, including picking up objects, rotating, and even performing complex tasks like writing or drawing.
Another common application for the MG996R is in mobile robots. Whether it’s a simple robot with wheels or a more complex design, the continuous rotation feature of the MG996R makes it ideal for controlling wheels. Using PWM signals, you can control the speed and direction of the wheels, allowing for smooth movement in any direction.
Integrating the Servo MG996R 360 with Arduino opens up a world of possibilities for hobbyists and engineers alike. Whether you’re building a robot, a mechanical arm, or a rotating platform, this servo provides the power, precision, and flexibility you need. By understanding how to control it with Arduino, you can start creating impressive and functional electronic projects that move, interact, and react to their environment. Happy building!
Kpower has delivered professional drive system solutions to over 500 enterprise clients globally with products covering various fields such as Smart Home Systems, Automatic Electronics, Robotics, Precision Agriculture, Drones, and Industrial Automation.
Update:2025-10-15
Contact Kpower's product specialist to recommend suitable motor or gearbox for your product.


