


Looking for a suitable motor?


小编
Published2025-10-15
Understanding the Creality 42-40 Stepper Motor and Why You Need to Remove the Gear
When you're working with a Creality 3D printer, particularly with the 42-40 stepper motor, one of the most common tasks you may face is removing the motor’s gear. Whether you're upgrading your printer, performing maintenance, or simply troubleshooting, knowing how to carefully and safely remove the gear from the motor is crucial. This guide will walk you through the process, explain why you might need to do this, and offer step-by-step instructions to make the task as easy as possible.
What is the Creality 42-40 Stepper Motor?
The 42-40 stepper motor is a key component in many Creality 3D printers, such as the Ender 3 and CR series models. It plays a critical role in driving various mechanical movements like the extruder or the print bed. The number "42" refers to the motor's frame size (42mm), and "40" refers to the length of the motor (40mm). This motor typically comes with a gear attached to its shaft that transmits rotary motion to a connected component, like the extruder or lead screw.
However, after prolonged use, the gear attached to the stepper motor may become worn out, loose, or damaged. In such cases, it may be necessary to remove the gear to either replace it or reattach it more securely.
Why Do You Need to Remove the Gear?
There are several reasons why you might want to remove the gear from your 42-40 stepper motor:
Wear and Tear: Over time, gears can lose their precision due to constant friction, leading to print quality issues such as slipping extruders or missed steps.
Upgrade or Replacement: If you're upgrading to a more durable or efficient gear, or if the existing gear is no longer functioning optimally, you will need to remove the current one.
Lubrication and Cleaning: Cleaning the gear or applying new lubrication can help reduce wear and extend the motor's lifespan.
Troubleshooting: If your 3D printer is experiencing issues such as grinding sounds, skipped steps, or inconsistent prints, the gear may be the culprit. Removing it for inspection can help you identify the problem.
Now that you understand why the gear might need removal, let's look at the best approach to take when performing this task.
Tools and Materials You’ll Need
Before diving into the removal process, you should gather a few essential tools and materials to make the job easier and prevent damage to your motor or the gear. Here’s a list of the items you’ll need:
Allen Wrenches: The screws holding the gear in place may require different sizes, so make sure you have a set of Allen wrenches at hand.
Flathead Screwdriver: This can help pry the gear off the shaft if it’s stuck.
Pliers or a Gear Puller: A gear puller is a specialized tool designed to help remove gears from shafts without causing damage. Pliers can also work if the gear isn’t too tight.
Clean Cloth: Keep a cloth handy to wipe down any dirt or debris from the motor and gear.
Lubricant: Applying a thin layer of lubricant to the gear and motor shaft can make reinstallation easier and help improve the performance of the motor.
Replacement Gear (optional): If you plan to replace the gear, make sure you have the right size and type for your motor model.
Now that you’re prepared with the right tools, it's time to start removing the gear.
Step-by-Step Guide to Removing the Gear from Your Creality 42-40 Stepper Motor
Removing the gear from the Creality 42-40 stepper motor is a delicate process, but with patience and attention to detail, you can do it without any issues. Here’s a detailed step-by-step guide to help you through the process:
Step 1: Power Off and Unplug Your 3D Printer
Before starting any disassembly, always ensure that your 3D printer is powered off and unplugged from the electrical source. This will help prevent accidental electrical shocks or movement of the motor while you're working.
Step 2: Disassemble the Motor Assembly
To access the stepper motor and its gear, you may need to remove the motor from your 3D printer. Most Creality printers have a simple mounting system where the motor is attached to the frame with screws. Use your Allen wrenches to remove these screws, and carefully lift the motor out of its mounting bracket. Make sure to note the orientation of the motor, as this will help you reassemble it later.
Step 3: Identify the Motor Shaft and Gear Attachment
Once the motor is removed, take a close look at the motor shaft and the gear attached to it. Typically, the gear is secured onto the shaft with a set screw or grub screw. This screw needs to be loosened before you can remove the gear. Use the appropriate size Allen wrench to unscrew the set screw, but don’t remove it entirely—just loosen it enough to allow the gear to slide off the shaft.
With the set screw loosened, you can now attempt to slide the gear off the motor shaft. If the gear is stuck or difficult to remove, you can gently tap the back of the motor shaft with a soft hammer to loosen it. If the gear is still stubborn, you may need to use a gear puller, which fits around the gear and applies even pressure to pull it off the shaft without damaging either the gear or the motor.
Be careful not to apply too much force, as excessive pressure could damage the motor or the gear. If necessary, use a flathead screwdriver to carefully pry the gear loose, but do so gently to avoid bending or distorting the motor shaft.
Step 5: Inspect the Motor Shaft and Gear
Once the gear is removed, take a moment to inspect both the motor shaft and the gear for any wear or damage. Check for any rust, dirt, or debris on the motor shaft that could affect the smooth rotation of the motor. Similarly, inspect the gear for signs of teeth wear, cracks, or other issues. If the gear is in poor condition, you may want to replace it before reassembling everything.
Step 6: Clean and Lubricate the Motor Shaft (Optional)
If you're not replacing the gear and are simply removing it for maintenance, take this opportunity to clean and lubricate the motor shaft. Use a clean cloth to wipe away any dirt, dust, or old lubricant. Then, apply a thin layer of grease or lubricant to the shaft before reinstalling the gear. This can help reduce friction and prevent future wear on both the gear and the motor shaft.
Step 7: Reassemble the Motor and Gear
Once you’ve cleaned the parts and inspected the gear, it’s time to reassemble the motor. Slide the gear back onto the motor shaft, ensuring it’s aligned correctly. Tighten the set screw on the gear to secure it firmly in place, but be careful not to overtighten it, as this could damage the motor shaft.
After the gear is securely attached, reassemble the motor onto your 3D printer and reattach any screws or bolts that were removed during disassembly.
Finally, once everything is back together, plug your 3D printer back in and power it on. Run a test print or manually test the movement of the motor to ensure that the gear is functioning correctly. Check for smooth movement and ensure that the motor operates quietly without skipping or grinding.
Removing the gear from your Creality 42-40 stepper motor may seem like a daunting task, but by following this guide, you can accomplish it safely and effectively. Whether you're replacing a worn-out gear, upgrading to a more efficient one, or simply cleaning the motor, knowing the right steps and having the proper tools will ensure that your 3D printer continues to perform at its best. Keep in mind that regular maintenance can extend the life of your motor and improve the overall quality of your prints.
By taking care of your Creality 42-40 stepper motor and its gear, you'll be well on your way to maximizing the performance of your 3D printer.
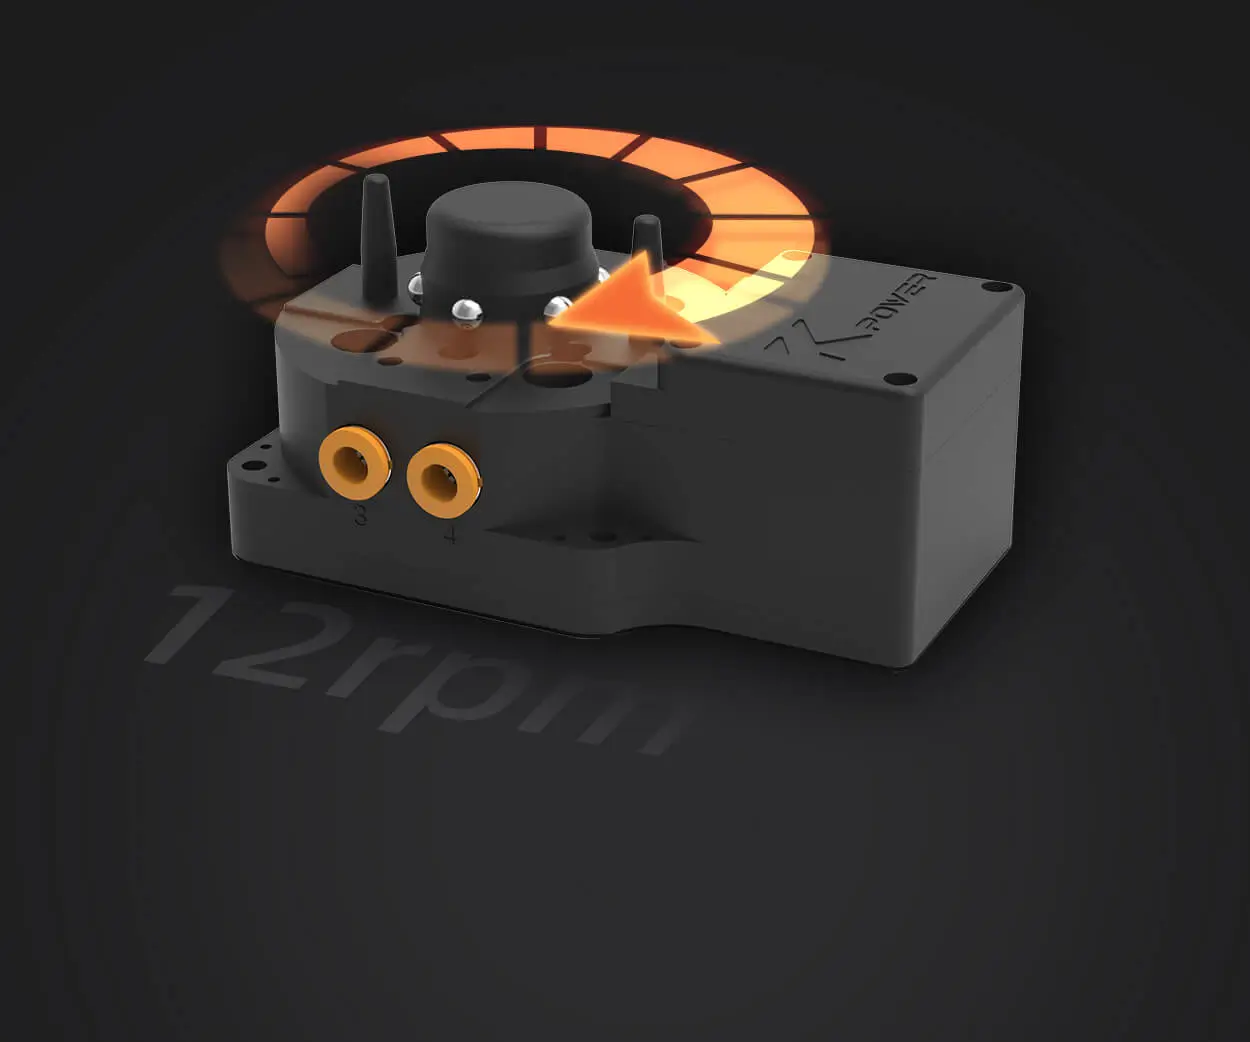
Leveraging innovations in modular drive technology, Kpower integrates high-performance motors, precision reducers, and multi-protocol control systems to provide efficient and customized smart drive system solutions.
Update:2025-10-15
Contact Kpower's product specialist to recommend suitable motor or gearbox for your product.


