


Looking for a suitable motor?


小编
Published2025-10-15
Understanding the DC Motor Gear System and Preparing for Gear Removal
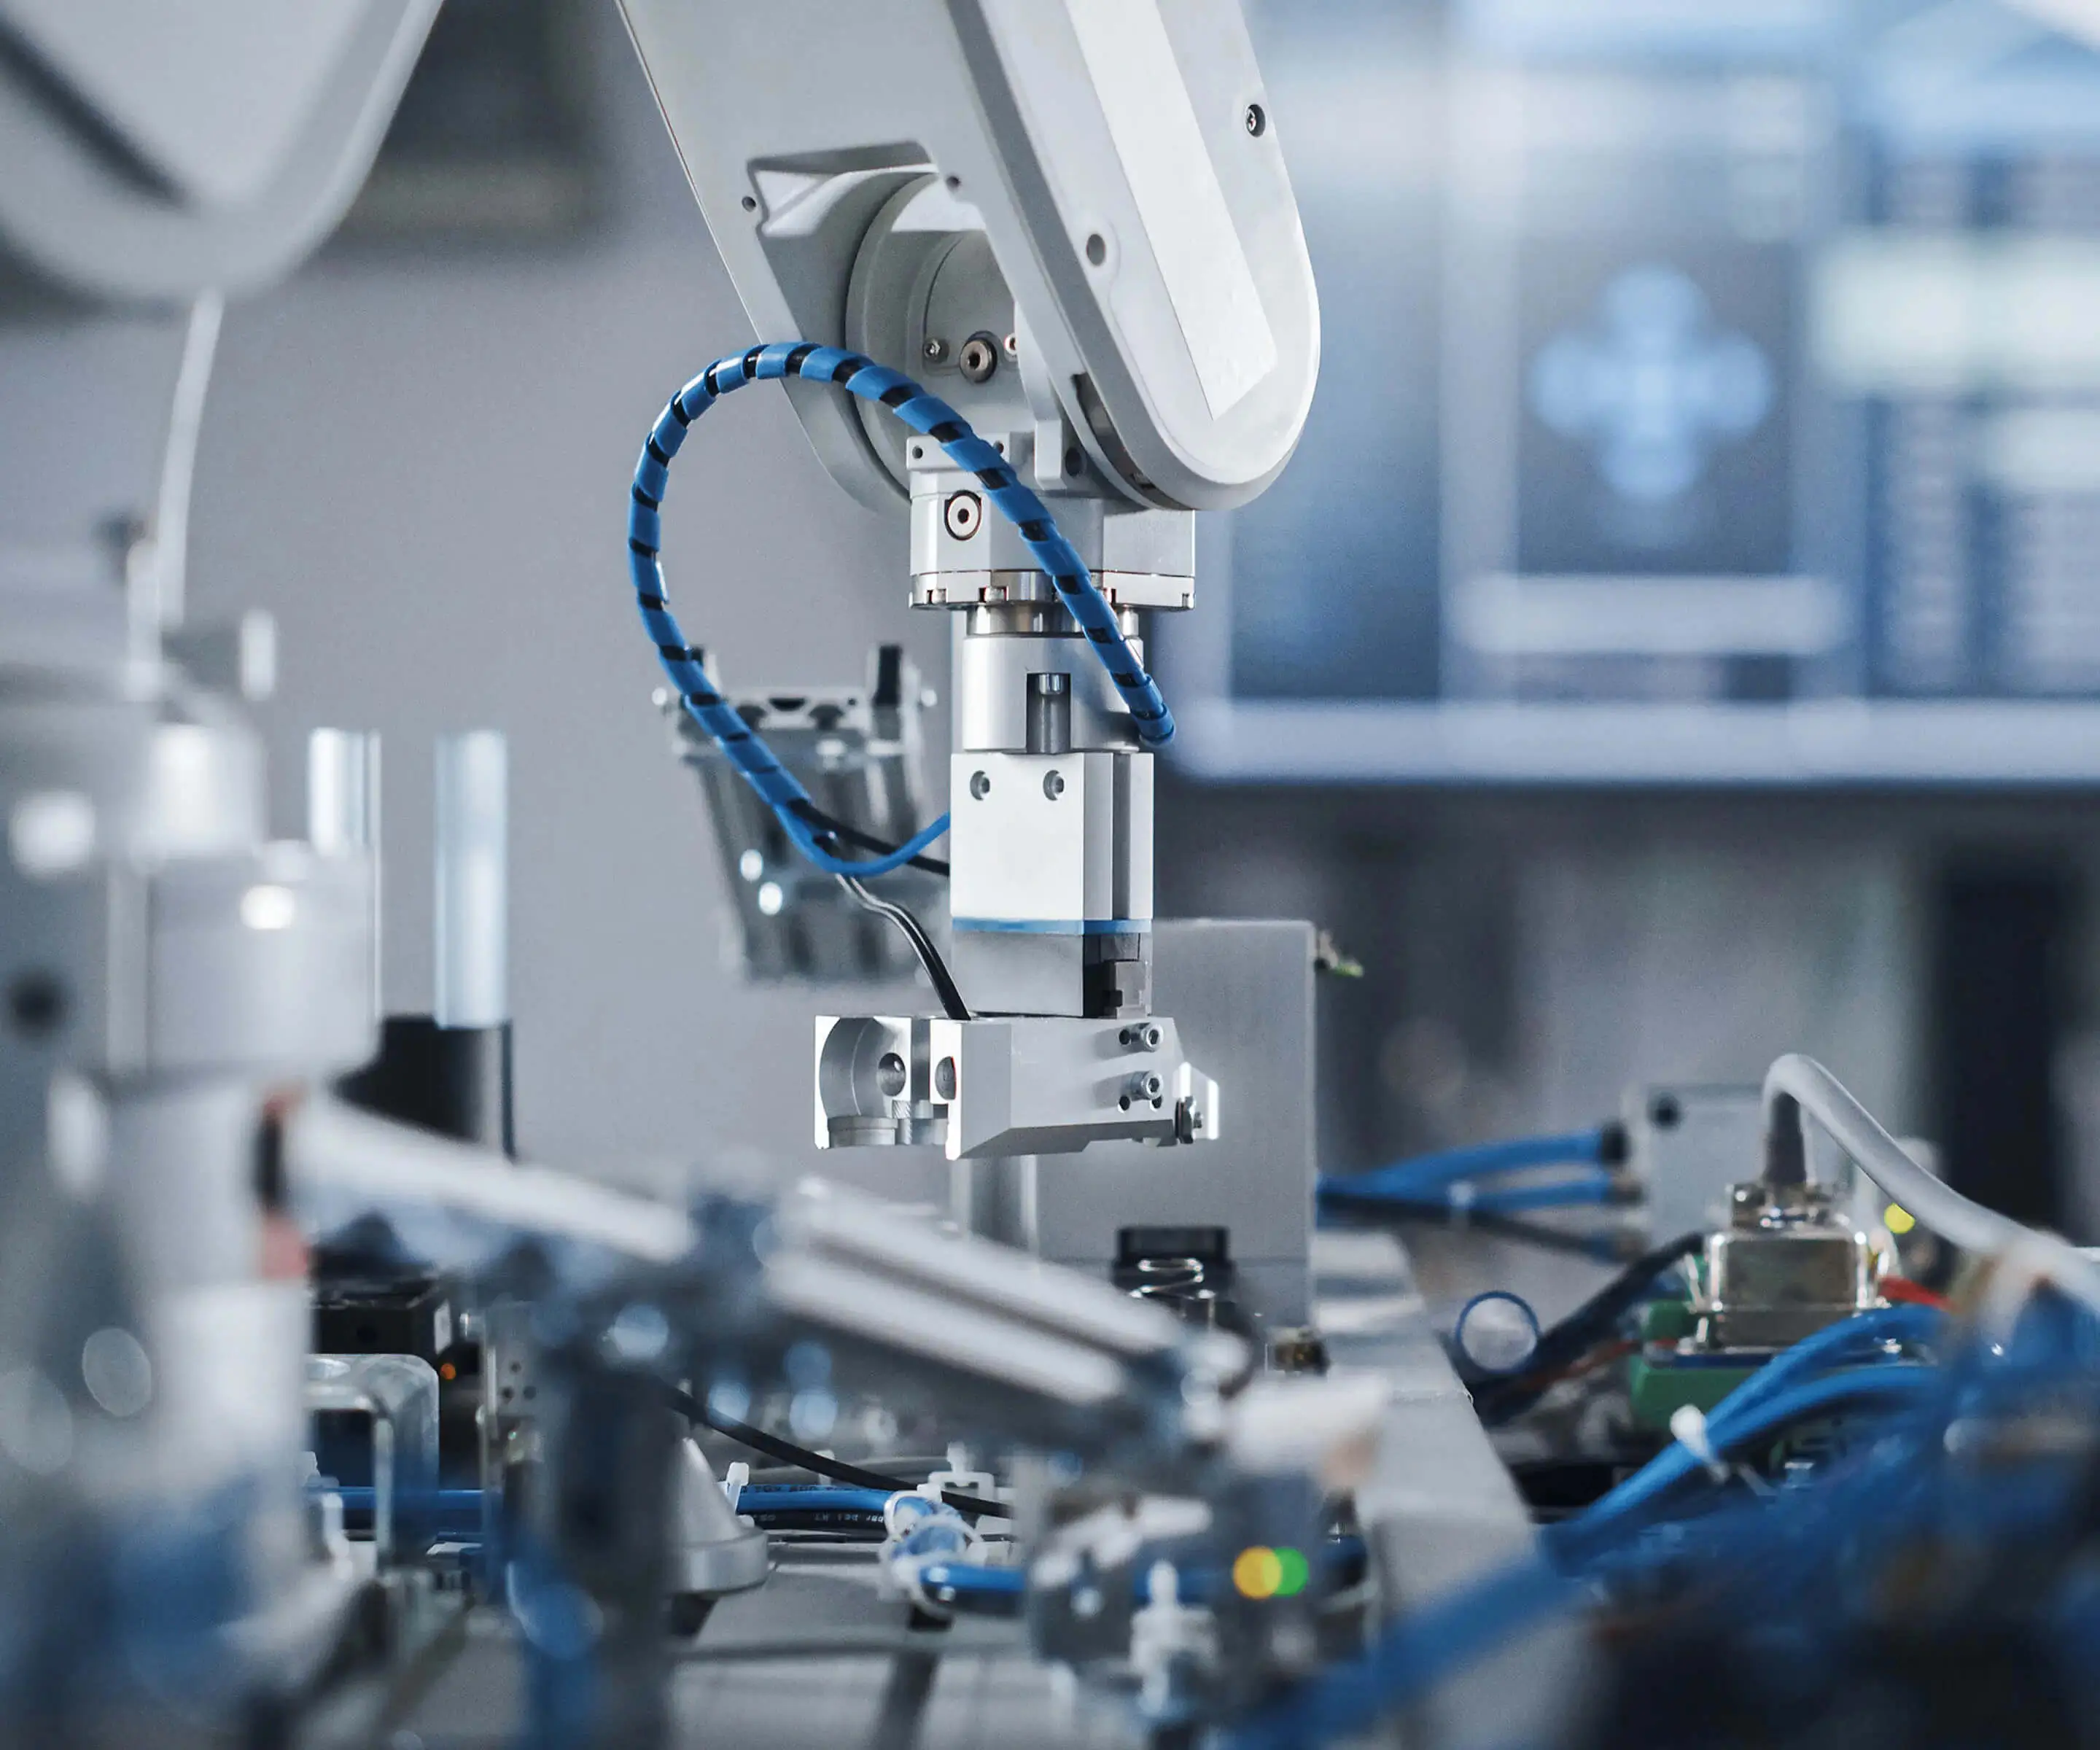
Introduction to DC Motors and Gears
DC motors, or direct current motors, are widely used in various applications, from toys to industrial machinery, because of their efficiency and control over speed. A critical component of these motors is the gear mechanism, which is used to adjust torque and speed output.
These gears can be fixed or loosely attached to the motor shaft, depending on the design. Sometimes, for maintenance, upgrades, or repair, it becomes necessary to remove these gears without damaging the motor components. Understanding how to remove the gear correctly is crucial to maintaining the motor's functionality and longevity.
In this article, we'll explore the process of removing gears from DC motors in a detailed, step-by-step manner. Let's dive into the first phase: preparation.
Step 1: Gather Your Tools
Before you begin disassembling the motor, it's important to ensure you have all the tools you might need. Here is a list of the most common tools required for gear removal:
Screwdrivers (both flathead and Phillips)
Wrenches (for motor casing bolts)
A gear puller (if the gear is tightly fitted)
Rubber mallet (for tapping stubborn gears)
Lubricating oil (to loosen rusted components)
Cleaning rag (for wiping parts)
Having these tools ready will save you time during the process and prevent unnecessary delays.
Before disassembling any DC motor, always ensure the motor is not connected to a power source. This step is crucial to prevent accidental short circuits or electrical shocks. Disconnect the motor from any power supply or batteries, and if the motor is part of a machine, make sure the entire machine is powered down.
Step 3: Remove the Motor Housing
In most cases, the gear is hidden inside the motor casing. Start by carefully removing the screws or bolts that secure the motor housing. If you find it difficult to unscrew, use your wrench or screwdriver to loosen them gently. Some motors may have clips or tabs that also need to be disengaged.
Once the casing is off, carefully inspect the inner components of the motor. The gear assembly should be visible, often positioned on a shaft connected to the motor’s rotor. Make sure you note the orientation of the parts, as you’ll need to reassemble them later.
Step 4: Examine the Gear Attachment
The gear may be fastened onto the motor shaft in a variety of ways. It could be pressed onto the shaft, held in place with a set screw, or attached using a key and keyway mechanism. Identifying how the gear is attached will guide you in selecting the right removal method.
If the gear is held by a set screw, it can often be unscrewed with a small wrench or screwdriver. If it’s pressed on, more force may be required.
Step 5: Assess the Condition of the Gear
Before proceeding, take a moment to assess the condition of the gear and motor shaft. Are there any signs of rust or wear? Are there any cracks in the gear or other visible damage? This step is important because it will help you decide whether the gear can be reused or if it needs replacing.
Step 6: Prepare the Gear for Removal
If the gear is stuck or rusted, apply a small amount of lubricating oil to the shaft and the edges of the gear. Let it sit for a few minutes to loosen any rust or grime. This will make the removal process smoother and prevent damage to the motor or gear.
Step-by-Step Gear Removal Process and Reassembly
Step 1: Loosen the Set Screw
If your motor gear is held in place by a set screw, this is the first place to start. Use a small screwdriver or hex key to unscrew the set screw. This may take a little force, especially if the screw has been in place for a while, so be gentle to avoid stripping it. Once it’s loosened, you should be able to slide the gear off the shaft.
Step 2: Using a Gear Puller
If the gear is pressed onto the motor shaft and is not coming off easily, a gear puller tool will be your best friend. A gear puller works by exerting gradual pressure to pull the gear away from the shaft without damaging the motor or the gear itself.
Attach the puller’s jaws around the outer edge of the gear.
Turn the screw at the center of the puller to slowly apply pressure.
Gradually tighten the puller to pull the gear off the shaft.
If the gear doesn’t come off after a few turns, stop, apply some more lubricating oil, and wait a bit before trying again.
Step 3: Tapping the Gear Loose (if necessary)
If the gear is particularly stubborn, you might need to tap it gently to break the bond between the gear and the motor shaft. Use a rubber mallet for this task to avoid damaging the gear or motor housing. Tap around the circumference of the gear, not the center, to avoid warping.
Be cautious when tapping, as excessive force can cause the gear to break or damage the motor shaft.
Step 4: Removing the Gear
Once the gear is loosened or the set screw is removed, you should be able to slide the gear off the motor shaft. If it still resists, you can use pliers to pull it off carefully, but ensure that you don’t apply too much force to the shaft itself. Be gentle during this step, as you want to preserve the integrity of the motor and gear.
Step 5: Inspect and Clean the Motor Components
With the gear successfully removed, take this opportunity to inspect the motor components for any dirt, debris, or wear. If the motor has been used extensively, you may notice signs of overheating, excessive dust, or worn brushes. Clean the motor with a rag, and lubricate the moving parts with a small amount of oil to ensure smooth operation.
This step can also help you identify potential issues with the motor that could affect its performance in the future.
Step 6: Reassemble the Motor
Once the gear is removed and the motor is cleaned, you can begin reassembling the motor. If you plan to replace the gear, ensure that the new one is of the correct size and design to fit the motor shaft. Slide the gear back into place and tighten any screws or fastenings that were holding it in place.
Make sure to test the motor before reassembling the entire casing. Power it up and check if the motor runs smoothly without any unusual noises or vibrations. If everything is in order, carefully reattach the motor housing and secure it with screws.
Removing a gear from a DC motor may seem like a daunting task, but with the right preparation and tools, it can be done effectively and safely. By following these detailed steps, you can ensure that your motor remains in top condition while also extending its life. Whether you're performing routine maintenance or upgrading components, these methods will help you remove gears without causing damage.
With your DC motor properly serviced, you can expect improved performance and efficiency. Be sure to repeat this process periodically to ensure the longevity and functionality of your motor gear system.
Kpower has delivered professional drive system solutions to over 500 enterprise clients globally with products covering various fields such as Smart Home Systems, Automatic Electronics, Robotics, Precision Agriculture, Drones, and Industrial Automation.
Update:2025-10-15
Contact Kpower's product specialist to recommend suitable motor or gearbox for your product.


