Thinking about bringing a servo motor to life with your ESP32? Let's step into the world where your ideas turn into reality—using just a few simple connections and some clever wiring. Connecting a servo motor isn't just about plugging in wires; it’s about understanding how these components communicate and work in harmony.

Imagine the ESP32 as the brain of your project. It’s packed with WiFi, Bluetooth, and enough pins to make even the most complex robot dance. Now, the servo motor? Think of it as the muscles that move—precise, powerful, but requiring the right message to activate.
First, you need to identify your servo’s power, ground, and signal pins. Typically, the servo has three wires—red for power, black or brown for ground, and white or yellow for the control signal. It’s tempting to just grab a wire and start experimenting, but a little planning saves time and frustration.
Powering the servo? You’ll want to connect the red wire to a 5V supply. The ESP32 itself can't supply enough current directly through a GPIO pin, so using an external power source is a smart move. Keep the ground of the servo and the ESP32 common—that connection can be a simple jumper wire. The control signal? That’s where the magic happens, connecting to one of the ESP32’s digital pins capable of PWM output, like GPIO 18 or another suitable pin.
Once your hardware is in place, configuring the code is your next step. If you've worked with Arduino IDE before, it’s a breeze. You’ll include the Servo library, instantiate a servo object, and attach it to the designated pin. Think about this like teaching your ESP32 to speak servo language. Giving a simple command like servo.write(90) will move the servo to the middle position—remember, 0 to 180 degrees.
But doesn’t that sound too simple? Sometimes the devil is in the details. Power spikes can cause jittering, so filtering power supply noise is wise. Also, consider the torque and speed your servo needs for your project—choosing a servo with appropriate specifications is key.
What about troubleshooting? If the servo doesn't respond, double-check your wiring and ensure the power source can handle the load. Sometimes, the servo's jittering signals insufficient current or interference. Don't forget to double-check your code—setting the correct pins and angles.
Thinking ahead, integrating this setup into a bigger project isn’t tough at all. Imagine a robot arm, automatically adjusting based on sensor input. Or a remote-controlled camera mount that pans and tilts smoothly. The seamless connection between servo and ESP32 opens up so many creative doors.
To sum up, connecting a servo motor to an ESP32 involves understanding your components, wiring carefully, and coding confidently. Once you get that chain of communication going, you'll be surprised how much movement you can control with just a little hardware tinkering. Whether you're building a robot or automating a gadget, that connection unlocks a world of possibility—power in your hands, literally.
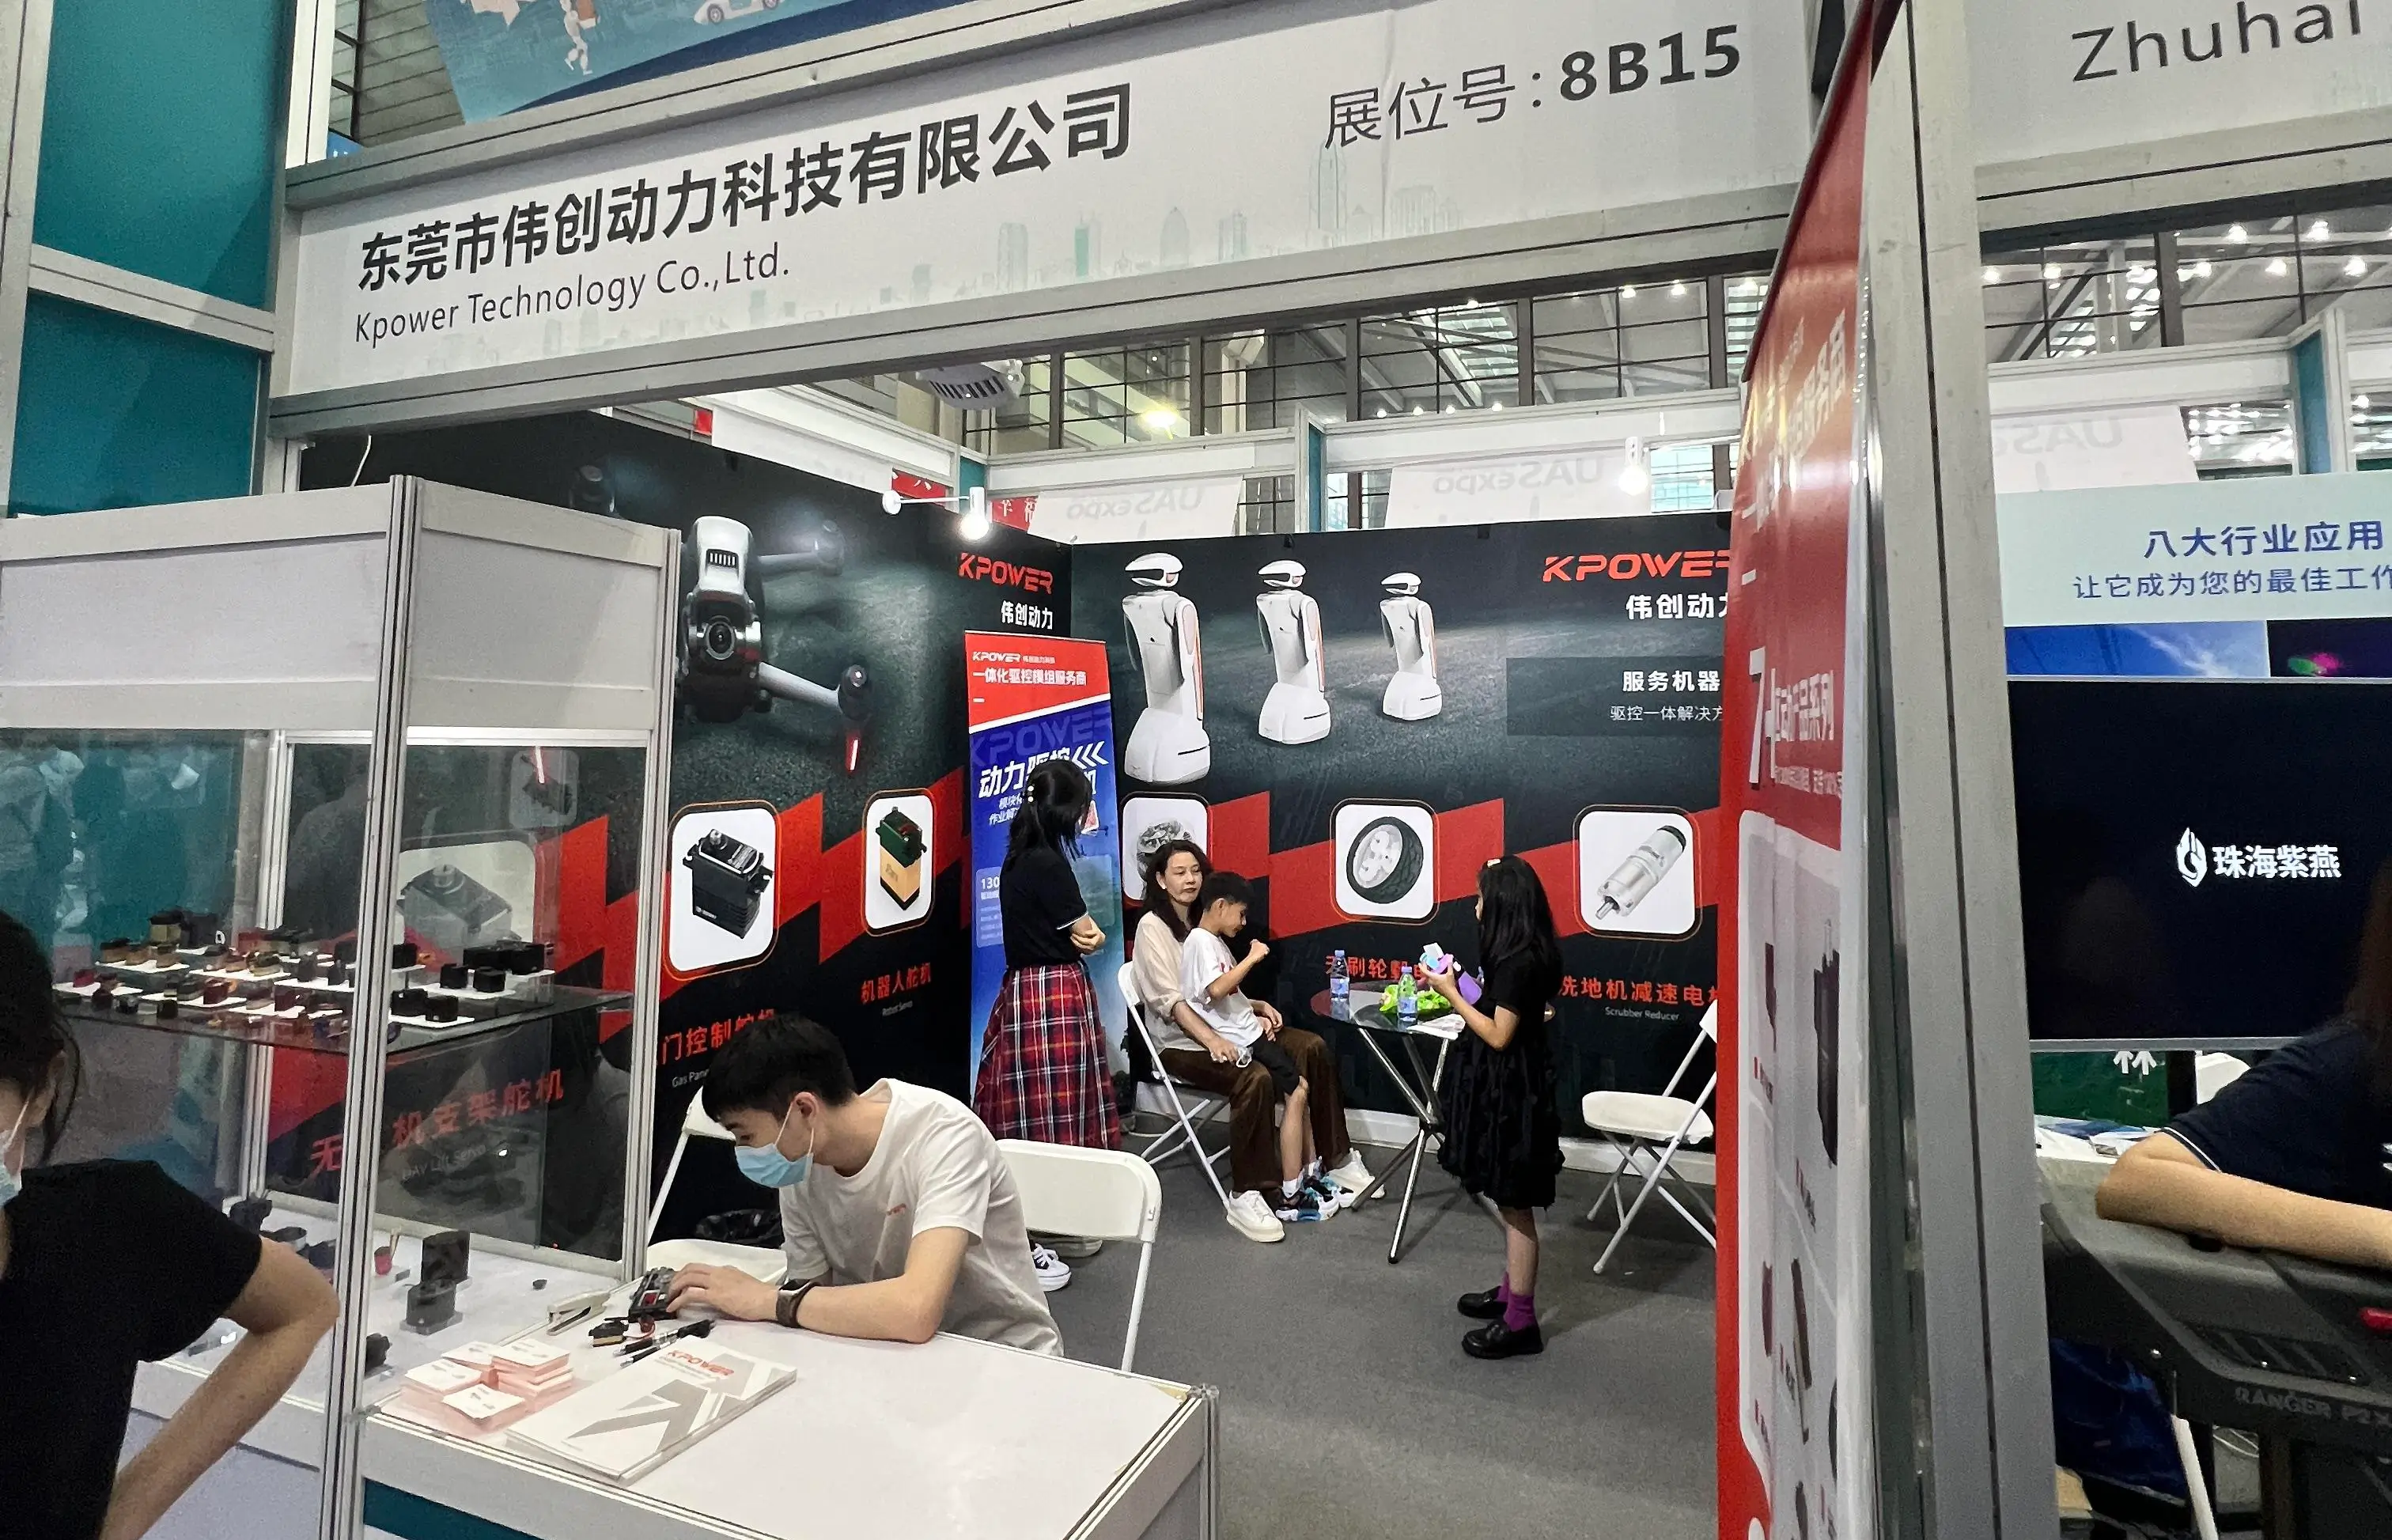
Established in 2005, Kpower has been dedicated to a professional compact motion unit manufacturer, headquartered in Dongguan, Guangdong Province, China. Leveraging innovations in modular drive technology, Kpower integrates high-performance motors, precision reducers, and multi-protocol control systems to provide efficient and customized smart drive system solutions. Kpower has delivered professional drive system solutions to over 500 enterprise clients globally with products covering various fields such as Smart Home Systems, Automatic Electronics, Robotics, Precision Agriculture, Drones, and Industrial Automation.


