Looking to attach a micro servo arm? It sounds simple, but that tiny gap between the servo horn and the arm can sometimes turn into a puzzle. Don’t worry, once you get the hang of it, it’s as natural as putting on your favorite sneakers. The trick is knowing how the parts fit and what steps truly matter.

First, imagine pulling everything out of the package—the tiny servo, the arm, the screw or clip—laying it all out like a craft project. The servo horn usually comes with a few different attachment points or holes, giving you flexibility. What’s key is choosing the right hole to maximize strength and range of motion. Some folks lean toward the outer holes for more leverage; others prefer the inner ones for precision control.
Now, consider the actual process. It all starts with aligning the servo arm on the servo’s splined shaft. Find that flat spot or key on the shaft; that’s your anchor point. When sliding the arm onto the shaft, don’t just push blindly. Instead, rotate the servo slightly to match the spline grooves. It’s a bit like fitting puzzle pieces – gentle, patient, until everything clicks into place.
Once aligned, securing the arm might seem straightforward but can trip you up if you rush. Sometimes, using a small screw is enough, but other times, a push-on clip does the job. If using a screw, thread it carefully through the hole, ensuring it threads smoothly without forcing. Tighten it just enough—over-tightening risks stripping the plastic or twisting the shaft. The clip method? Make sure it snaps securely but can still be removed if needed without too much fuss.
Ever wondered if you can attach the arm differently? That’s an interesting question because some servo arms are designed with compatibility in mind, but a good tip is always to double-check the arm size against the servo’s spline and screw hole proximity. Compatibility isn’t just a buzzword; it’s the core of a reliable connection.
One more thing—testing before finalizing is a must. Move the servo gently, watch how the arm responds, make sure it’s snug but not tight to the point of resistance. If the arm wobbles or slips during operation, revisit the screw tension or alignment. It’s kind of like tuning a guitar—tiny adjustments can make all the difference in performance.
Wondering why sometimes the arm feels loose or stiff? Think about the quality. Cheap parts might have a looser fit, causing issues down the line. Investing in a well-made servo arm helps in avoiding those frustrations. It’s like choosing good shoes—initially costlier, but pays off with comfort and durability.
In the end, attaching a micro servo arm isn’t rocket science. It’s about patience, aligning parts precisely, and testing. Once you’ve done it a couple of times, it becomes second nature. Whether you’re automating a robot or tweaking a drone, mastering this small detail boosts the whole project. The feel of that perfectly attached arm? It’s satisfying, like finally fitting that missing piece in a puzzle you didn’t even know was bugging you.
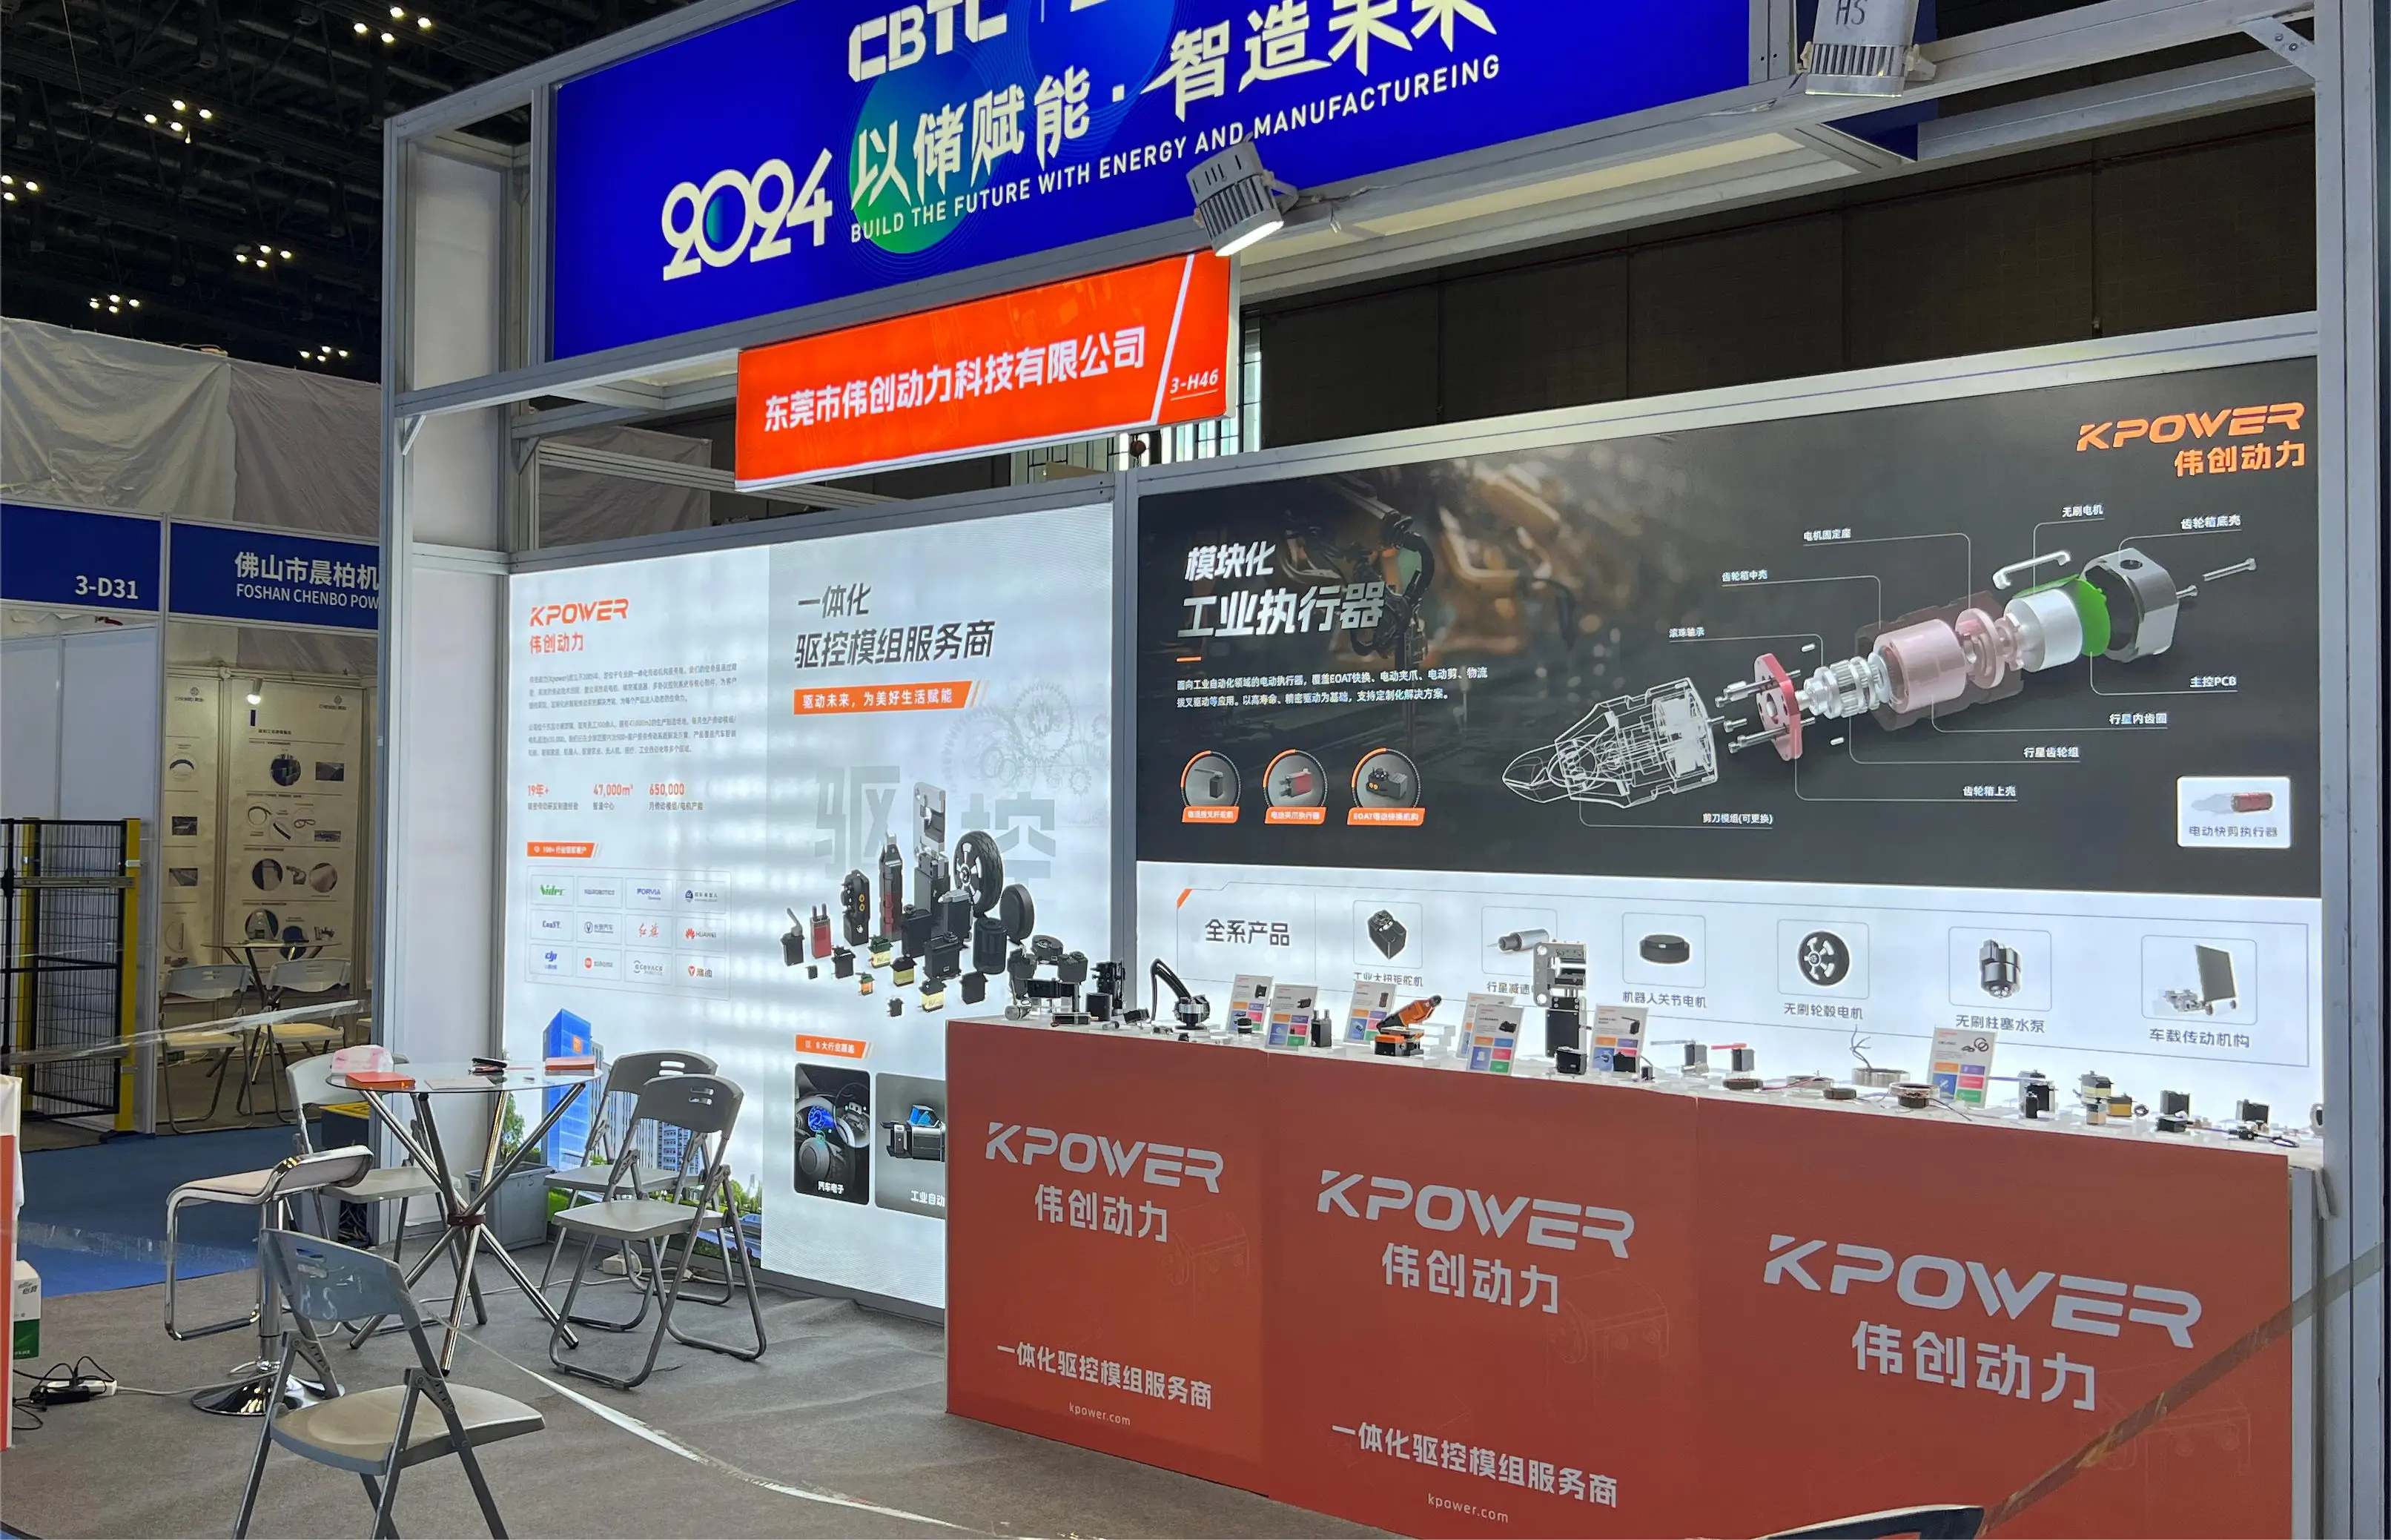
Established in 2005, Kpower has been dedicated to a professional compact motion unit manufacturer, headquartered in Dongguan, Guangdong Province, China. Leveraging innovations in modular drive technology, Kpower integrates high-performance motors, precision reducers, and multi-protocol control systems to provide efficient and customized smart drive system solutions. Kpower has delivered professional drive system solutions to over 500 enterprise clients globally with products covering various fields such as Smart Home Systems, Automatic Electronics, Robotics, Precision Agriculture, Drones, and Industrial Automation.


