Alright, let's dive into making that micro servo magic happen with Arduino. Think of it as giving your projects a tiny, precise muscle to do your bidding. You know that feeling when a small robot arm moves exactly like you envisioned? That's where micro servos come into play. They’re tiny but mighty—perfect for everything from robot arms to camera tilt mechanisms.

Getting started isn’t rocket science, but a little know-how helps things go smoothly. First, grab your micro servo, an Arduino board, some jumper wires, and a power supply. The cool part? Micro servos usually operate on 4.8V to 6V, making them pretty flexible. Just beware—don’t overdrive them. No one wants burnt-out servo motors or weird wiring mishaps that turn your creative project into a smoke cloud.
Plugging the servo into an Arduino is straightforward: connect the power (red wire) to the 5V pin, ground (black or brown wire) to GND, and the control wire—usually white or yellow—to one of Arduino’s PWM-capable pins, like 9 or 10. Once wired, you’re ready to write some code. But wait—how does it all work behind the scenes? It’s actually about sending PWM signals to the servo. These signals tell the servo what position to hold—anywhere between 0 and 180 degrees. Think of it like giving a compass direction but for small mechanical arms or sensors.
Now, here’s a quick peek into a simple snippet that makes your servo move from zero to full angle. You could make it sweep back and forth in a loop, creating an eye-catching motion that’s perfect whether you’re building a robot or a camera gimbal. It’s as easy as calling a function and changing some parameters. The magic lies in understanding the pulse widths that tell the servo what to do—1ms for 0 degrees, 2ms for 180. A little trial, a little error, and boom—your servo dances to your tune.
Questions drift in: “Can I control multiple servos at once?” Totally. Just connect each to a different pin and write a little loop. But keep in mind, powering multiple servos from the same power supply requires attention—serve enough juice, or you'll get jittery movements. Quality power supplies are your best friends here.
And hey, ever wondered why your servo jitters even when the code looks right? Sometimes, cheap power sources or insufficient grounds cause those hiccups. Using a dedicated power source helps keep everything smooth. A little foresight goes a long way in avoiding those weird glitches.
Want to turn this into a project? Maybe a tiny robot that waves its arm or a camera mount that tracks movement. The micro servo plus an Arduino creates endless possibilities. The key? Play around, experiment, and see how that small motor can bring your ideas to life. Whether it’s a DIY home automation gadget or a fun robotics endeavor, mastering the micro servo opens the door to real, tangible results. And remember, it’s all about that perfect balance of power, code, and creativity.
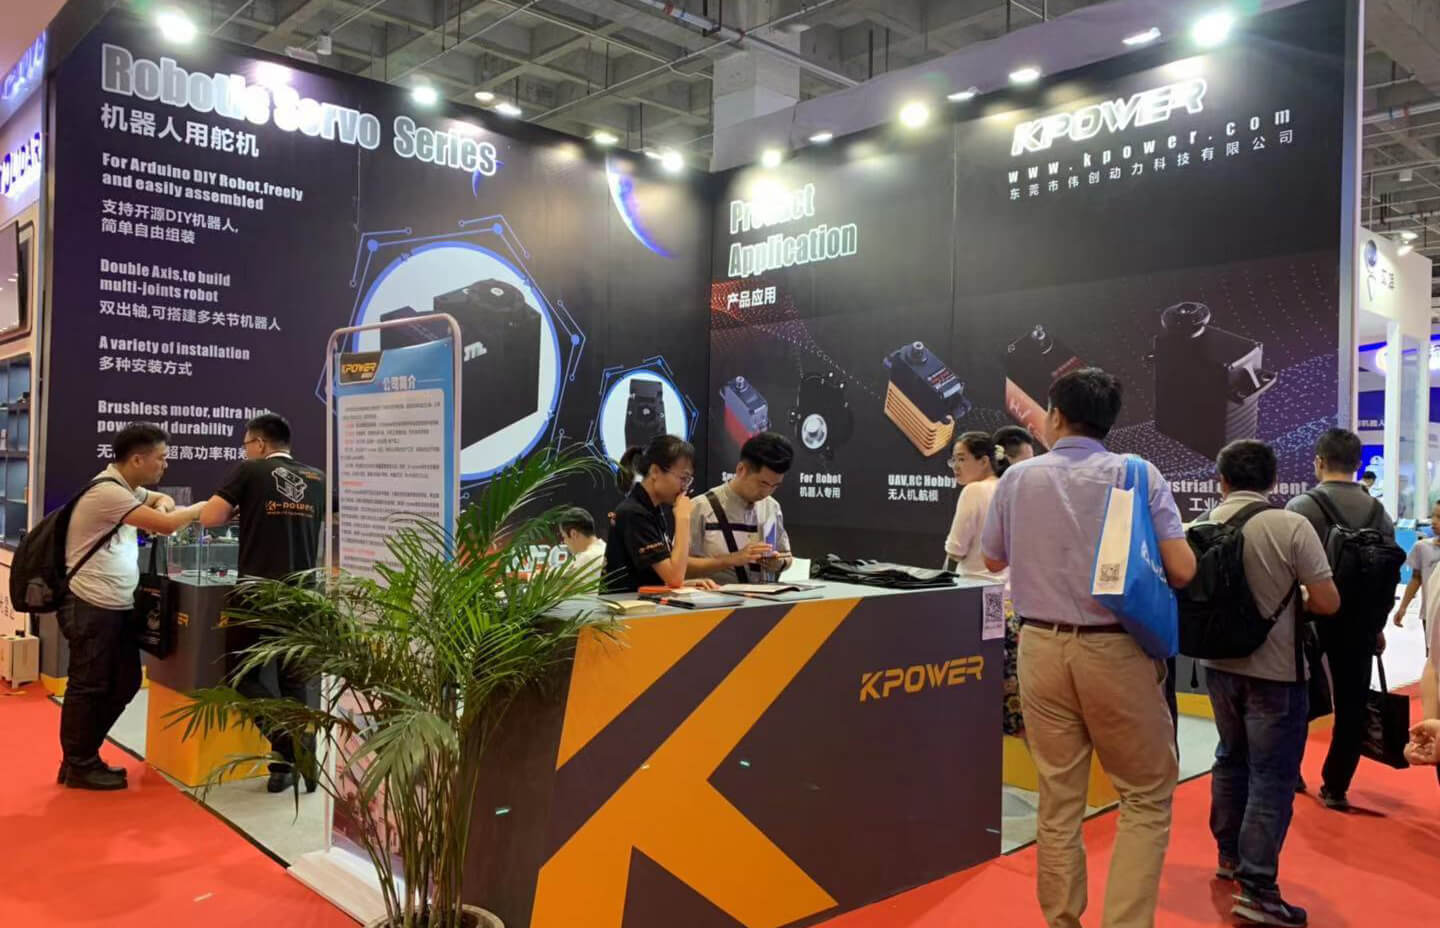
Established in 2005, Kpower has been dedicated to a professional compact motion unit manufacturer, headquartered in Dongguan, Guangdong Province, China. Leveraging innovations in modular drive technology, Kpower integrates high-performance motors, precision reducers, and multi-protocol control systems to provide efficient and customized smart drive system solutions. Kpower has delivered professional drive system solutions to over 500 enterprise clients globally with products covering various fields such as Smart Home Systems, Automatic Electronics, Robotics, Precision Agriculture, Drones, and Industrial Automation.


