Ever wonder how those sleek robot figures get all the joints just right? Those seamless connections that make robots look both futuristic and credible? Crafting believable robot joints isn’t just about piecing parts together; it’s an art that blends creativity with a dash of engineering insight. If you’re diving into drawing or designing robots, understanding how to sketch those joints authentically can make your work stand out.

First off, think about the purpose of each joint. Are you aiming for a humanoid robot with ball-and-socket joints, or a more industrial-looking arm with straight, hinge-like connections? Each choice impacts how the joint moves and interacts with the rest of the body. For a natural look, imagine how your own joints bend—knee, elbow, or even the neck. Capture the subtle arcs and pivots that give life to any mechanical figure.
A quick tip: emphasizing the layering and shading around these joints adds depth. When I look at a well-drawn robot, I often notice how highlights and shadows define the joint's curvature. It hints at the underlying structure without bogging down in complex cross-sections. This visual cue guides the viewer’s eye and creates a sense of realism—vital for any convincing robot design.
Now, let’s talk about the kind of materials your robot might be made of. Steel, plastic, or even futuristic alloys? Each has its own way of flexing and holding shape. Drawing a joint with visible bolts, screws, or even subtle hydraulic lines can boost believability. Don’t forget, even mechanical joints can have slight imperfections—a slight gap here, a bit of chalky wear there—that gives your robot personality.
Here’s a question that often comes up: “How many parts should a joint have?” The answer depends on complexity. A simple hinge might be just two pieces, while a more sophisticated joint could include multiple segments, control pistons, and armor plates. The key is balancing detail with clarity. Overloading a joint with too many bits can make it hard to read, but too simple can seem dull.
Working with proportions helps too; a tiny elbow joint, for example, can suggest a delicate design, whereas a bulky one implies strength. When sketching, experiment with different sizes and see what fits the character or idea you have in mind.
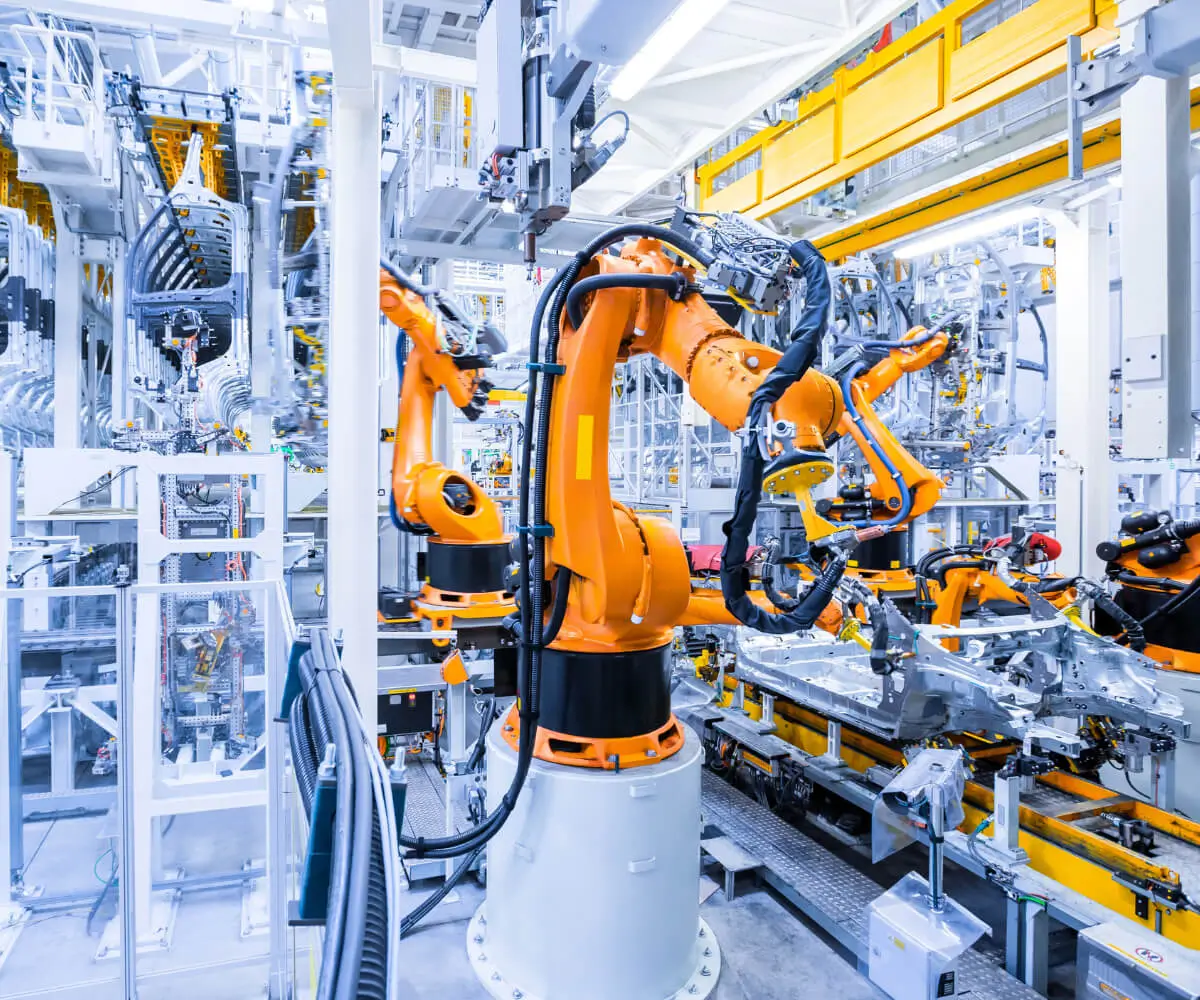
In creating your robot joints, don’t hesitate to look at real-world mechanical systems. Even cars or machinery can inspire realistic joint designs—think of the pivot points on a crane arm or the hinges on industrial doors. These real-world models can breathe life into your drawings, making them feel tangible.
Of course, sharing your work with an active community of artists gives invaluable feedback. Sometimes, all it takes is a fresh eye to spot where a joint could be more functional or more stylized. Getting that honest critique pushes your ability to blend technical detail with artistic flair.
To sum up, whenever you’re sketching those robot joints, focus on purpose, material, proportion, and a touch of creativity. Whether you aim for realistic precision or a more stylized, futuristic feel, understanding how the joints operate can transform a plain sketch into a captivating robotic figure. Keep experimenting, observe mechanical details around you, and let your imagination take the lead. The knife edge between art and engineering is where real magic happens.
Established in 2005, Kpower has been dedicated to a professional compact motion unit manufacturer, headquartered in Dongguan, Guangdong Province, China.


