


Looking for a suitable motor?


小编
Published2025-10-17
Alright, let’s dive into this funky little guide on connecting a servo to a microbit. Imagine you’re tinkering on your desk, wires sprawled everywhere, your microbit waiting patiently, and that tiny servo just begging to be controlled. It’s a bit like giving life to a robot arm or making that light chaser LED dance—pretty cool stuff. But before you get wrapped up in the fun, you need to figure out how those two connect smoothly, right? No worries, I got you.
First off, the big question: which pins? Microbit has specific pins for GND, 3V, and a GPIO pin to send signals. Usually, you’d connect the servo’s power (red wire) to the 3V pin on the microbit. Now, here’s the kicker—some servos prefer a more stable power source. If your servo jitters or stalls, try using an external power supply instead of relying solely on the microbit. Stability is key when controlling motors; otherwise, your robot might do the cha-cha instead of a cool dance move.
Next, the control wire (usually yellow or white) goes to one of the microbit’s GPIO pins. Picking which pin? Well, it doesn’t matter too much, but pin P0, P1, or P2 are your main options. Just remember to keep it consistent so your code knows where to find the control signal.
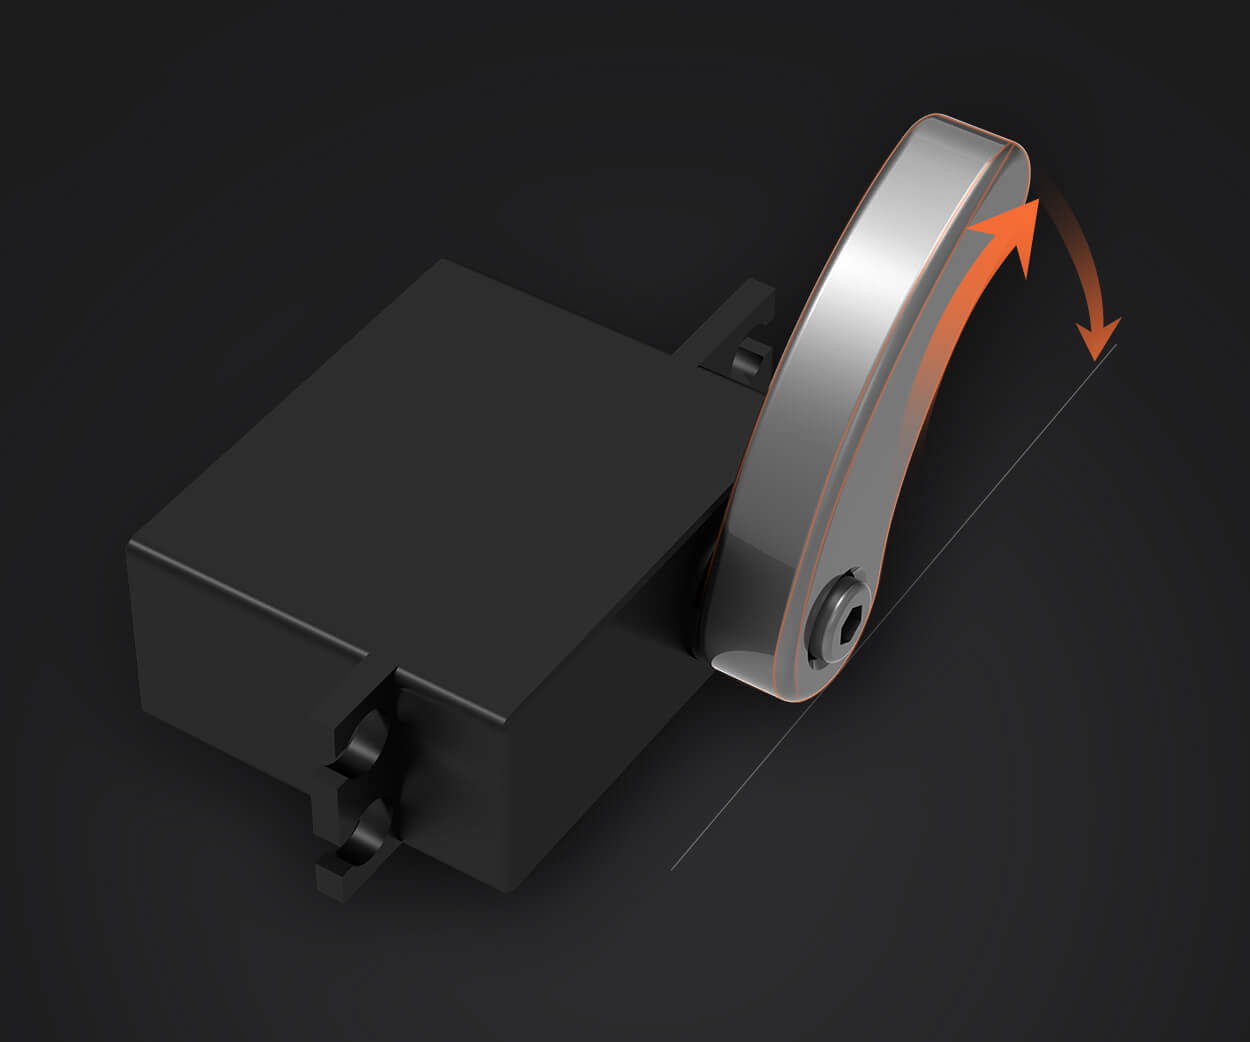
Now here’s an interesting part—how to send commands. You need to generate PWM signals, which tell the servo how to position itself. Think of it like giving a tiny digital handshake—waving at just the right angle. You can do this with a few lines of code, just saying “turn to 90 degrees,” or “swing to 45,” and so on. Some might ask: “Can I control multiple servos?” Absolutely, but remember they all share the power source and need unique control pins.
And a little tip—if you’re getting jittery movements, check your code and power supply. Sometimes the problem isn’t the connection but the timing or voltage drops. A capacitor across the power lines can smooth things out, kind of like giving your servo a little boost of patience.
People often wonder, “Is it hard?” Honestly, once you see those tiny servos responding to your commands, it feels like magic. Just follow the basic wiring steps, use some simple code, and watch your microbit bring a servo to life.
Why make it complicated when you can keep it straightforward? Knowing how to connect a servo to your microbit opens a world of DIY projects—robotic arms, automated curtains, camera gimbals. The possibilities are endless when you understand the basic wiring and control signals.
And hey, if you’re sitting there thinking, “But what if I want to add more servos?” It’s all about planning your power source and making sure each one gets a clean signal. Share creative ideas, experiment with movements, and enjoy the process. Connecting a servo isn’t just about wires; it’s about turning your ideas into reality, step by step.
Kpower has delivered professional drive system solutions to over 500 enterprise clients globally with products covering various fields such as Smart Home Systems, Automatic Electronics, Robotics, Precision Agriculture, Drones, and Industrial Automation.
Update:2025-10-17
Contact Kpower's product specialist to recommend suitable motor or gearbox for your product.


