


Looking for a suitable motor?


小编
Published2025-10-16
Unleashing Tiny Powerhouses: The Magic of Small Linear Servos in Arduino Projects
In the world of robotics and automation, actuators are the muscles that turn commands into movement. Among the myriad of options available, small linear servos have emerged as the champions of compact, precise, and reliable motion. Their ability to convert electrical energy into straight-line movement makes them invaluable for projects requiring nuanced control, such as robotic arms, camera sliders, or automated door mechanisms.
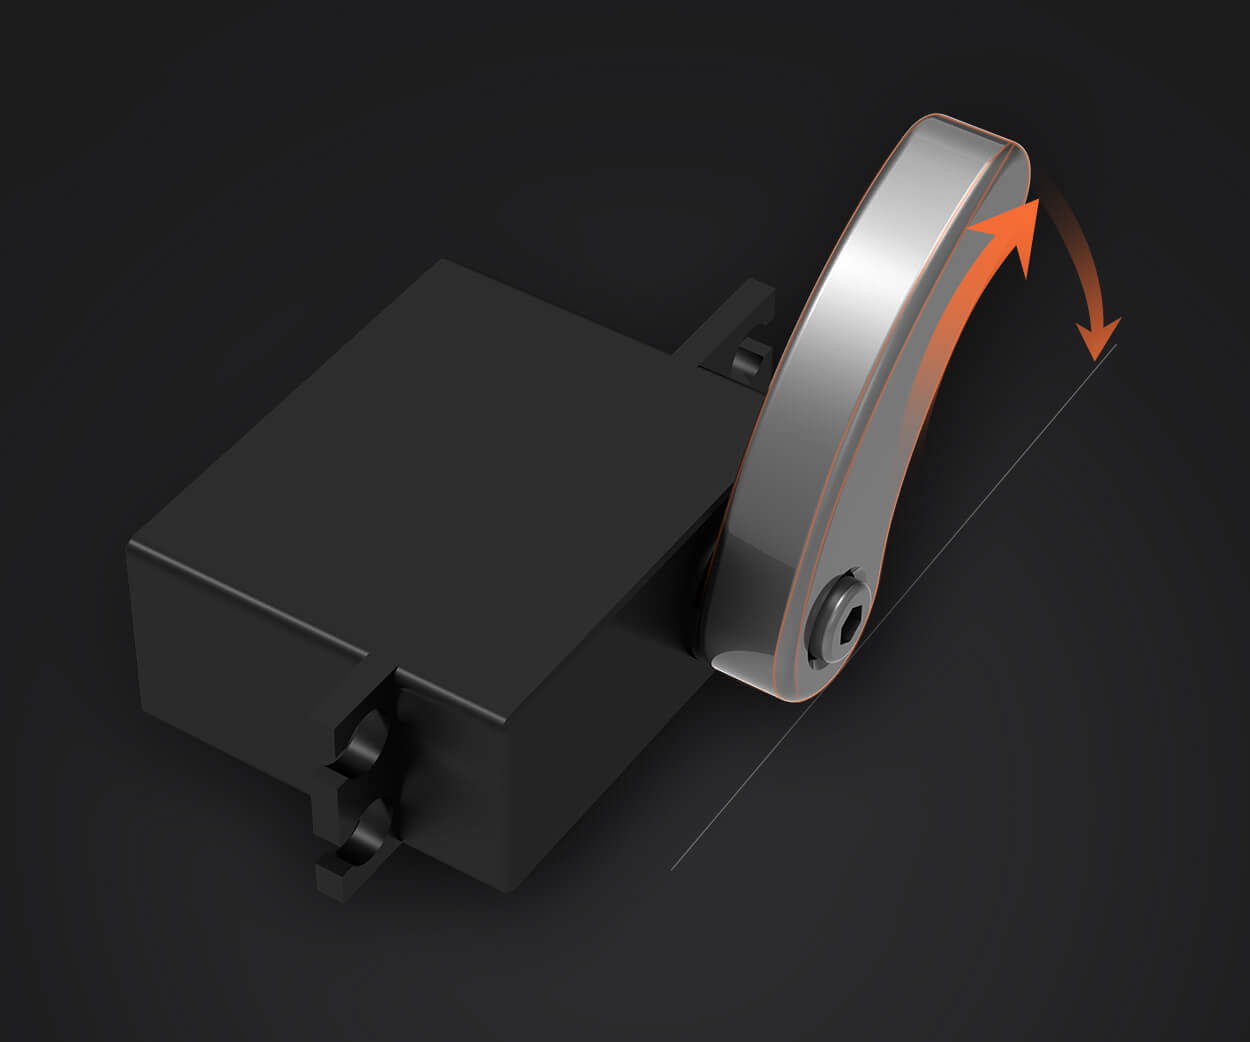
What is a small linear servo? Simplistically, a linear servo is a device that offers controlled, precise linear motion—think of it as a tiny robotic arm that can extend and retract with accuracy. Unlike traditional rotary servos that spin on a circular axis, linear servos move along a straight path. "Small" often refers to their compact size, usually measuring just a few centimeters in length, making them ideal for where space is at a premium.
These servos are generally based on brushless motors or DC motors combined with ball screws or lead screws to convert rotary motion into linear displacement. Many small linear servos incorporate feedback mechanisms, like potentiometers, to facilitate precise positioning.
Why choose small linear servos with Arduino? Arduino, an open-source microcontroller platform, is synonymous with DIY innovation. Its ease of use, affordability, and versatility have empowered millions to create projects that were once complex or prohibitively expensive.
When paired with small linear servos, Arduino unlocks a realm of possibilities where precise, programmable linear movement is accessible at a hobbyist or educational level. Whether you’re automating a mini conveyor, building a robotic finger, or developing a delicate pick-and-place system, these tiny actuators can make it happen.
Key features of small linear servos for Arduino projects:
Compact size: Easily integrate into tight spaces. High precision: Many models support fine positional control, often with feedback mechanisms. Ease of control: Simple PWM signals manage their position, akin to traditional rotary servos. Cost-effective: Affordable components suitable for DIY projects. Power efficiency: Designed to work with small power sources, such as batteries or small power supplies.
Diving into control: How does Arduino communicate with small linear servos?
Most small linear servos for hobbyist projects are compatible with standard PWM signals. With the Arduino's Servo library, users can effortlessly command a servo to move to a specific position by writing an integer value between 0 and 180 degrees, which corresponds to the servo’s range of motion.
However, some specialized linear servos might include feedback sensors like potentiometers or hall sensors that allow for more sophisticated control techniques such as closed-loop feedback. These can be integrated with Arduino using analog inputs or digital communication protocols, enabling highly precise control and even custom firmware development.
Real-life applications and inspiring projects
The adaptability of small linear servos makes them perfect for a multitude of applications:
Robotics: Tiny robotic arms for pick-and-place operations, prosthetics, or mobile robots. Automated mechanisms: Small-scale sliding doors, espresso machine levers, or pet feeding systems. Educational models: Demonstrations of linear motion principles, physics experiments, or interactive exhibits. Creative automation: Automated curtain openers, miniature elevator systems, or moving art displays.
Choosing the right small linear servo for your project
When selecting a linear servo, consider the following parameters:
Stroke length: The maximum extension or retraction distance, typically ranging from a few millimeters to several centimeters. Force (torque): The amount of linear force it can exert, crucial for your application’s load. Voltage and current: Match the servo’s power requirements with your power source. Feedback capability: Decide if you need a feedback sensor for precision control. Size and weight: Ensure compatibility with your design constraints.
Some popular models have their own strengths. Micro linear servos like the MG90S are compact and affordable, great for simple tasks. More advanced ones featuring positional feedback are available for robotics applications where accuracy is paramount.
Getting started: The basics of wiring and programming
Connecting a small linear servo to Arduino is straightforward:
Power: Connect the servo’s power pin (often red) to a suitable power source (typically 5V). Ground: Connect the ground pin (black or brown) to Arduino GND. Control: Connect the signal pin (yellow, white, or orange) to an Arduino digital pin capable of PWM (e.g., pin 9).
Using the Servo library simplifies control. Here’s a minimal example to move the servo to 90 degrees:
#include Servo myServo; void setup() { myServo.attach(9); // Connect control signal to digital pin 9 myServo.write(90); // Move to middle position } void loop() { // your code here }
Once set up, you can modify positions dynamically with code, adjusting movement speed and trajectory as needed.
That covers the foundational overview, setting the stage for more advanced control techniques, real-world project ideas, and troubleshooting tips in the subsequent section.
Kpower has delivered professional drive system solutions to over 500 enterprise clients globally with products covering various fields such as Smart Home Systems, Automatic Electronics, Robotics, Precision Agriculture, Drones, and Industrial Automation.
Update:2025-10-16
Contact Kpower's product specialist to recommend suitable motor or gearbox for your product.


