


Looking for a suitable motor?


小编
Published2025-10-15
Unleashing Creativity with Arduino and Servos
Imagine a small robotic arm smoothly picking up objects, a camera mounted on a precise pan-tilt system capturing the perfect shot, or an automated model that responds to your commands—all powered by the humble yet versatile combination of Arduino and servo motors. These components have become the backbone of countless DIY projects, offering a gateway into the world of automation and robotics.
At its core, controlling a servo with Arduino involves understanding the nature of servo motors and the way Arduino communicates with them. Servo motors are compact, capable of precise position control, and very easy to interface with microcontrollers. They utilize a Pulse Width Modulation (PWM) signal to determine the angle at which the shaft of the servo sits.
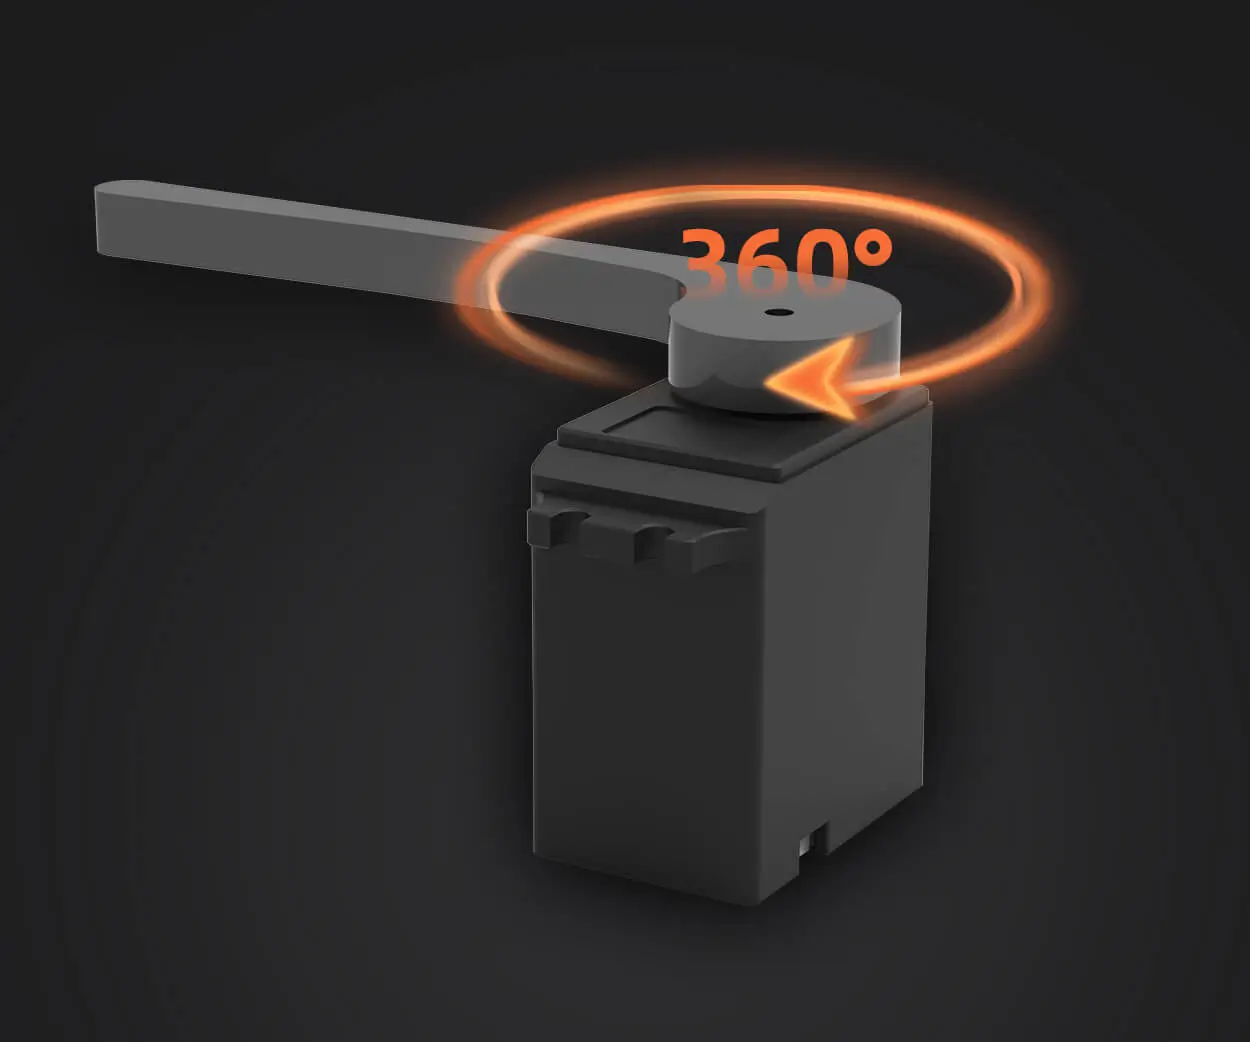
What is a Servo Motor? A servo motor is a rotary actuator that allows for precise control of angular position, velocity, and acceleration. Unlike standard motors, servos are equipped with a built-in control circuit and feedback mechanisms, enabling them to move to a specific position based on input signals. These motors typically have a rotation range between 0° to 180°, although some more specialized models can turn a full 360°.
How Do Servos Work? The core principle behind servos is pulse width modulation. The Arduino sends a PWM signal to the servo, where the width of the high pulse determines the position of the shaft. For standard hobby servos:
A pulse of about 1 millisecond (ms) corresponds to 0° A pulse of about 1.5 ms corresponds to 90° (mid-position) A pulse of about 2 ms corresponds to 180°
The servo’s internal control circuit interprets this PWM signal and moves the shaft accordingly, holding it in position as long as the signal is maintained.
Getting Started: What You Need Before you control a servo with Arduino, gather these components:
Arduino board (Uno, Nano, Mega, etc.) Servo motor (standard hobby servo) Breadboard and jumper wires Power supply (if required for multiple servos) Optional: potentiometer for manual control
Connecting the Servo Most hobby servos have three wires: power (usually red), ground (black or brown), and signal (white or yellow). Connect the power wire to the Arduino’s 5V pin, the ground wire to GND, and the signal wire to a PWM-capable digital pin (like digital pin 9). If you’re using multiple servos, consider powering them separately to avoid drawing excess current from the Arduino.
First Code: Moving the Servo Here's a simple example to get you started:
#include Servo myServo; void setup() { myServo.attach(9); // Attach servo to pin 9 } void loop() { for (int pos = 0; pos <= 180; pos++) { // Sweep from 0 to 180 degrees myServo.write(pos); delay(15); } for (int pos = 180; pos >= 0; pos--) { // Sweep back to 0 degrees myServo.write(pos); delay(15); } }
This program smoothly swings the servo back and forth. It’s a perfect way to start exploring how a servo responds to different signals.
Understanding the Code The core commands are Servo.h, which simplifies servo control, and write(), which sets the desired angle. The delay() function allows the servo time to move before changing position, creating a smooth motion.
Beyond Basics: Adding Interactivity Once you're comfortable with basic movements, you can make your project interactive. For example, use a potentiometer to manually control the servo angle:
#include Servo myServo; int potPin = A0; int val; void setup() { myServo.attach(9); } void loop() { val = analogRead(potPin); // Read the potentiometer int angle = map(val, 0, 1023, 0, 180); // Map to servo range myServo.write(angle); // Set servo position delay(15); }
This simple code reads potentiometer input and adjusts the servo accordingly, creating a tactile control interface.
Advanced Control: Smooth Motion, Multiple Servos, and Feedback
As you progress, controlling a servo isn’t just about moving from point A to B. You’ll want smooth, coordinated, and responsive control for complex projects—think robotic arms, camera gimbals, or automated vehicles. This involves understanding not just how to send signals but how to refine and synchronize movements.
Implementing Smooth Movements The basic write() commands can result in abrupt jumps, which may not be desirable for delicate tasks. To achieve fluid motion, you can use a technique called interpolation, gradually changing the servo’s position over time.
Here’s a snippet demonstrating this:
void moveServoSmoothly(Servo &servo, int startPos, int endPos, int stepDelay) { int step = (endPos > startPos) ? 1 : -1; for (int pos = startPos; pos != endPos; pos += step) { servo.write(pos); delay(stepDelay); } servo.write(endPos); }
By calling moveServoSmoothly(myServo, currentPos, targetPos, 20);, you can create slow, controlled movements, perfect for mimicking natural motions or minimizing mechanical stress.
Controlling Multiple Servos Many projects involve more than one servo—robotic arms, antenna rotators, or multi-axis cameras. The key to managing multiple servos is assigning each to a dedicated PWM pin and carefully controlling their positions to avoid power issues.
#include Servo servo1, servo2, servo3; void setup() { servo1.attach(9); servo2.attach(10); servo3.attach(11); }
To coordinate, you can write functions that move all servos in sync, with carefully timed delays or motion profiles.
Position Feedback and Real-Time Correction Standard hobby servos are typically closed-loop, with internal feedback, but they do not provide external position feedback to the Arduino. For more advanced projects, consider using potentiometers or encoder sensors attached directly to the servo’s shaft for real-time position data.
This enables the creation of closed-loop control systems that adjust the servo’s position dynamically, providing higher accuracy and stability. For example, with a potentiometer attached:
int feedbackPin = A1; void loop() { int feedbackValue = analogRead(feedbackPin); int targetPosition = map(feedbackValue, 0, 1023, 0, 180); myServo.write(targetPosition); delay(10); }
This feedback loop ensures the servo stays at the intended position, correcting for load or drift.
Programming Techniques for Precise Control
Trajectory Planning: Define complex movement paths rather than simple linear moves. Acceleration Control: Gradually increase/decrease speed to prevent sudden strain. Motion Blending: Combine multiple movements for natural gestures.
Power Considerations Servos draw quite a bit of current, especially under load. Always power multiple servos separately with a stable power supply capable of supplying enough current, and connect all grounds together. Avoid powering servos directly from the Arduino’s 5V pin for large or multiple servos, as this can damage your board and cause unpredictable behavior.
Ensure your power supply can handle the current draw—here’s where a dedicated 5V power source often becomes essential. Use a common ground for the Arduino and servos to prevent signal noise. Test each servo individually before integrating multiple units. Confirm wiring connections—faulty wiring often causes erratic behavior.
Creative Applications Controlling servos with Arduino isn’t just a mechanical exercise; it unlocks a universe of creative possibilities:
Animatronics and puppetry projects that breathe life into your creations. Camera stabilization systems for clearer shots. Automated plants watering with robotic arms. Interactive art installations that respond to audience movements. Educational tools for illustrating principles of physics, control systems, and electronics.
As your understanding deepens, you'll find new ways to combine sensors, actuators, and programming logic, transforming simple servo control into sophisticated automation and robotics endeavors. The magic lies in bridging the digital commands with tangible mechanical motion—making your ideas come alive one servo pulse at a time.
Hope you enjoy this journey into controlling servos with Arduino—it's a fascinating blend of electronics, programming, and craftsmanship. Whether you’re building a robot, a camera gimbal, or just experimenting with motion, mastering this skill opens endless doors for innovation!
Kpower has delivered professional drive system solutions to over 500 enterprise clients globally with products covering various fields such as Smart Home Systems, Automatic Electronics, Robotics, Precision Agriculture, Drones, and Industrial Automation.
Update:2025-10-15
Contact Kpower's product specialist to recommend suitable motor or gearbox for your product.


