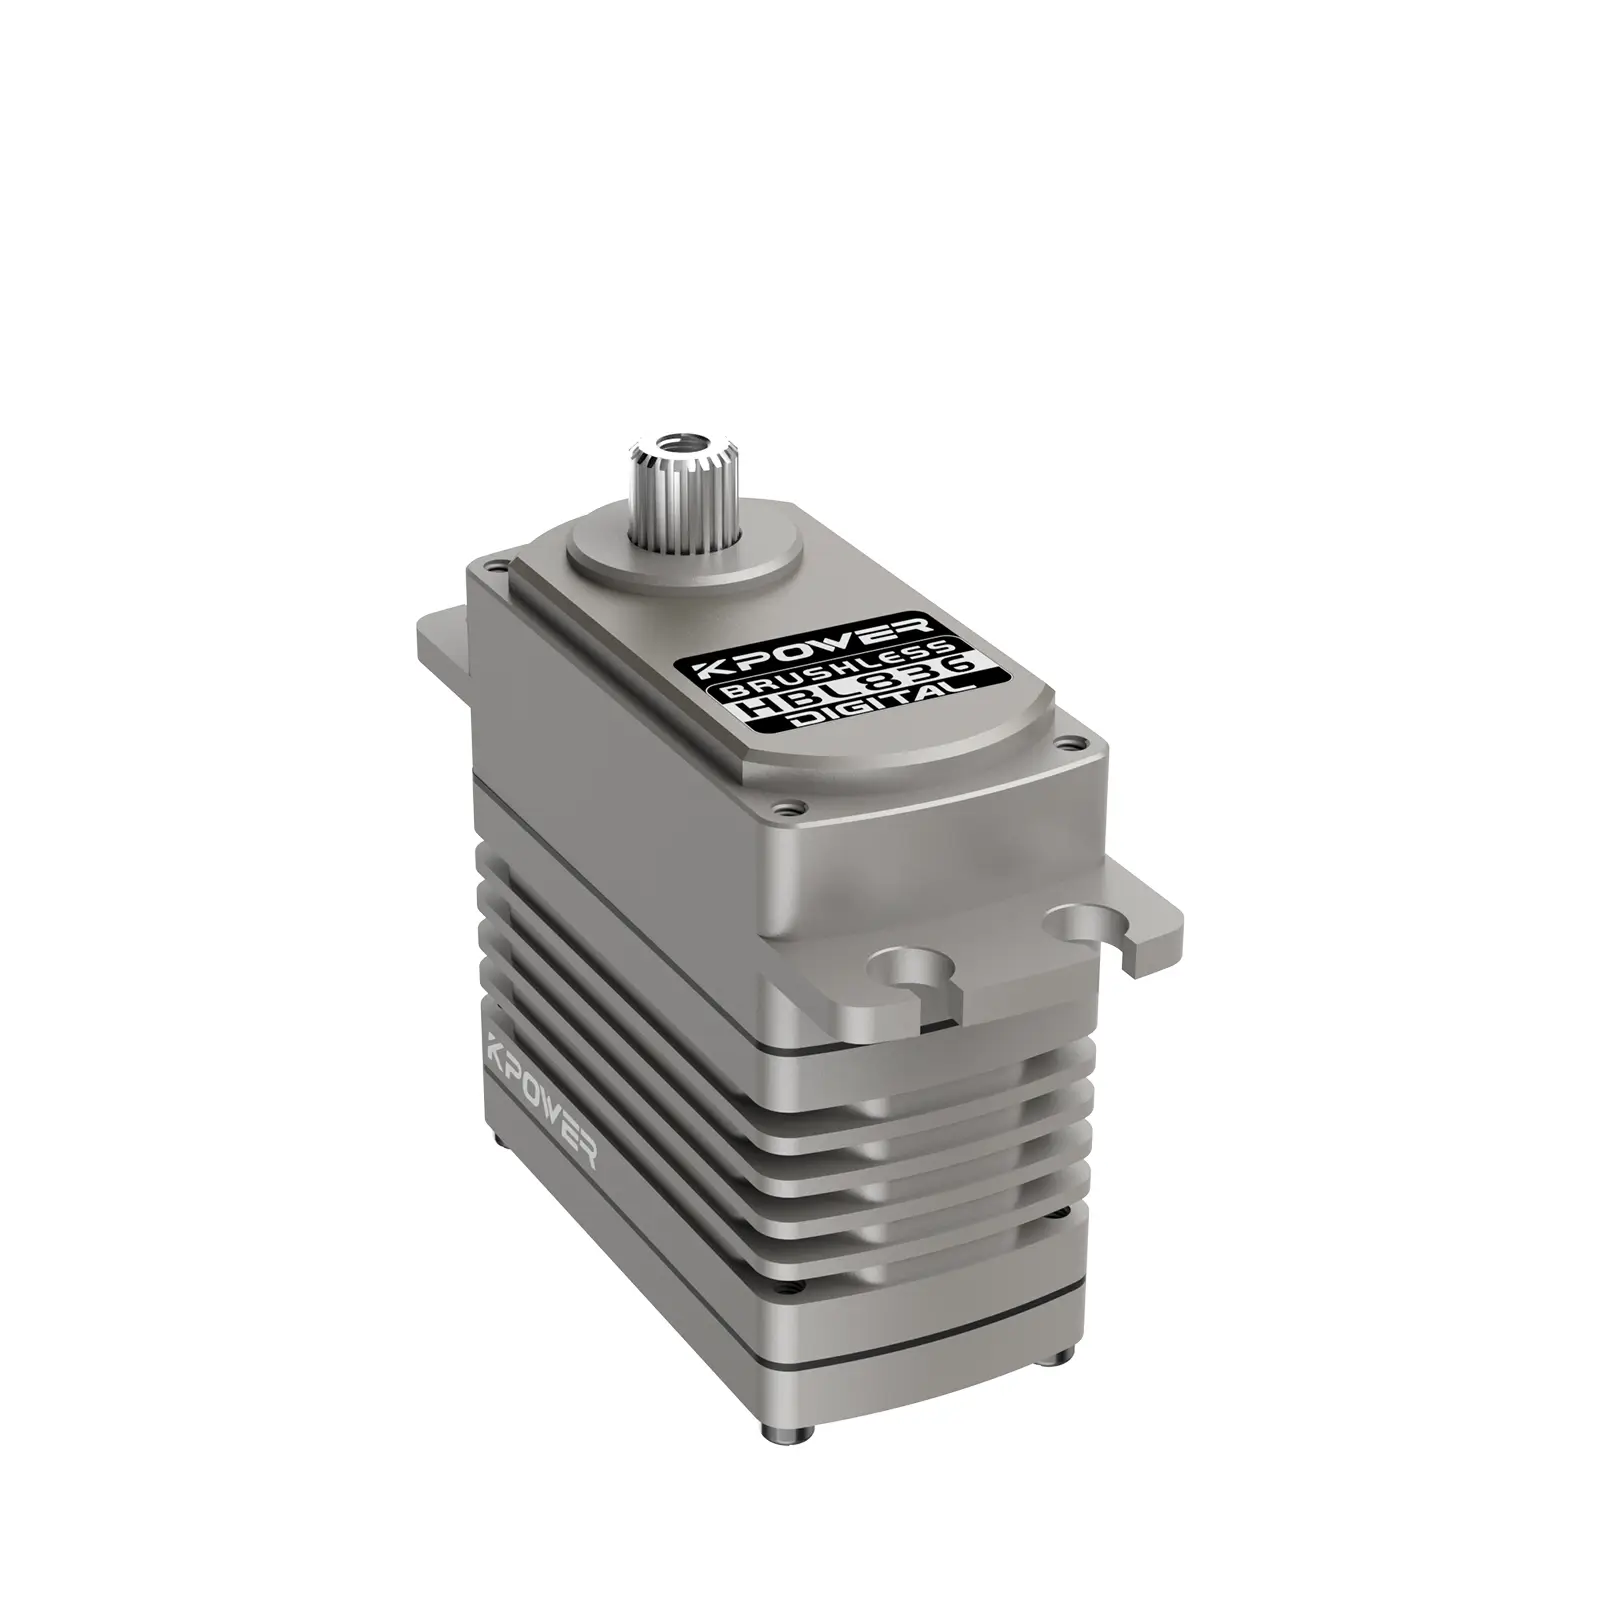
Introduction: Unlocking the Power of Servo Motors with a Simple Joystick
Imagine steering a remote-controlled car, moving a robotic arm, or creating a customizable interactive installation—all powered by precise motor movements. Servo motors are fundamental in making these projects come alive, offering accurate control over angular positions, speed, and force. When combined with a joystick, these motors become intuitive interfaces for humans to interact with machines, transforming complex mechanical movements into simple, engaging gestures.

Controlling a servo motor with a joystick doesn't need to be complicated. With the right hardware setup and a bit of logic, even beginners can design systems that respond smoothly to user input. Whether you’re developing a robot, an art installation, or a remote-controlled gadget, understanding this connection opens a realm of creative possibilities.
What Is a Servo Motor?
A servo motor is a compact actuator capable of precise control of angular or linear position, velocity, and acceleration. Unlike regular DC motors, servo motors are equipped with a built-in feedback system (usually a potentiometer or encoder), which continuously informs the control system about the current position. This feedback allows the motor to make adjustments in real-time, ensuring accuracy and stability.
Commonly used in robotics, RC hobby projects, automation, and manufacturing, servo motors come in various sizes and torque capacities. For building simple projects, standard hobby servo motors like the SG90 or MG90S are popular choices, affordable, easy to control, and versatile.
Why Use a Joystick?
A joystick provides an intuitive and engaging way to control devices — think of it as a digital steering wheel that you can manipulate with your hand. It typically consists of two potentiometers (one for horizontal movement, one for vertical), which translate your physical tilt into analog voltage signals. This analog signal can then be read by a microcontroller and used to determine the desired position or speed of your servo motor.
The natural, human-centered design of a joystick makes it ideal for interactive projects. Whether you want to control a robotic arm’s position or navigate a camera pan-tilt system, integrating a joystick with a servo motor offers a tactile, real-time control experience.
Essential Hardware Components
Here’s what you’ll need to get started:
Servo Motor: A basic hobby servo (like SG90) or more powerful options depending on application needs. Joystick Module: An analog joystick module commonly found in electronics kits. Microcontroller: Arduino Uno, Nano, or any microcontroller that supports analog input and servo control. Power Supply: Adequate power for the servo. Note that servo motors can draw considerable current, especially under load. Connecting Wires and Breadboard: For easy prototyping and testing.
Getting Ready: Setting Up the Hardware
Before diving into code, it’s important to set up your hardware correctly. Here’s a straightforward approach:
Connect the joystick’s VCC pin to the 5V power of your microcontroller. Connect the GND pin to the ground (GND). Connect the X-axis (horizontal) output pin to an analog input pin (say, A0). Connect the Y-axis (vertical) output pin to another analog input pin (say, A1).
For simplicity, this tutorial will focus on controlling the servo’s position based on the X-axis input, simulating left-right movement. You can later expand this to include both axes for more complex control.
The servo’s control wire (usually orange or white) connects to a digital PWM-capable pin on your microcontroller (e.g., pin 9). The servo’s power and ground wires connect to the power source—careful not to power the servo directly from the microcontroller if it’s large, as this could cause voltage drops or damage. Using an external power supply for the servo is recommended for better stability.
Initial Testing
Once everything is wired, upload a simple code to test servo movement. This code will set the servo to different positions, confirming that your hardware is functioning correctly. Once tested, you’re ready to incorporate joystick input to control the servo dynamically.
Are you ready for the second part, where I’ll provide detailed coding, calibration tips, and troubleshooting advice?
Established in 2005, Kpower has been dedicated to a professional compact motion unit manufacturer, headquartered in Dongguan, Guangdong Province, China.


