Imagine steering a remote-controlled car or robotic arm with pinpoint accuracy—that’s the magic of a servo motor in action. These tiny yet mighty components are the backbone of countless projects, from DIY robots to automated home systems. If you’re curious about how they work behind the scenes—especially in conjunction with a versatile platform like Arduino—you're in the right place.

What exactly is a servo motor? In essence, a servo motor is a compact rotary actuator that allows precise control of angular position. Unlike regular motors that spin freely when powered, servos are designed to rotate to a specific position, hold that position firmly, and then move to new positions on command. This specificity makes them ideal for applications requiring controlled movement, such as robotic joints, camera gimbals, or even model airplanes.
The heart of a servo: the control system At its core, a servo motor isn't just a motor—it's a smart device that includes a small built-in control circuit. This internal circuitry is what differentiates a standard DC motor from a servo. It can interpret control signals, determine the current position, and make adjustments to reach the desired angle.
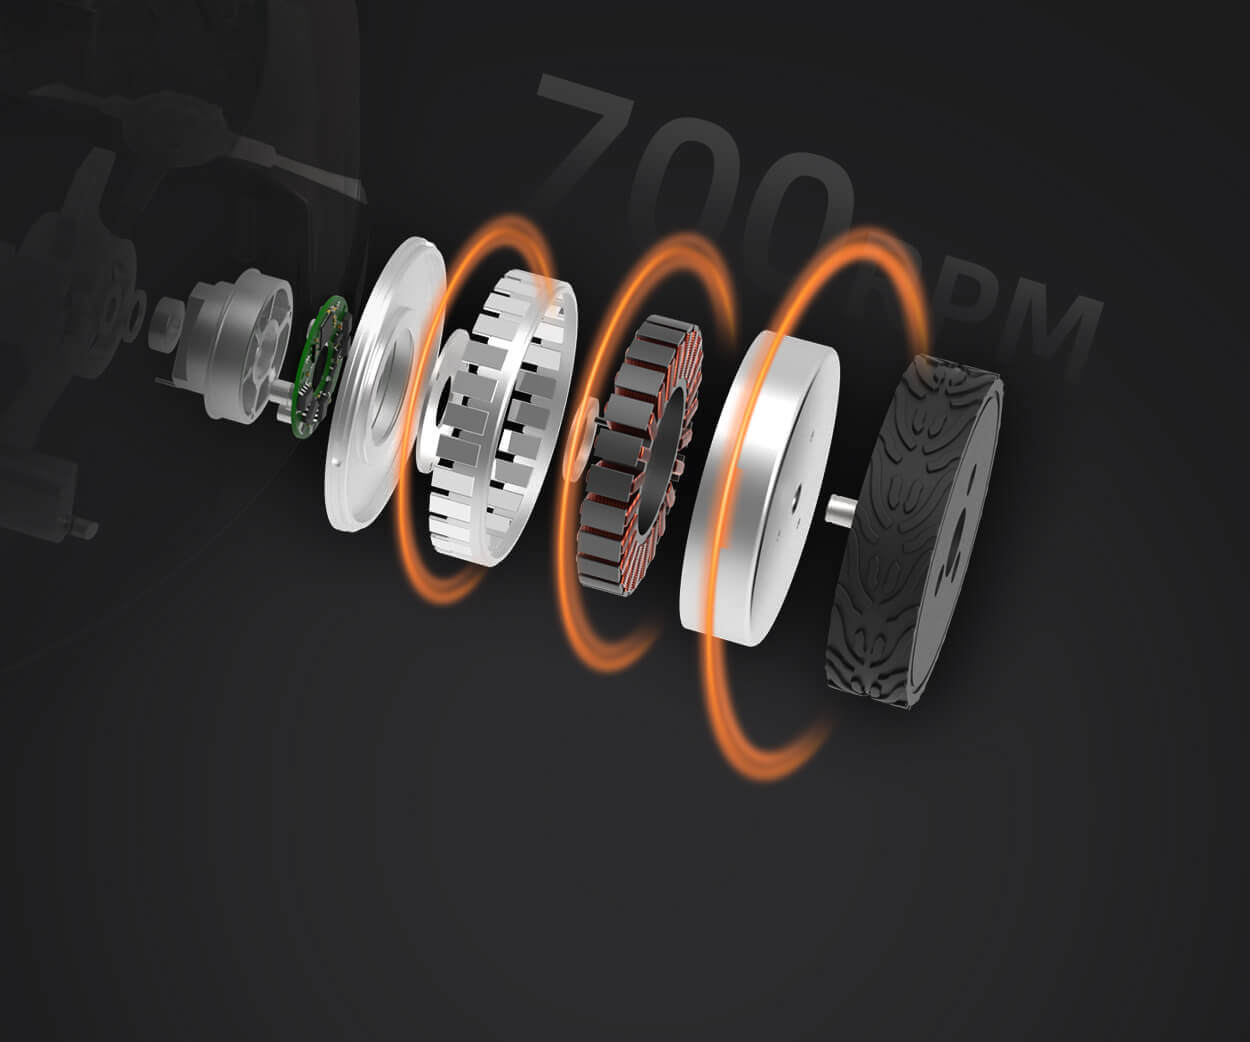
The core components of a typical hobby servo include:
A DC motor: The power source for movement. A gear train: To amplify torque and reduce speed, making movements more precise. A potentiometer: An internal position sensor that provides feedback on the servo’s current angle. A control circuit: The brain that interprets signals and manages the motor.
Understanding how the servo knows where it is The potentiometer inside the servo provides real-time feedback about its position. When the motor moves, the gear train turns the potentiometer, which in turn sends an electrical signal proportional to the current position. The control circuit compares this feedback to the desired position and makes adjustments accordingly.
Controlling servo motors with Arduino: the basics Programming an Arduino to control a servo is surprisingly straightforward—thanks to the ease of the Servo library. With just a few lines of code, you can command a servo to move to a specific angle, sweep back and forth, or respond to sensors and input devices.
Imagine a simple scenario: you connect a servo to one of Arduino's PWM (Pulse Width Modulation) pins. The Arduino sends a pulsed signal—where the duration of the pulse (the "pulse width") dictates the position of the servo. For most hobby servos, a pulse lasting between 1 millisecond (ms) and 2 ms corresponds to 0° and 180°, respectively.
How PWM controls the servo PWM stands for Pulse Width Modulation. It involves switching a digital signal between HIGH and LOW states rapidly, but with varying durations of the HIGH pulse. The Arduino's Servo library simplifies this process, generating the appropriate PWM signals internally.
Here’s a quick picture of what’s happening:
The Arduino sends a PWM signal with a specific pulse width. The servo’s control circuit interprets that pulse width as a target position. The motor inside the servo rotates until the potentiometer reports the approximate desired angle. Once the position is achieved, the servo holds that position steadily due to the motor's torque and internal feedback loop.
Why use a servo in your projects? Versatility, ease of control, and precision are key reasons. Whether you’re building a robotic arm that needs to pick up objects with delicacy or creating camera stabilization systems, servos provide reliable movement with minimal fuss. Plus, their small size and affordability make them accessible for hobbyists and professionals alike.
Different types of servo motors While standard hobby servos are the most common in Arduino projects, there are various types depending on the application's demands:
Standard Servos: Typically rotate 0–180°, suitable for most hobbyist projects. Continuous Rotation Servos: Can turn freely in either direction, useful for driving wheels or belts. Digital Servos: Offer faster and more precise responses due to digital control circuitry. High-Torque Servos: Designed for heavy-duty applications requiring more force.
The choice depends on what you want to achieve—light, precise movements or robust, powerful actions.
Getting started: Connecting a servo to Arduino To connect a servo:
Connect the power (usually red wire) to the Arduino’s 5V pin. Connect the ground (black or brown wire) to one of Arduino’s GND pins. Connect the control signal (white, yellow, or orange wire) to one of the Arduino PWM pins (like pin 9).
Once wired, you can load a simple program using the Servo library:
#include Servo myServo; void setup() { myServo.attach(9); } void loop() { myServo.write(90); // move servo to 90 degrees delay(1000); myServo.write(0); // move to 0 degrees delay(1000); }
This basic setup lets your servo move back and forth between two positions, but the real fun starts when you begin integrating sensors, user input, or automation logic.
Stay tuned for part 2, where we’ll explore advanced control techniques, common challenges, troubleshooting tips, and creative project ideas that showcase what servo motors can do in Arduino projects.
Kpower has delivered professional drive system solutions to over 500 enterprise clients globally with products covering various fields such as Smart Home Systems, Automatic Electronics, Robotics, Precision Agriculture, Drones, and Industrial Automation.


