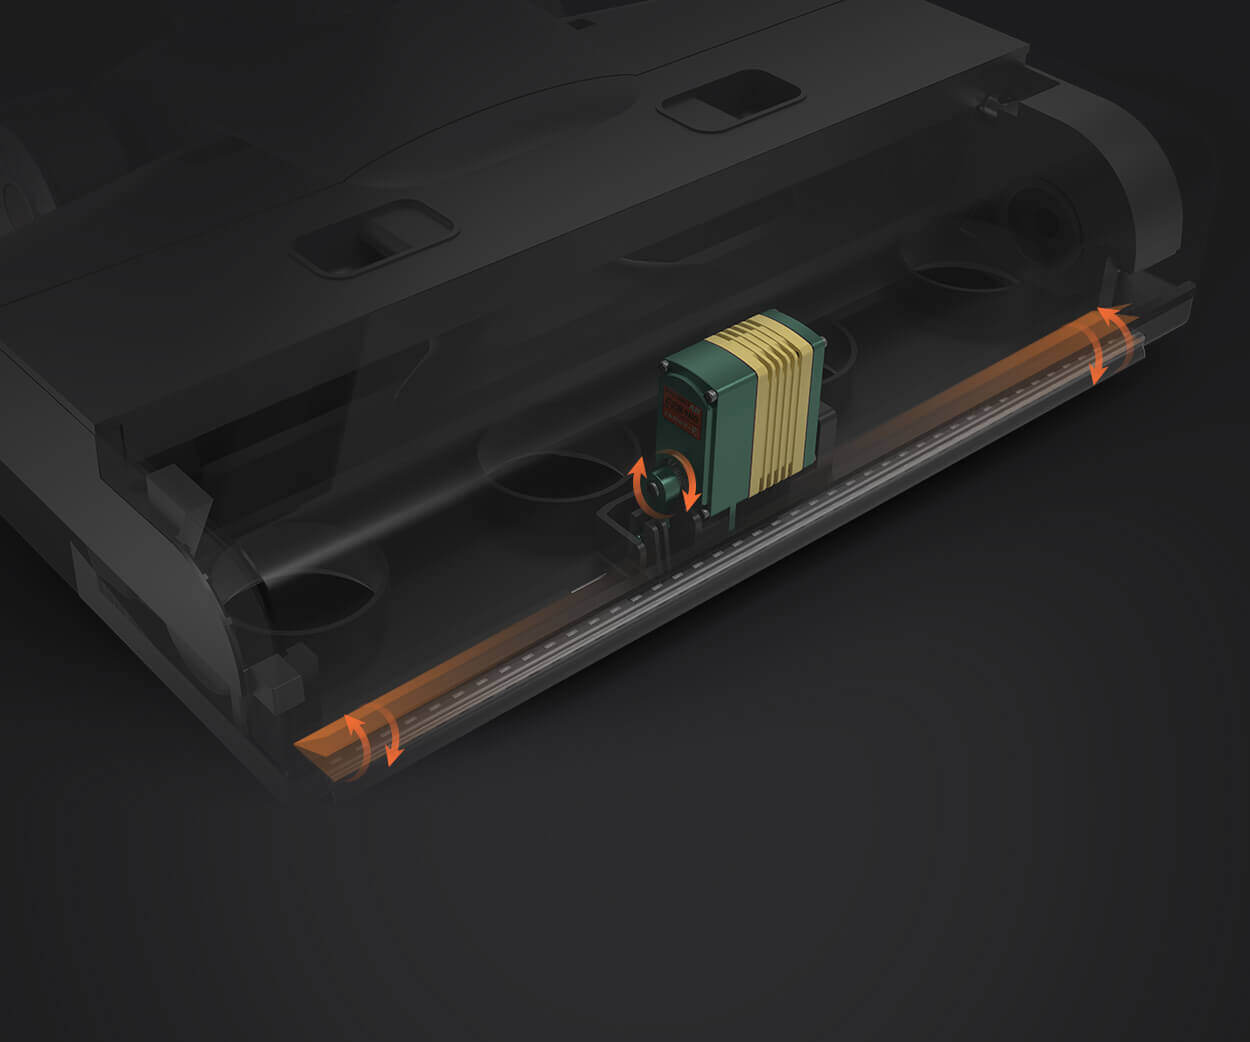
Imagine a tiny robot arm gracefully reaching for an object, a pan-tilt security camera smoothly scanning an area, or an automated model that moves precisely according to your commands. All of these marvels share a common hero in the realm of DIY electronics: the humble servo motor. With its ability to precisely control angular position, the servo is a favorite among hobbyists, educators, and professionals alike.

But how do you make a servo do its magic? The answer lies in writing the right code—specifically, Arduino code. Arduino has democratized electronic prototyping, making it easier than ever to control motors, sensors, and many other peripherals with just a few lines of code. The process of controlling a servo motor with Arduino is straightforward, and once you grasp the basics, your creative potential becomes limitless.
What is an Arduino servo motor?
Before diving into the coding, it’s helpful to understand what a servo motor is and why it’s widely used. Unlike your standard electric motor which spins continuously, a servo motor is designed to rotate to a specific position within its range, typically between 0 to 180 degrees, though some servos can rotate full circle or more.
A typical servo motor comes with three wires: power (usually red), ground (black or brown), and control (white, yellow, or orange). The control wire carries a pulse-width modulation (PWM) signal that dictates the precise position of the servo horn.
The core principle: PWM control
Control of a servo motor hinges on pulses of a specific width. The Arduino sends a pulse every 20 milliseconds, and the width of this pulse (typically from 1ms to 2ms) determines the angle of the servo. For example:
1ms pulse: turns the servo to approximately 0° 1.5ms pulse: centers the servo at 90° 2ms pulse: moves the servo to 180°
This simple principle makes servo control both elegant and efficient.
Getting started with your servo on Arduino
The first step is assembling the hardware:
Connect the servo's red wire to the 5V pin on Arduino. Connect the black or brown wire to GND. Connect the control wire to a digital PWM pin (commonly pin 9).
Once hooked up, you’re ready to write some code. For beginners, Arduino offers the Servo library, a powerful tool that simplifies controlling servo motors without dealing directly with PWM signals.
Basic example: Moving a servo to an initial position
Here's a foundational example for controlling a servo motor:
#include Servo myServo; // create a servo object int servoPin = 9; // define the PWM pin connected to the servo void setup() { myServo.attach(servoPin); // attaches the servo to pin 9 myServo.write(90); // initial position at 90 degrees (center) } void loop() { // no repeated action needed here for a static position }
This code initializes the servo at the center position. With a few tweaks, you can make the servo rotate to different angles, creating movement and interactivity.
Controlling servo with variables: making it dynamic
To make your project more interesting, you can set the servo's position with variables, allowing dynamic control based on user input, sensors, or other conditions.
#include Servo myServo; int servoPin = 9; void setup() { myServo.attach(servoPin); } void loop() { for (int angle = 0; angle <= 180; angle += 1) { myServo.write(angle); // move to the angle delay(15); // wait 15ms for the servo to reach the position } for (int angle = 180; angle >= 0; angle -= 1) { myServo.write(angle); delay(15); } }
This creates smooth oscillation from 0 to 180 degrees and back, demonstrating how to animate movement with code.
Using sensors to control servo position
Adding a sensor opens up a world of interactive projects. For instance, you might connect a potentiometer to Arduino’s analog input, read the position, and adjust the servo accordingly.
#include Servo myServo; int potPin = A0; // potentiometer connected to analog pin A0 void setup() { myServo.attach(9); } void loop() { int sensorValue = analogRead(potPin); int angle = map(sensorValue, 0, 1023, 0, 180); // map sensor value to angle myServo.write(angle); delay(15); }
This snippet reads the potentiometer position and moves the servo to correspond to the user’s input, perfect for interactive projects like custom controllers.
Established in 2005, Kpower has been dedicated to a professional compact motion unit manufacturer, headquartered in Dongguan, Guangdong Province, China.


