


Looking for a suitable motor?


小编
Published2025-10-15
Imagine embarking on a journey where robotics and automation converge—a journey powered by tiny yet mighty components called servo motors. These miniature marvels are the backbone of precise control systems, from robotic arms to drone stabilizers, and even remote-controlled vehicles. Yet, understanding the core of how they connect might seem daunting at first glance, especially when faced with a tangle of wires and pins. That’s where mastering the servo motor pin configuration becomes essential—think of it as decoding the secret language that unlocks seamless functionality and performance.
Before diving into the pin configurations, it’s worth clarifying what a servo motor actually is. Unlike simple DC motors that just spin continuously, servo motors are designed to rotate to specific angles, providing precise position control. They contain a built-in feedback system—usually a potentiometer—that continuously reports the motor’s position to the controller, enabling incredibly accurate movements. That’s why servo motors are favored in applications requiring fine control, such as robotics, RC vehicles, automation, and even camera stabilization systems.
The Anatomy of a Typical Servo Motor
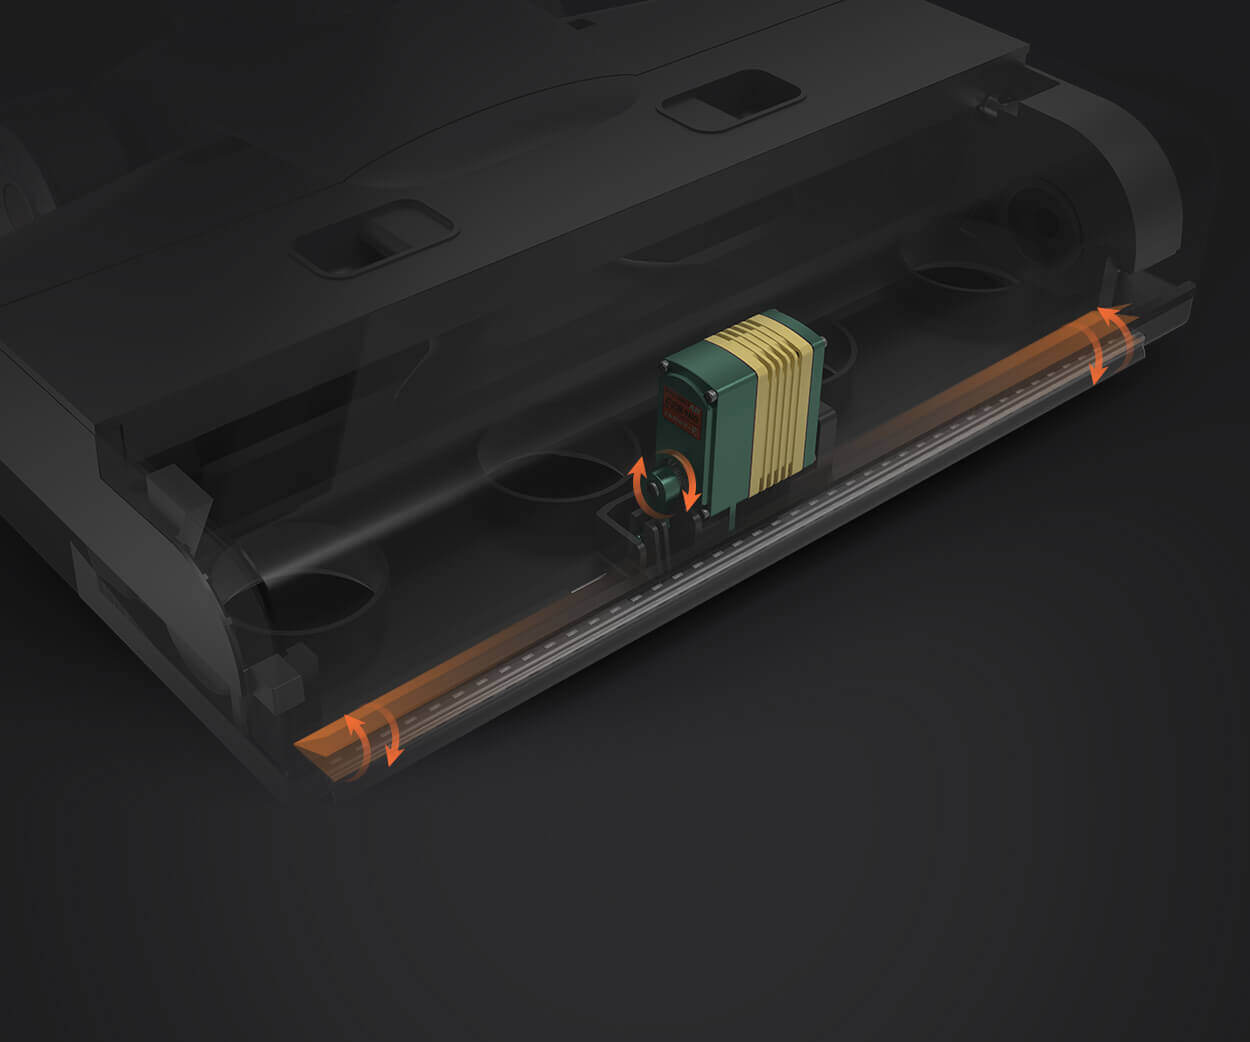
Most standard servo motors are compact, enclosed units, often with three main components:
A small electric motor A gear train that increases torque A control circuit with feedback mechanism
Yet, to harness their power effectively, understanding their input and output pins is crucial. These pins are the port through which signals and power are delivered, and each pin has a specific role.
Common Types of Servo Motor Pins
While the exact number of pins and their configuration can vary depending on the model and manufacturer, the most common servo motors—especially those used in hobbyist and industrial applications—feature three essential pins:
Power / Vcc (Voltage supply) Ground / GND Signal / Control
Some advanced servos may include additional pins, like a brake control, telemetry, or feedback output. Let's focus on the typical 3-pin configuration first, which forms the foundation for understanding more complex variants.
Pin 1: Power (Vcc or +ve supply)
This pin supplies the main operating voltage for the servo motor. Most hobbyist servos operate at a voltage range of 4.8V to 6V, though industrial servos can handle higher voltages. Connecting the power pin correctly is critical; providing too high a voltage risks damaging the motor, while too low may result in insufficient torque or control issues.
Tip: Always verify the voltage requirements specified in the datasheet to ensure your power supply matches the servo’s ratings, preventing premature failure or erratic behavior.
Pin 2: Ground (GND or negative supply)
This is the common reference point for the electric circuit. Connecting the ground pin properly is vital for completing the circuit and ensuring stable operation. In your wiring setup, the ground pin should be connected to the negative terminal of your power source, which also often serves as the common ground in your entire system.
Important: Avoid sharing ground paths with power electronics that generate electrical noise, such as motors or switching regulators, as this could cause signal interference.
Pin 3: Signal (Control or PWM input)
The signal pin is where the magic happens. It receives a pulse-width modulation (PWM) signal from your microcontroller or servo controller. This PWM signal tells the servo how far to rotate from its neutral position, with duty cycle variations corresponding to specific angles—usually between 0° and 180°.
Insight: The typical PWM frequency for hobby servos is around 50Hz (20ms period), with pulse widths ranging from 1ms (full CCW) to 2ms (full CW). Accurate timing here ensures your servo responds precisely to commands.
Wiring and Connecting Your Servo
Connecting a servo motor correctly is fundamental. You’ll need to:
Connect the power pin to a suitable voltage supply (through a regulator if necessary) Connect the ground pin to the system ground Connect the signal pin to your microcontroller’s digital output pin capable of PWM
Use shielded or twisted-pair wires if your servo is situated far from the controller to minimize noise and signal degradation. When setting up multiple servos, ensure your power supply can handle the total current draw.
The Importance of Pin Orientation
While most servos have standardized pin layouts with the power, ground, and signal pins in specific positions, always double-check the datasheet or label markings. Improper connections can cause permanent damage or erratic behavior. Some servos might have color-coded wires—commonly red for Vcc, black or brown for GND, and white, yellow, or orange for the control signal.
Additional Pins and Features
As technology advances, servo pins become more sophisticated. For example:
Feedback or telemetry pins: Carry information about position or voltage Brake control: Enable or disable holding torque Programming pins: For adjusting firmware or calibration
When dealing with these extra features, understanding their specific pin functions ensures you can fully exploit your servo’s capabilities.
Precautions and Best Practices in Wiring
Always power your servo from a regulated supply to prevent voltage spikes. Avoid sharing a power line with high-current devices without proper filtering. Use common grounds to prevent ground loops which can cause erratic behavior. Keep signal wires as short as possible and away from power lines to avoid electromagnetic interference. Consult the datasheet or manual for your specific servo model to confirm the pin configuration.
Leveraging innovations in modular drive technology, Kpower integrates high-performance motors, precision reducers, and multi-protocol control systems to provide efficient and customized smart drive system solutions.
Update:2025-10-15
Contact Kpower's product specialist to recommend suitable motor or gearbox for your product.


