part 1:
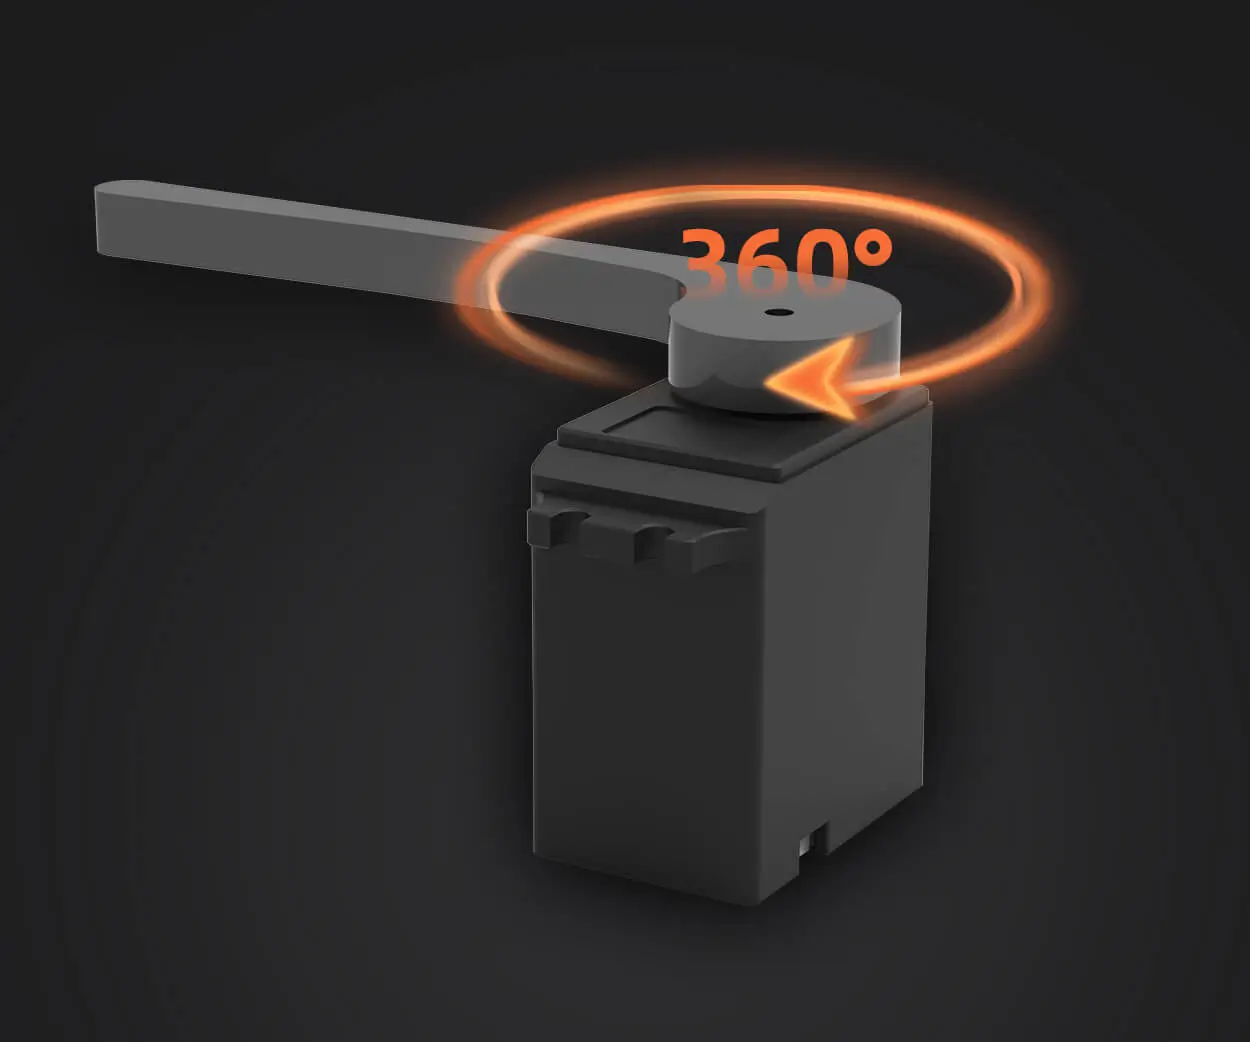
Introduction: The Allure of Servo Motors
In the world of robotics, automation, and DIY electronics, servo motors are the unsung heroes that bring systems to life. They give machines the precision movement and controlled rotation that make everything from remote-controlled cars to robotic arms possible. But before you can harness their power for your project, you need to get the wiring right — a vital step that determines the success, safety, and performance of your setup.

Imagine your servo motor as the heart of a mini robotic system. Its wiring is akin to its nervous system, connecting power, control signals, and grounding. When these connections are properly established, your servo will respond seamlessly to commands, delivering smooth and accurate movements. To begin this journey, let's understand the anatomy of a typical servo motor and what wiring components you'll need.
Understanding the Standard Servo Motor
Most hobbyist-grade servo motors feature three essential wires:
Power (VCC): Usually red or orange, this wire supplies the operating voltage. Typical voltage ranges are from 4.8V to 6V (sometimes higher for advanced servos).
Ground (GND): Typically black or brown, this wire completes the circuit.
Signal (PWM control): Often white, yellow, or orange, this wire carries the pulse-width modulation signals that control the servo's position.
Some advanced servos may include additional wires for feedback or enhanced features, but the three-wire configuration is standard for beginners and most common applications.
Gathering Your Supplies
Before diving into wiring, ensure you have the following:
A suitable servo motor (match voltage and current requirements). A microcontroller or controller board such as Arduino, Raspberry Pi, or other. Power supply capable of delivering the required voltage and current for your servo. Connecting wires (male-to-male jumper wires are common). Breadboard (optional, for prototyping). Resistors or decoupling components (if needed for noise reduction).
Step 1: Understand Your Power Source
An important aspect of wiring is ensuring your power supply can handle the servo's current demands. Servos can draw significant current, especially during motion or under load. Using a dedicated power source, or at least a separate power rail, helps prevent brownouts or resets of your controller.
Tip: Never power the servo directly from a microcontroller’s 5V pin when dealing with multiple servos or high loads. Instead, use an external power supply rated for the servo’s operating voltage and current.
Step 2: Connect Power and Ground
Connect the Power (VCC): Attach the servo's power wire to your power supply’s positive terminal. Connect the Ground (GND): Connect the servo's ground wire to both the power supply ground and your controller's GND.
This common ground is essential for signal integrity, ensuring the control signals have a reference point.
Step 3: Connect the Signal Wire
Attach the servo’s signal (PWM) wire to your microcontroller's designated PWM output pin. Use a suitable resistor (around 220Ω to 1kΩ) if needed, to prevent electrical noise or signal reflection, especially over longer wire runs.
Step 4: Powering Up and Testing
Double-check all connections before powering on. Power your system gradually, monitoring current draw. Upload a simple test program to your controller (for instance, a PWM sweep for Arduino).
Safety note: Always ensure your wiring is insulated and secure to prevent shorts that could damage components or pose safety hazards.
Transition to part 2: Now that you've mastered the wiring basics, in the next section, we'll explore how to program your servo, troubleshoot common issues, and fine-tune your setup for optimal performance. Whether you're making a robotic arm or a remote-controlled vehicle, the next steps will bring your project closer to motion mastery.
Stay tuned for part 2!
Leveraging innovations in modular drive technology, Kpower integrates high-performance motors, precision reducers, and multi-protocol control systems to provide efficient and customized smart drive system solutions.


