


Looking for a suitable motor?


小编
Published2025-10-15
This article dives into the process of building a controllable servo motor, highlighting its applications, benefits, and step-by-step instructions. Whether you're a hobbyist or a professional engineer, this guide will provide you with valuable insights into how you can create a servo motor that suits your needs.
servo motor, controllable servo motor, DIY projects, robotics, motor control, electronic components, engineering, robotics projects, motor control systems, build a servo motor
Understanding the Basics of a Controllable Servo Motor
Servo motors are essential components in various applications, from robotics to automation systems. These motors offer precise control over angular position, speed, and acceleration, making them an indispensable tool for engineers and hobbyists alike. But how do you build a controllable servo motor from scratch? In this first part, we will explore the fundamental components of a servo motor, its working mechanism, and how you can begin constructing one.
What is a Controllable Servo Motor?
A servo motor is a rotary actuator that enables precise control of angular position. Unlike standard motors, servo motors are equipped with a feedback system that constantly adjusts the motor's position. This feedback loop ensures that the motor responds quickly and accurately to commands, allowing for high levels of precision. Controllable servo motors are often used in robotics, drone control systems, and automated machinery.
To build a controllable servo motor, you need to understand the underlying components and the role each one plays in the motor's operation.
Key Components of a Servo Motor
The heart of a servo motor is the DC motor, which provides rotational motion. This motor is the source of power for the servo's movement.
Feedback Device (Potentiometer):
The feedback device is a crucial component that measures the position of the motor's shaft. It constantly sends position data to the controller, which adjusts the motor’s movement accordingly.
The controller circuit takes the input signal and processes it. Based on the input, it sends a control signal to the motor to rotate it to the correct position.
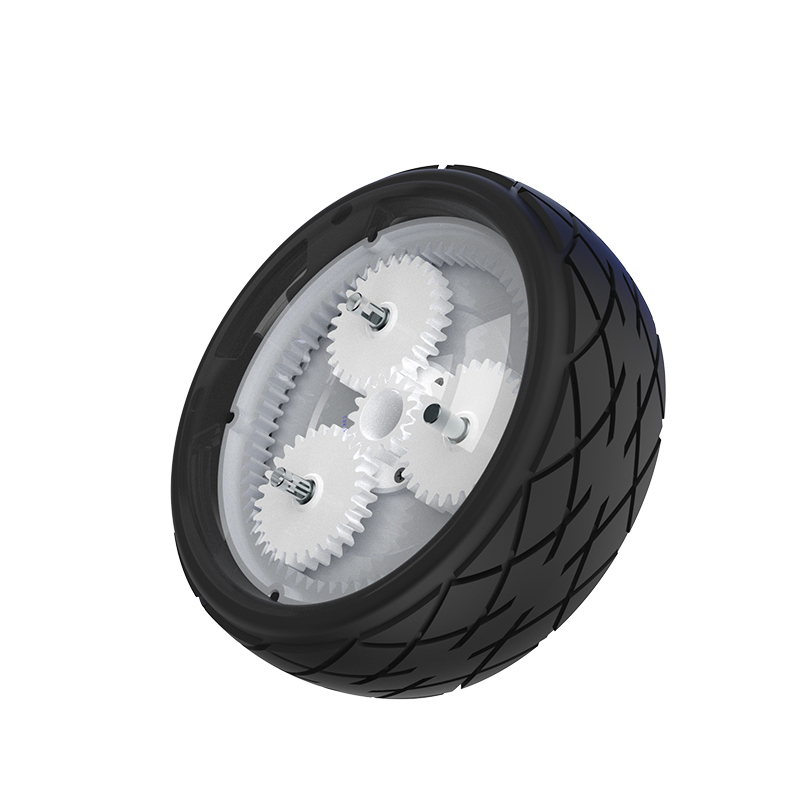
The gearbox is used to reduce the speed and increase the torque of the DC motor, which helps the servo motor perform precise movements.
A stable power supply is needed to ensure the servo motor functions correctly. The power supply must be capable of providing sufficient current and voltage to meet the servo's requirements.
The output shaft is the part that connects to the object you want to control, such as a robotic arm or steering mechanism. It is the part of the servo motor that physically moves in response to commands.
How Does a Servo Motor Work?
The servo motor operates by receiving a control signal from a microcontroller or other controlling device. This control signal, usually a pulse-width modulation (PWM) signal, dictates how far the motor should rotate. The potentiometer (or other feedback device) constantly tracks the position of the motor’s shaft and sends this data back to the controller. The controller compares the current position with the desired position and adjusts the motor's movement until it reaches the target.
A key feature of servo motors is their ability to maintain their position with minimal power consumption, making them highly efficient for precision tasks.
Why Build a Controllable Servo Motor?
Building your own controllable servo motor can be an exciting and rewarding project. It allows you to understand the inner workings of these motors and customize them for specific applications. Whether you're building a robot, a drone, or an automated system, having control over the servo motor's design and functionality can enhance your project’s performance.
Additionally, constructing a servo motor from scratch can save costs compared to buying off-the-shelf units. For hobbyists and engineers, this DIY approach can also serve as a learning experience in electronics, motor control, and mechanical systems.
Step-by-Step Guide to Building Your Own Controllable Servo Motor
Now that we have an understanding of the components and functionality of a servo motor, let’s walk through the steps involved in building your own controllable servo motor. We will break the process down into manageable stages, making it easy for you to follow along.
Step 1: Gather the Necessary Components
Before you begin assembling the servo motor, you need to gather the following components:
A DC motor (with appropriate voltage and current ratings for your project)
A potentiometer (for feedback)
A microcontroller (such as Arduino or Raspberry Pi)
A motor driver (to control the motor’s speed and direction)
A gearbox (to reduce speed and increase torque)
A power supply (to provide sufficient voltage and current)
Wires, connectors, and soldering tools
You may also want additional tools like a 3D printer or mechanical parts if you're designing a custom casing or mounting system for your servo motor.
Step 2: Construct the Motor Assembly
Start by assembling the DC motor and gearbox. The gearbox is essential because it adjusts the motor’s torque and speed to fit your needs. In many cases, you can purchase pre-made gearboxes that fit your motor, or you can design and 3D print a custom gearbox to match your specifications.
Once the motor and gearbox are assembled, attach the potentiometer to the motor’s output shaft. The potentiometer will act as the feedback device, sending information about the motor's position to the controller.
Step 3: Connect the Motor to the Controller
Next, connect the DC motor and potentiometer to your microcontroller. This can be done using jumper wires or a custom-designed circuit board. The potentiometer will need to be connected to an analog input pin on the microcontroller, while the motor will be controlled by a motor driver that can be hooked up to the PWM output pins.
The motor driver is essential because it converts the PWM signals from the microcontroller into the appropriate voltage and current to control the motor. Without it, the motor wouldn’t receive the necessary power to operate.
Step 4: Write the Control Code
Once the hardware is in place, it’s time to write the control code. This code will handle the communication between the microcontroller and the motor driver. It will send PWM signals to control the motor’s speed and direction based on the input from the potentiometer.
Here’s a simple pseudocode outline for controlling the servo motor:
// Initialize motor and potentiometer pins
int motorPin = 9; // PWM output to motor driver
int potPin = A0; // Analog input from potentiometer
int potValue = 0; // Variable to store potentiometer value
int motorSpeed = 0; // Motor speed value
pinMode(motorPin, OUTPUT);
pinMode(potPin, INPUT);
// Read potentiometer value
potValue = analogRead(potPin);
// Map potentiometer value to motor speed (range 0-255)
motorSpeed = map(potValue, 0, 1023, 0, 255);
// Send PWM signal to motor driver
analogWrite(motorPin, motorSpeed);
This basic code reads the position of the potentiometer and adjusts the motor’s speed accordingly. You can modify the code to include additional functionality, such as precise positioning or custom speed control algorithms.
After uploading the code to the microcontroller, power up your circuit and test the servo motor. Rotate the potentiometer and observe how the motor responds. The motor should rotate to the corresponding position based on the potentiometer's angle.
If the motor isn’t responding correctly, double-check your wiring, code, and connections. You may need to adjust the power supply voltage or tweak the motor control parameters.
Step 6: Fine-Tune and Finalize
Once your servo motor is working as expected, you can fine-tune the system for optimal performance. This could involve adjusting the feedback loop, refining the motor's range of motion, or optimizing the control code for smoother operation.
For more advanced projects, you can add features such as position holding, speed control, or even wireless control through Bluetooth or Wi-Fi.
By following these steps, you can build your own controllable servo motor that meets your specific needs. Whether you're using it for a robotic arm, drone, or other automated system, constructing a servo motor from scratch gives you full control over its design and functionality, empowering you to create innovative solutions for your projects.
Established in 2005, Kpower has been dedicated to a professional compact motion unit manufacturer, headquartered in Dongguan, Guangdong Province, China.
Update:2025-10-15
Contact Kpower's product specialist to recommend suitable motor or gearbox for your product.


